Workstation Overview
Overview
Workstations provide researchers with secure, cloud-based virtual machines for performing data analysis directly within the TRE. Each workstation is a fully provisioned environment built from a pre-configured image — with tools such as JupyterLab, RStudio, VSCode already installed.
Every workstation request must be approved by an Administrator before the instance can be launched. Once approved and running, the workstation is accessible from your browser, with all data flows subject to platform governance and audit logging.
Navigation: Select My Workstations from the left-hand navigation pane.
Pre-requisites
Before requesting a workstation, ensure you have required details about your workstation storage and capacity, which will be required during workstation configuration.
Requesting a Workstation
To request a new workstation:
-
Click + Add New in the top-right corner of the Workstations screen.
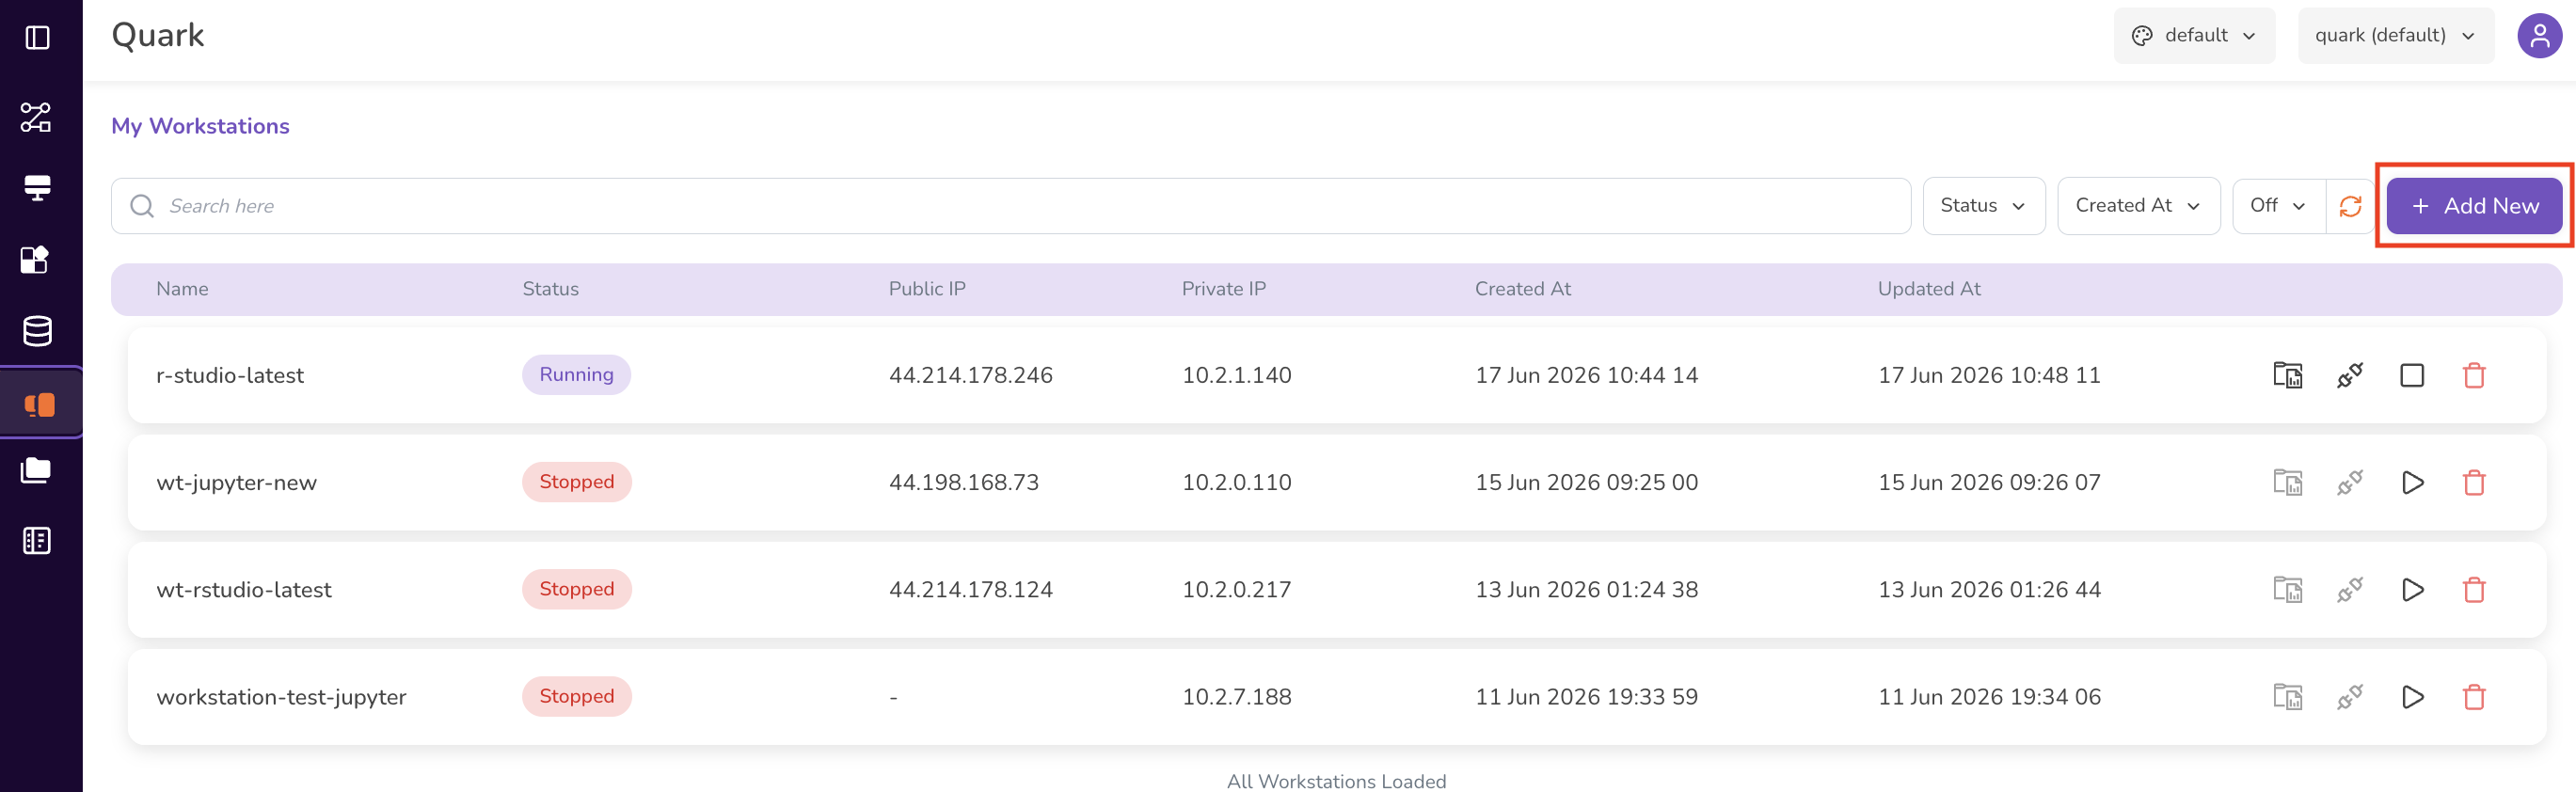
-
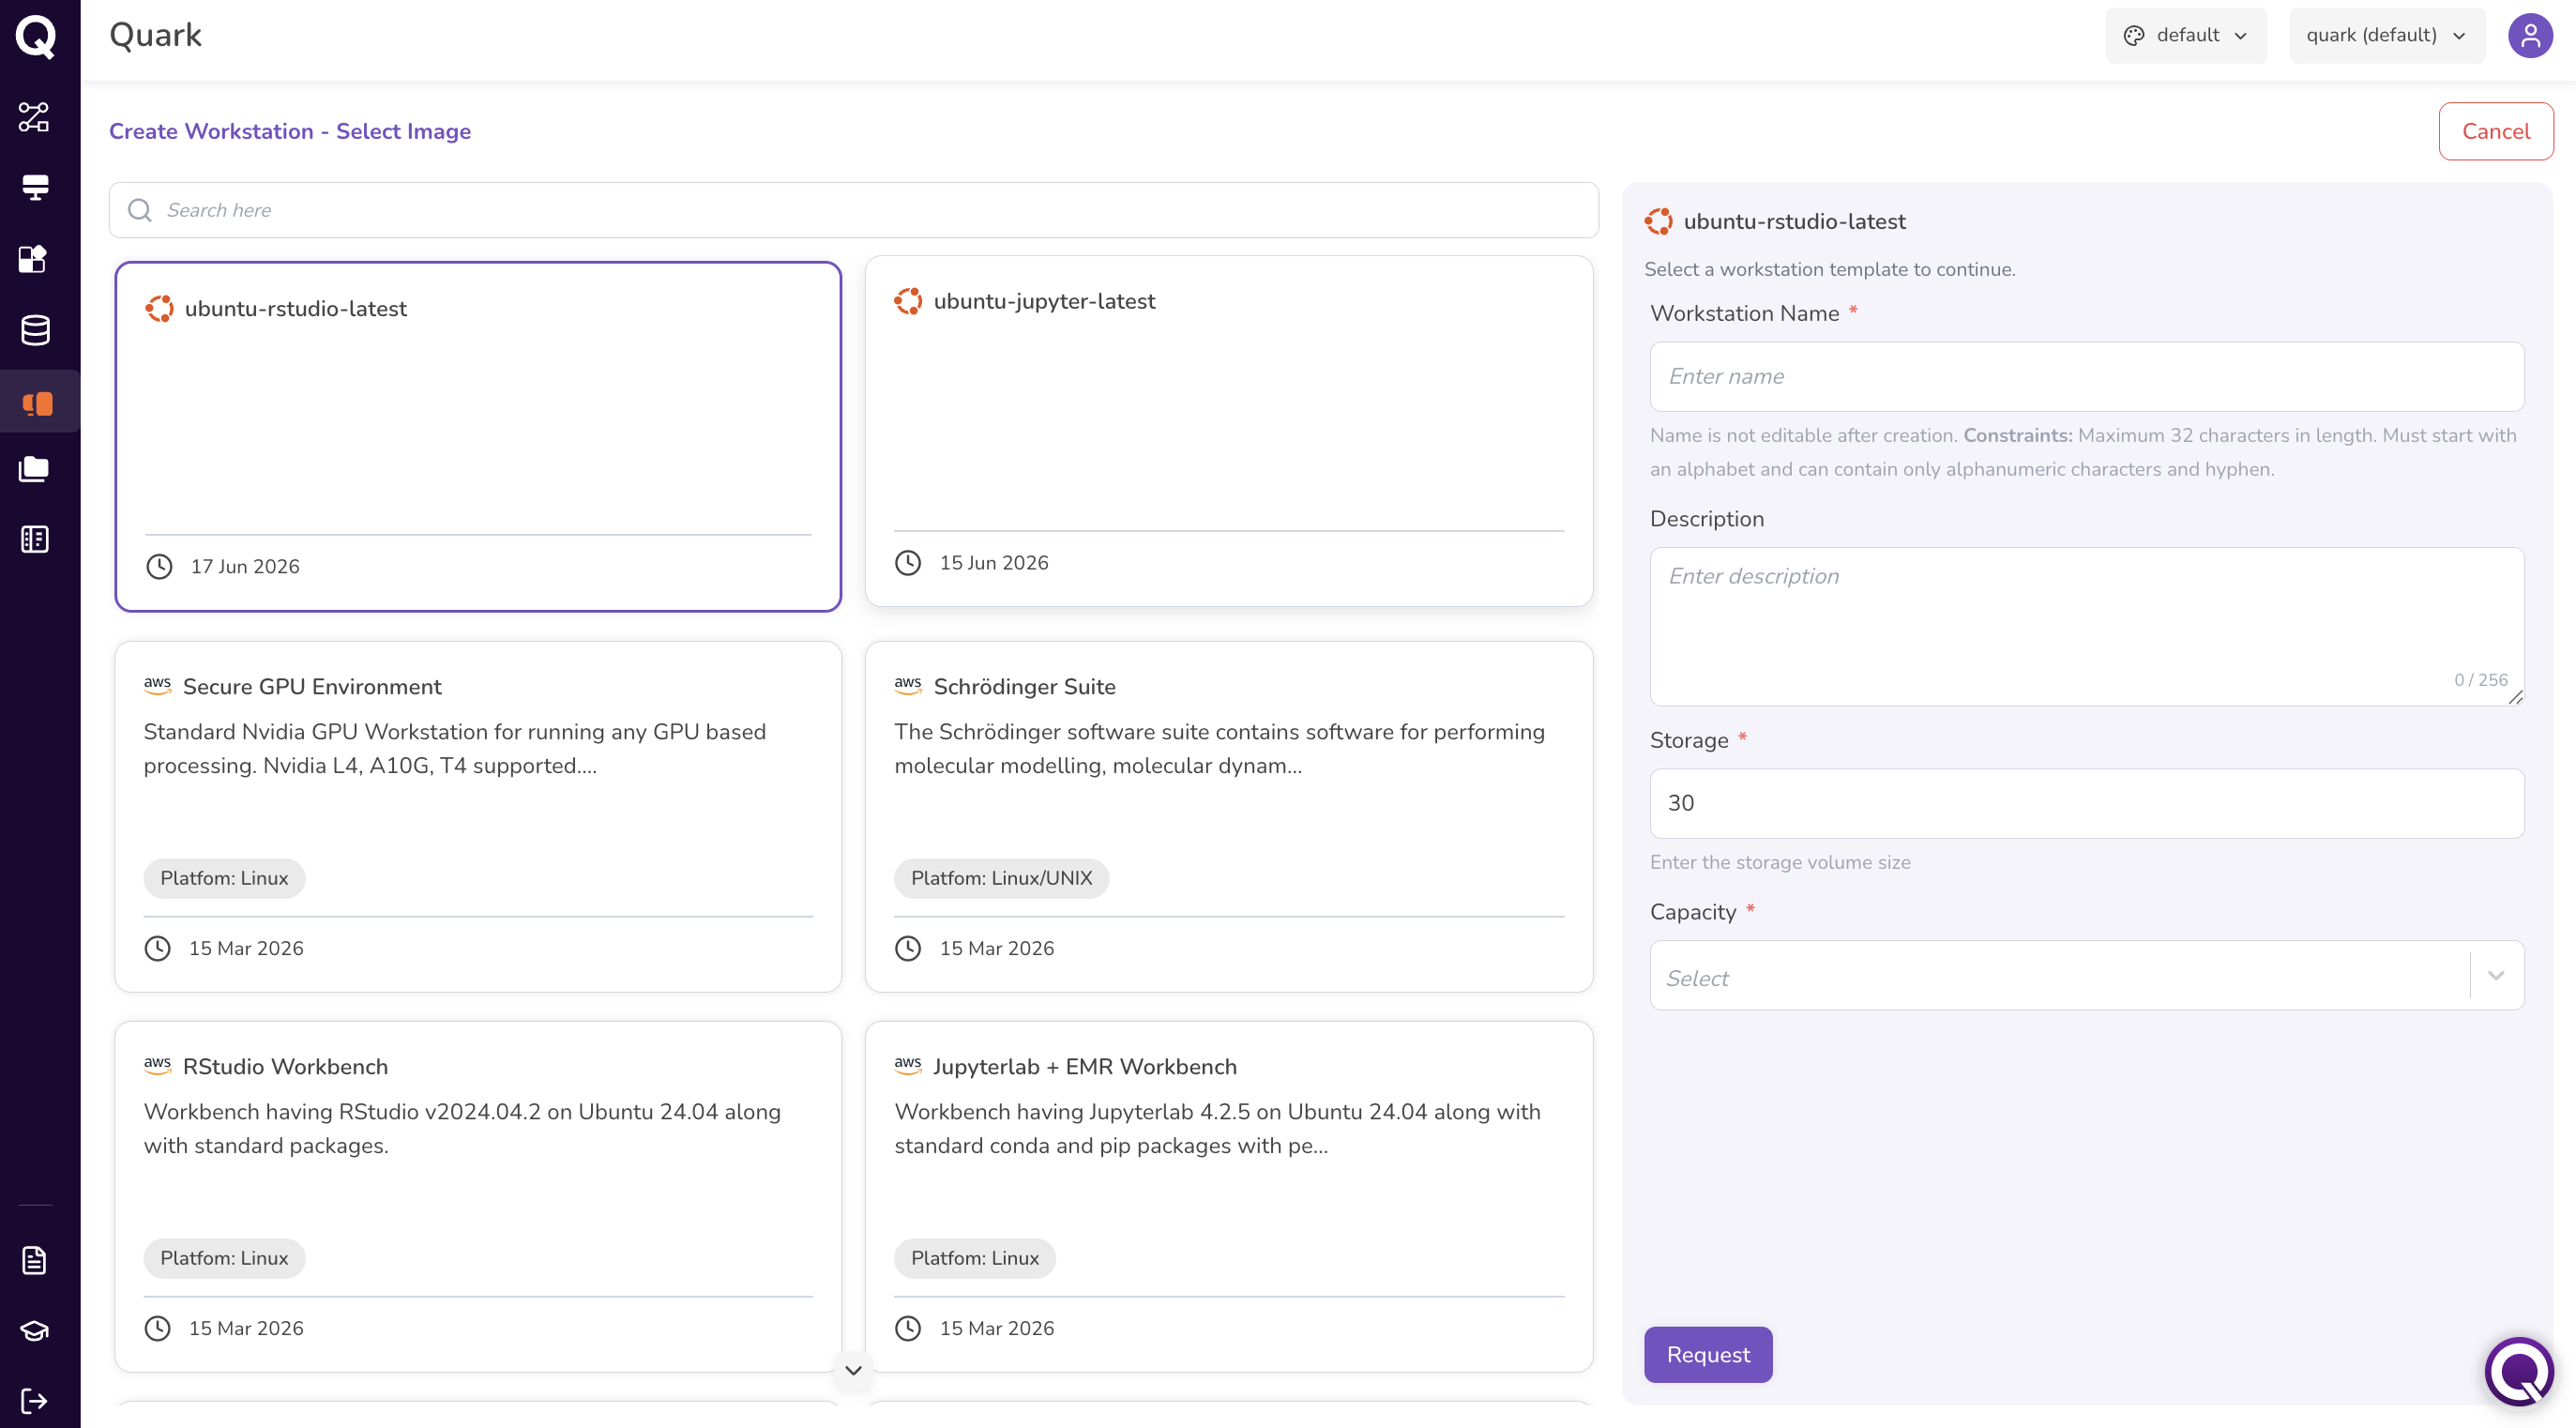
The screen Create Workstation — Select Image opens, displaying a gallery of available workstation templates.
-
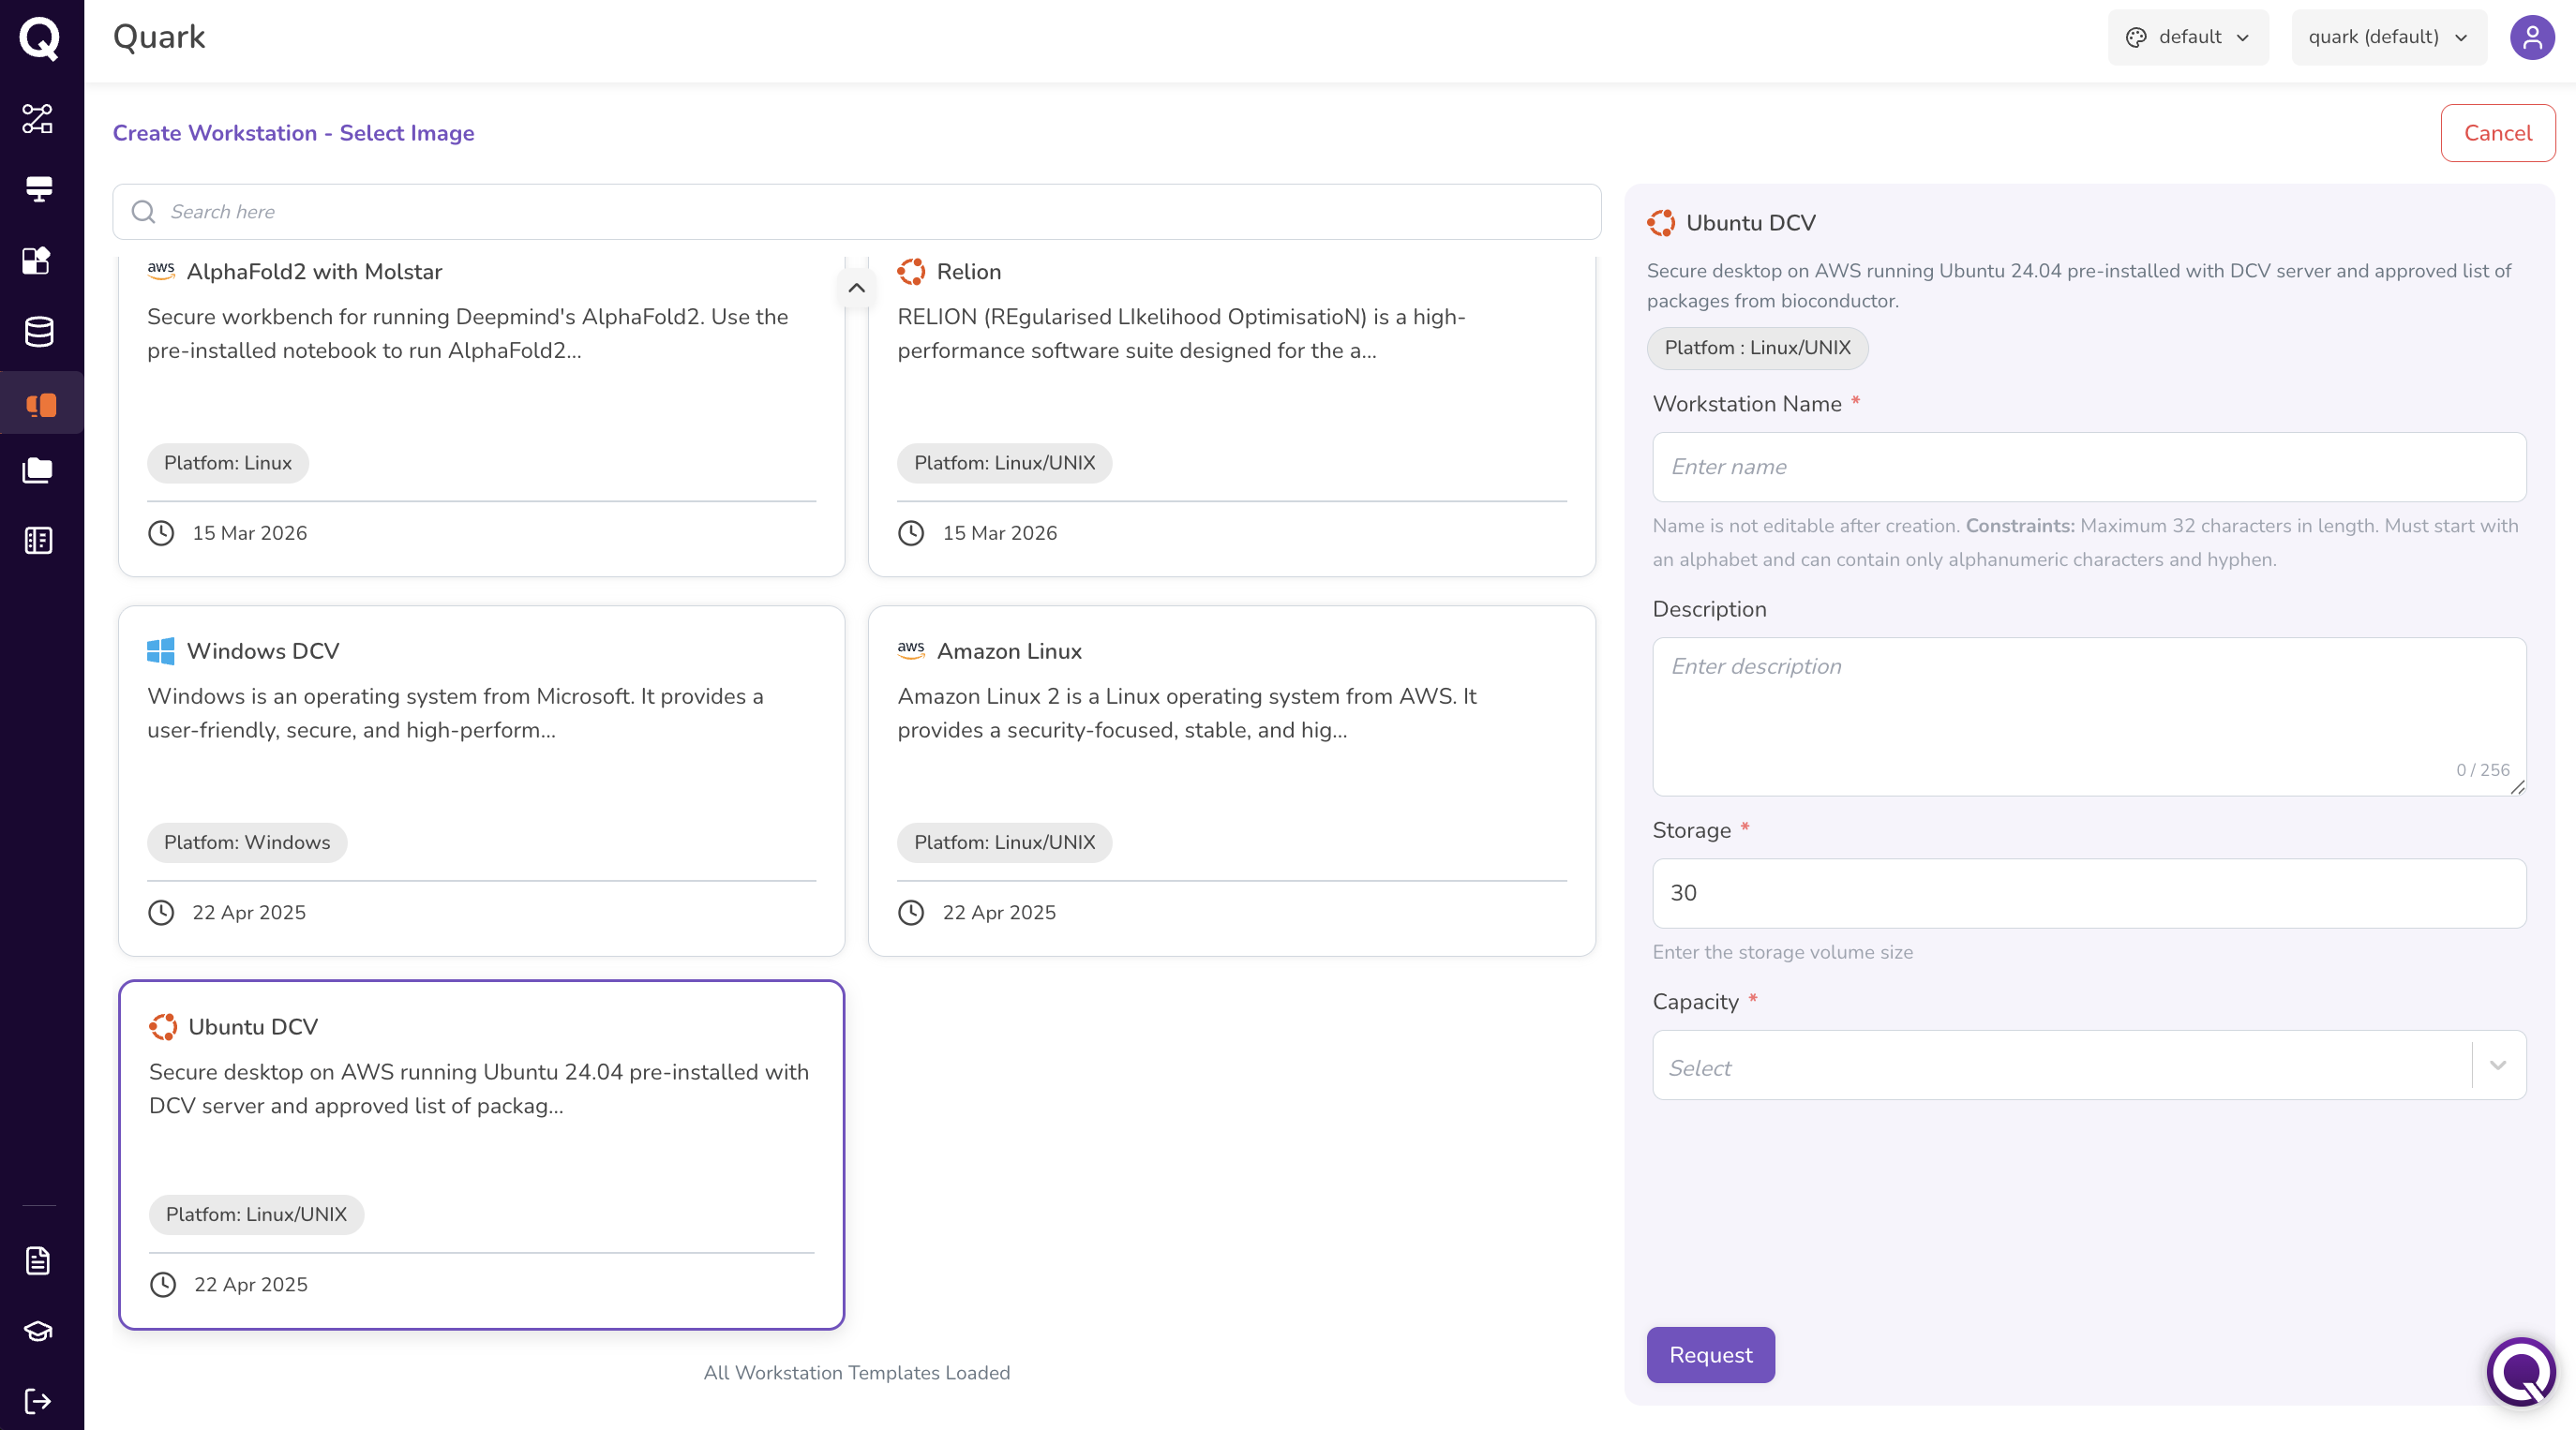
Select an Image - Browse the image gallery and click on the template that best suits your analytical requirements.
For example, available images may include:
Image Description ubuntu-jupyter Ubuntu workstation with pre-installed JupyterLab. ubuntu-dcv Secure Ubuntu desktop accessible via browser. The exact images available may vary, based on your project requirements. Use the search bar above the gallery to filter images by name.
-
Configuring the Workstation
When you select an image, a configuration panel appears on the right side of the screen. Fill in the following fields:
Field Description Constraints Workstation Name * A unique name for your workstation. Maximum 32 characters. Must start with a letter. Alphanumeric characters and hyphens only. Not editable after creation. Description A brief description of the workstation's intended purpose. Maximum 256 characters. Storage * The disk storage size in GB. Defaults to 30.Numeric value. Capacity * The compute capacity (instance type, memory, vCPUs, and hourly cost). Select from the available options in the dropdown (e.g., g5g.8xlarge \| 64 GiB \| 32Vcpus \| 1.372 $).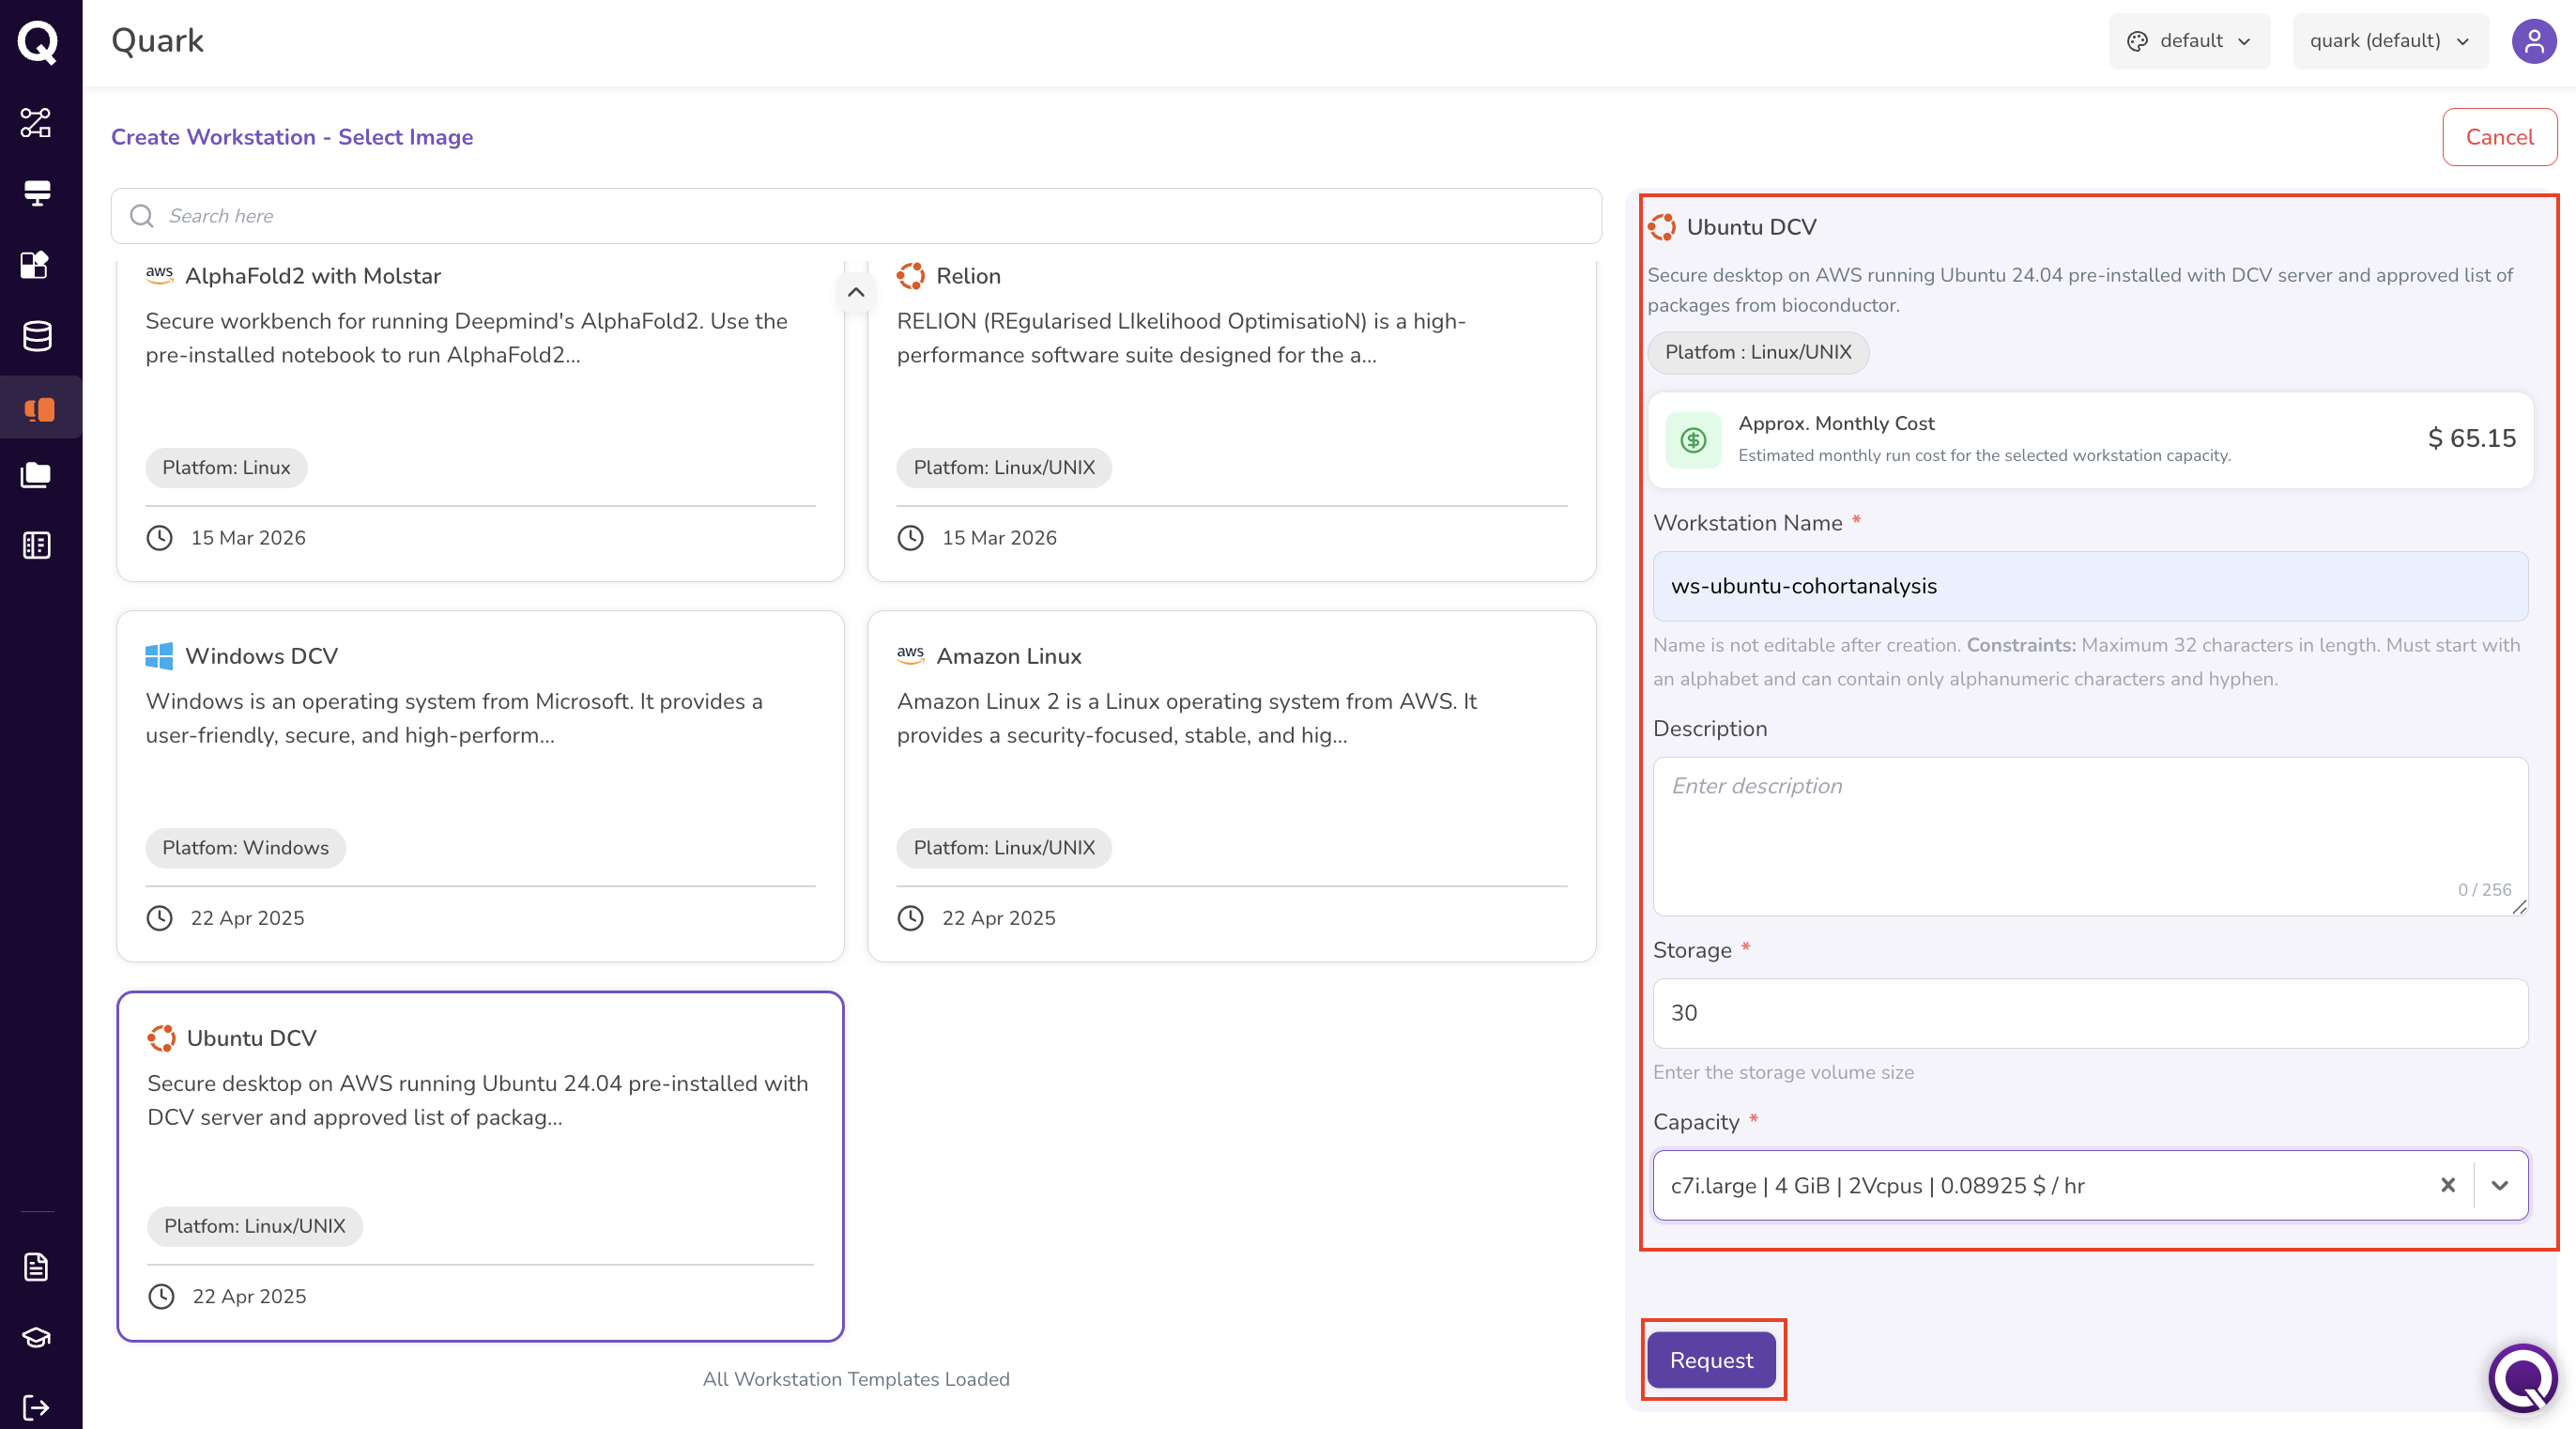
Once all fields are complete, click Request. The workstation appears in the Workstations page with a status of Pending Approval.
Note: Notify your Administrator if your request requires expedited review.
The Workstations Page
The Workstations screen lists all workstations you have requested or are currently using.
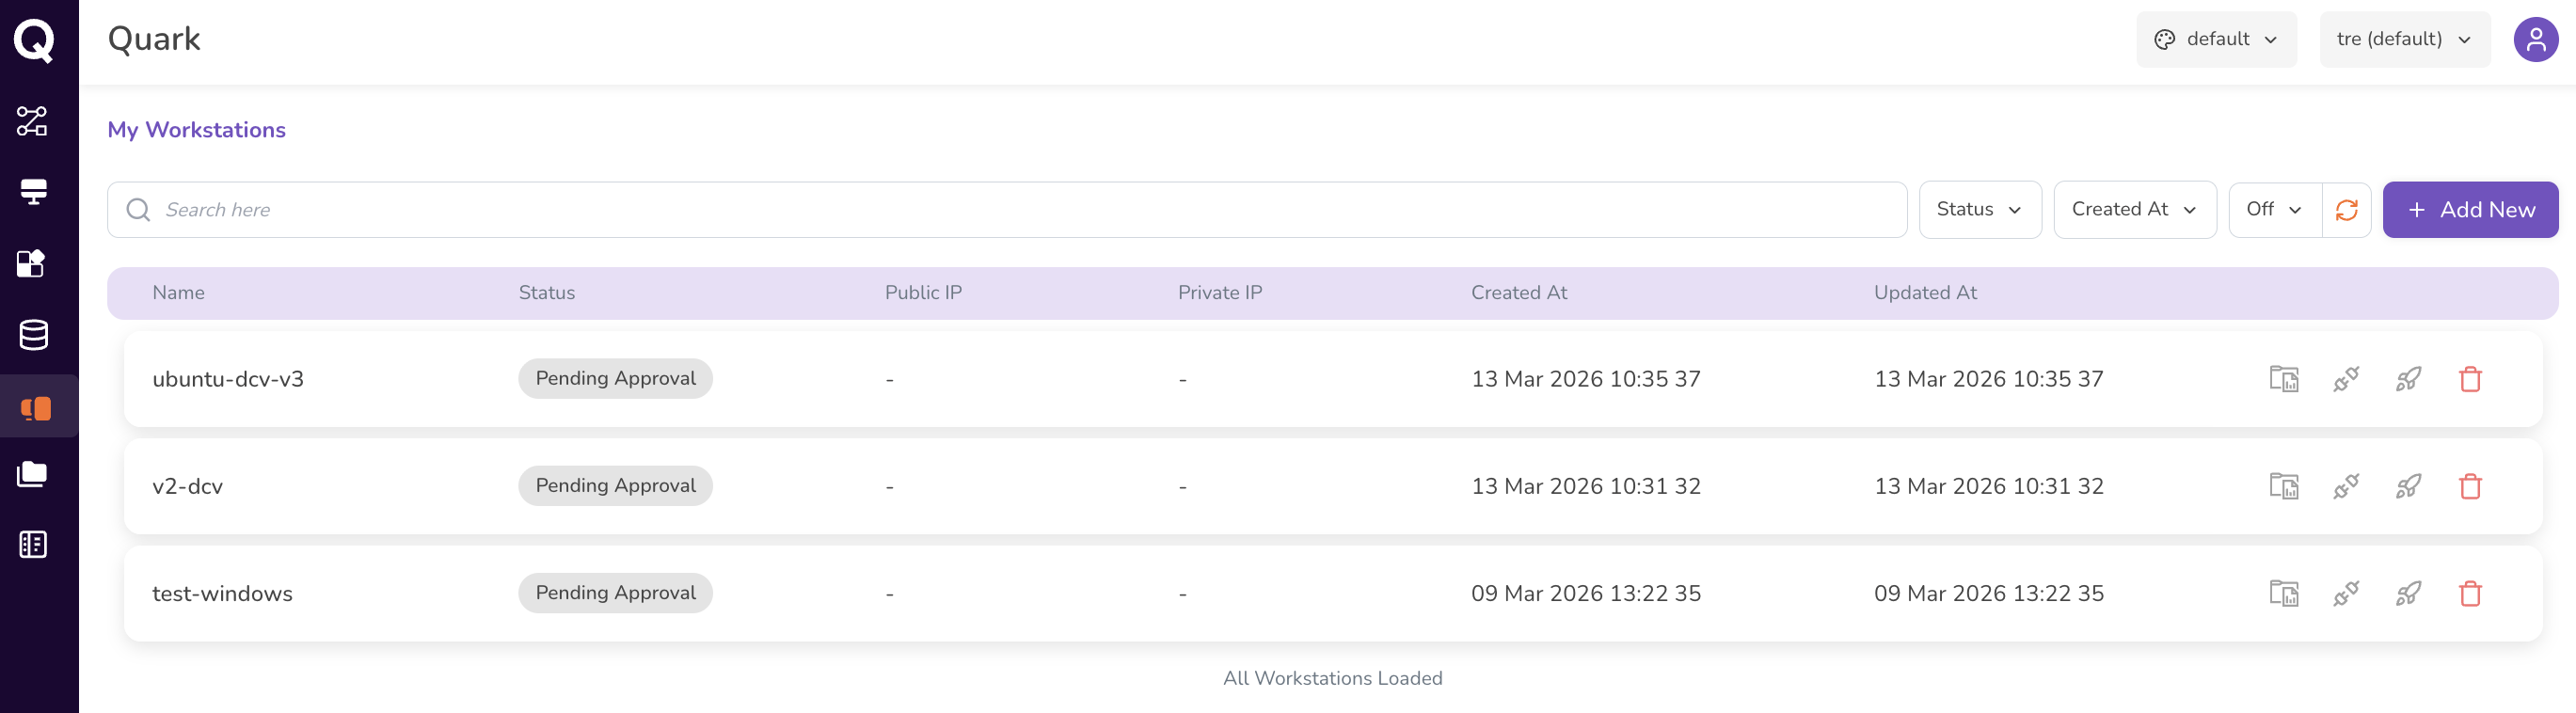
Each row shows:
| Column | Description |
|---|---|
| Name | The workstation's name as set at creation. |
| Status | The current state of the workstation (see Workstation Statuses below). |
| Public IP | The public IP address of the workstation, once provisioned. Displays - until the workstation is running. |
| Private IP | The private IP address within the platform's network. Displays - until provisioned. |
| Created At | When the workstation was created. |
| Updated At | When the workstation's status was last updated. |
Use the search bar to find a workstation by name. Use the Status and Created At filters to narrow the list.
Workstation Statuses
| Status | Description |
|---|---|
| Pending Approval | The workstation request has been submitted and is awaiting review by your DS Administrator. |
| Approved | The request has been approved. Click the Launch icon to begin provisioning. |
| Initializing | The workstation is being provisioned. Wait for the status to update to Running before connecting. |
| Running | The workstation is active and ready to connect to. |
| Stopped | The workstation has been stopped. Click Start to resume. |
Row Actions
The action icons available on each row change depending on the workstation's current status:

| Icon | Action | Available When |
|---|---|---|
| Connect Instructions | Opens an instruction card for connecting to your workstation. | Any status |
| Connect | Open the workstation in your browser. | Running |
| Launch (rocket) | Submit the workstation for provisioning after approval. | Approved |
| Start (▷) | Start a stopped workstation. | Stopped |
| Stop (□) | Stop an initialising or running workstation. | Initializing, Running |
| Delete | Permanently delete the workstation. | Any status |
Launching a Workstation
Once your Administrator approves your workstation request:
- Confirm the workstation status has updated to Approved.
- Click the Launch icon (rocket) in the workstation's row.
- The status updates to Initializing while the instance is being provisioned.
- Once the status updates to Running, the workstation is ready to use.
Connecting to a Workstation
Once the workstation is Running:
- Click on the workstation name to open its detail view.
-
On the Summary tab, locate the Network & Security section.
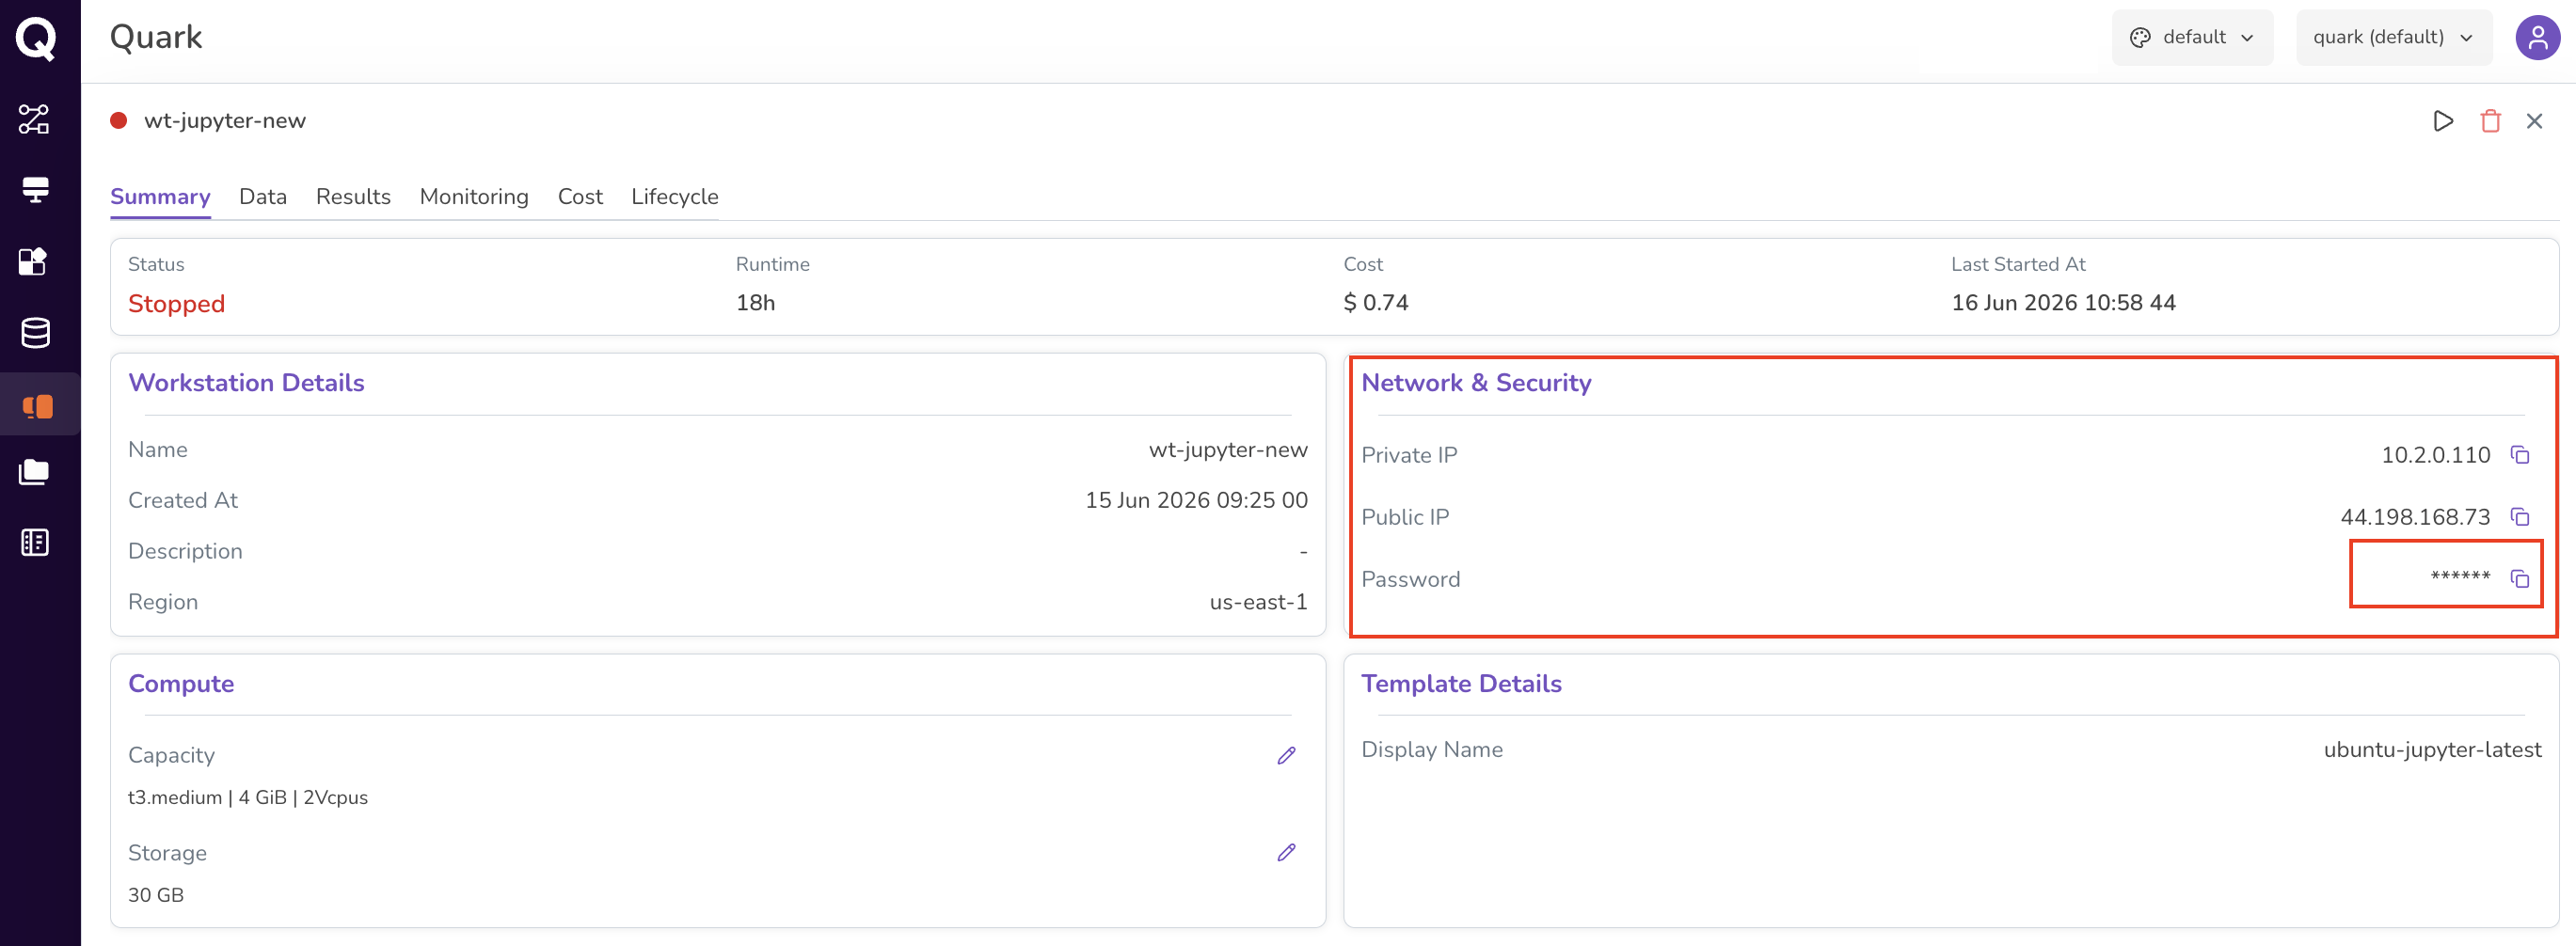
-
Copy the Password using the copy icon next to the masked value.
- Return to the workstations list page by closing this screen (click the small x at the top right-corner, next to the delete icon). Click the Connect icon on your workstation row.
- Enter the username —
ubuntufor Linux workstations — and paste the copied password. - Click Sign in. If prompted again, re-enter the password to complete the connection.
You will see the workstation's desktop environment open in your browser.
Starting and Stopping a Workstation
Stop your workstation when it is not actively in use to avoid accruing unnecessary costs. Start it again when you are ready to resume work.
- Stop — Click the Stop icon from the workstation list or use the header controls in the detail view.
- Start — Click the Start (▷) icon from the workstation list.
Stopping a workstation preserves your data and configuration — it does not delete the instance.
What's Next
- Downloading Analysis Results — upload input files and request downloads of your analysis outputs.
- Managing Workstation Resources — adjust compute capacity, monitor cost, and schedule automated start/stop times.
- Tutorial - Running Cohort Queries from Workstations — query cohort data from within a running workstation.