Requests
Overview
The Requests section is where the DS Administrator reviews and actions requests submitted by users. Requests are generated when a user asks for something that requires administrator approval — most commonly cohort access, but also data downloads, data uploads, and workstation provisioning.
Managing requests promptly is essential to keeping researchers unblocked and ensuring that data access is controlled and auditable.
Requests is organised into two tabs: Requests (the active queue awaiting your review) and Archive (a permanent record of resolved decisions).
Navigation: Select Requests from the left-hand navigation pane.
The Requests List
The Requests tab displays all open requests awaiting review, in reverse chronological order.
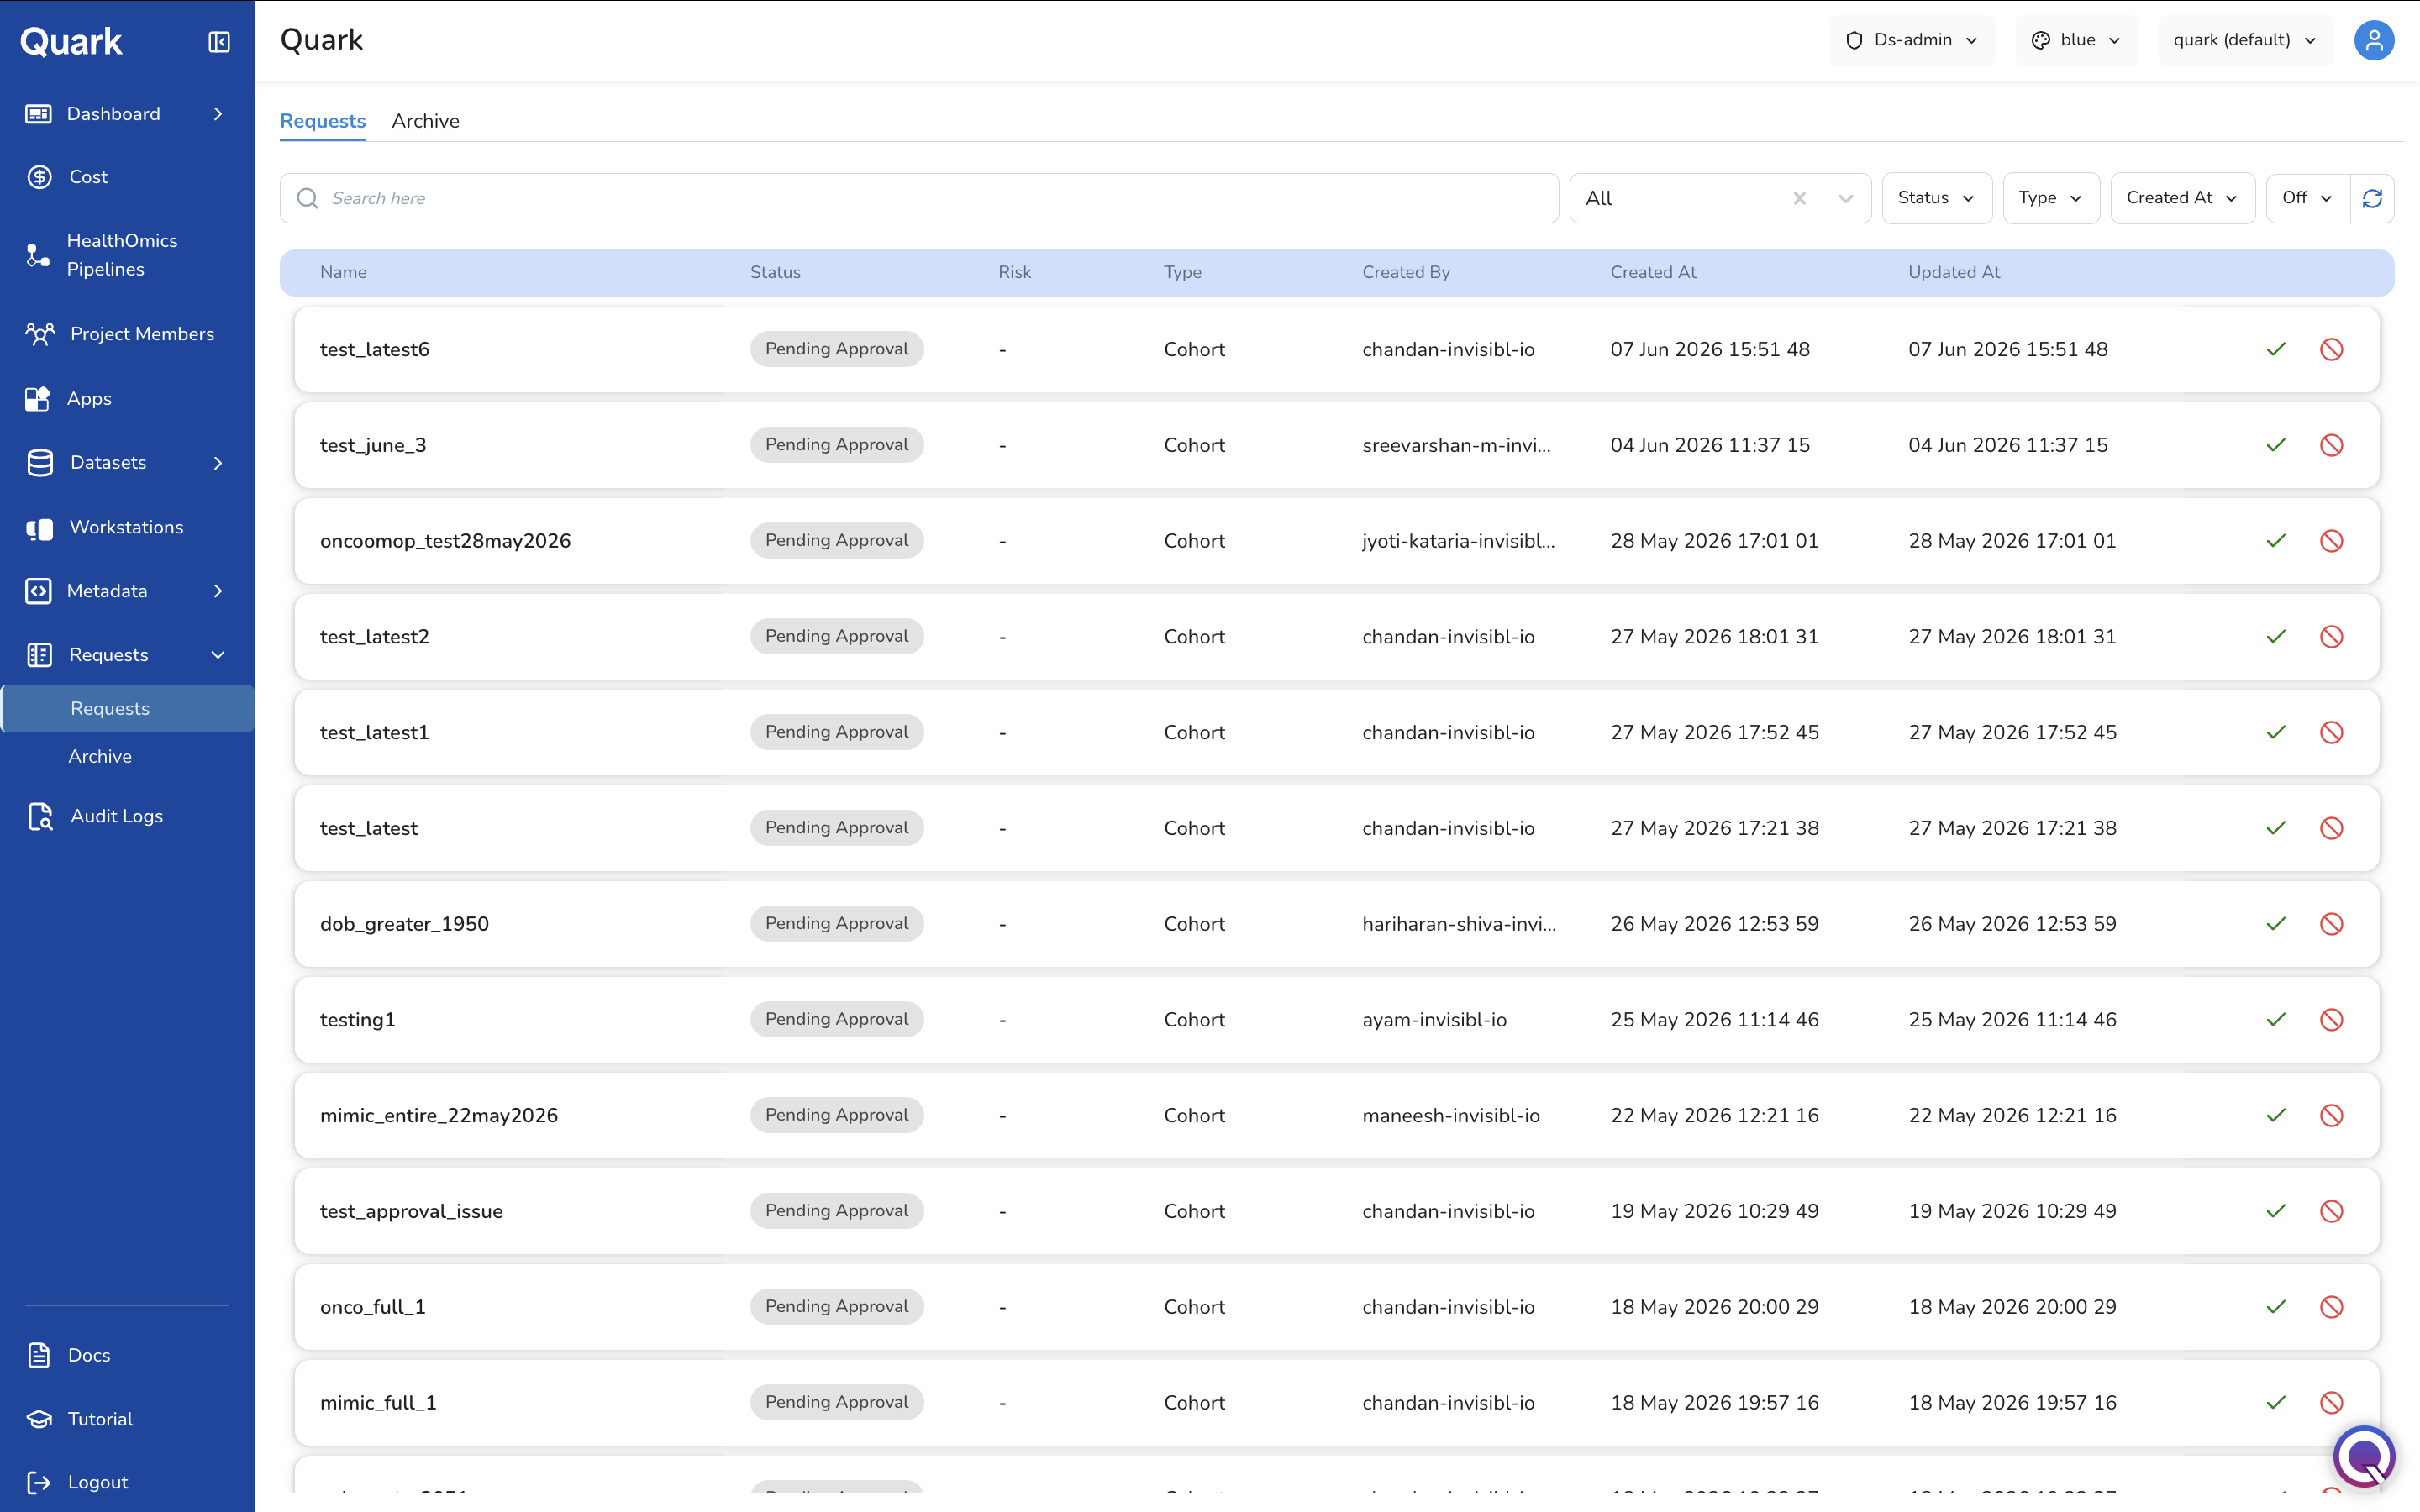
For each request, the list shows:
| Column | Description |
|---|---|
| Name | The name of the request — e.g., the cohort name for a cohort access request. |
| Status | The current state of the request, e.g., Pending Approval. |
| Risk | An assessed risk level for the request, where applicable. Displays - if not assessed. |
| Type | The category of request, e.g., Cohort. |
| Created By | The user who submitted the request. |
| Created At | When the request was submitted. |
| Updated At | When the request was most recently updated. |
The footer confirms when All Requests Loaded.
Filtering Requests
Use the search bar to find a request by name, and the Status, Type, and Created At filters to narrow the queue to what needs your attention. Click the refresh icon to load the latest requests.
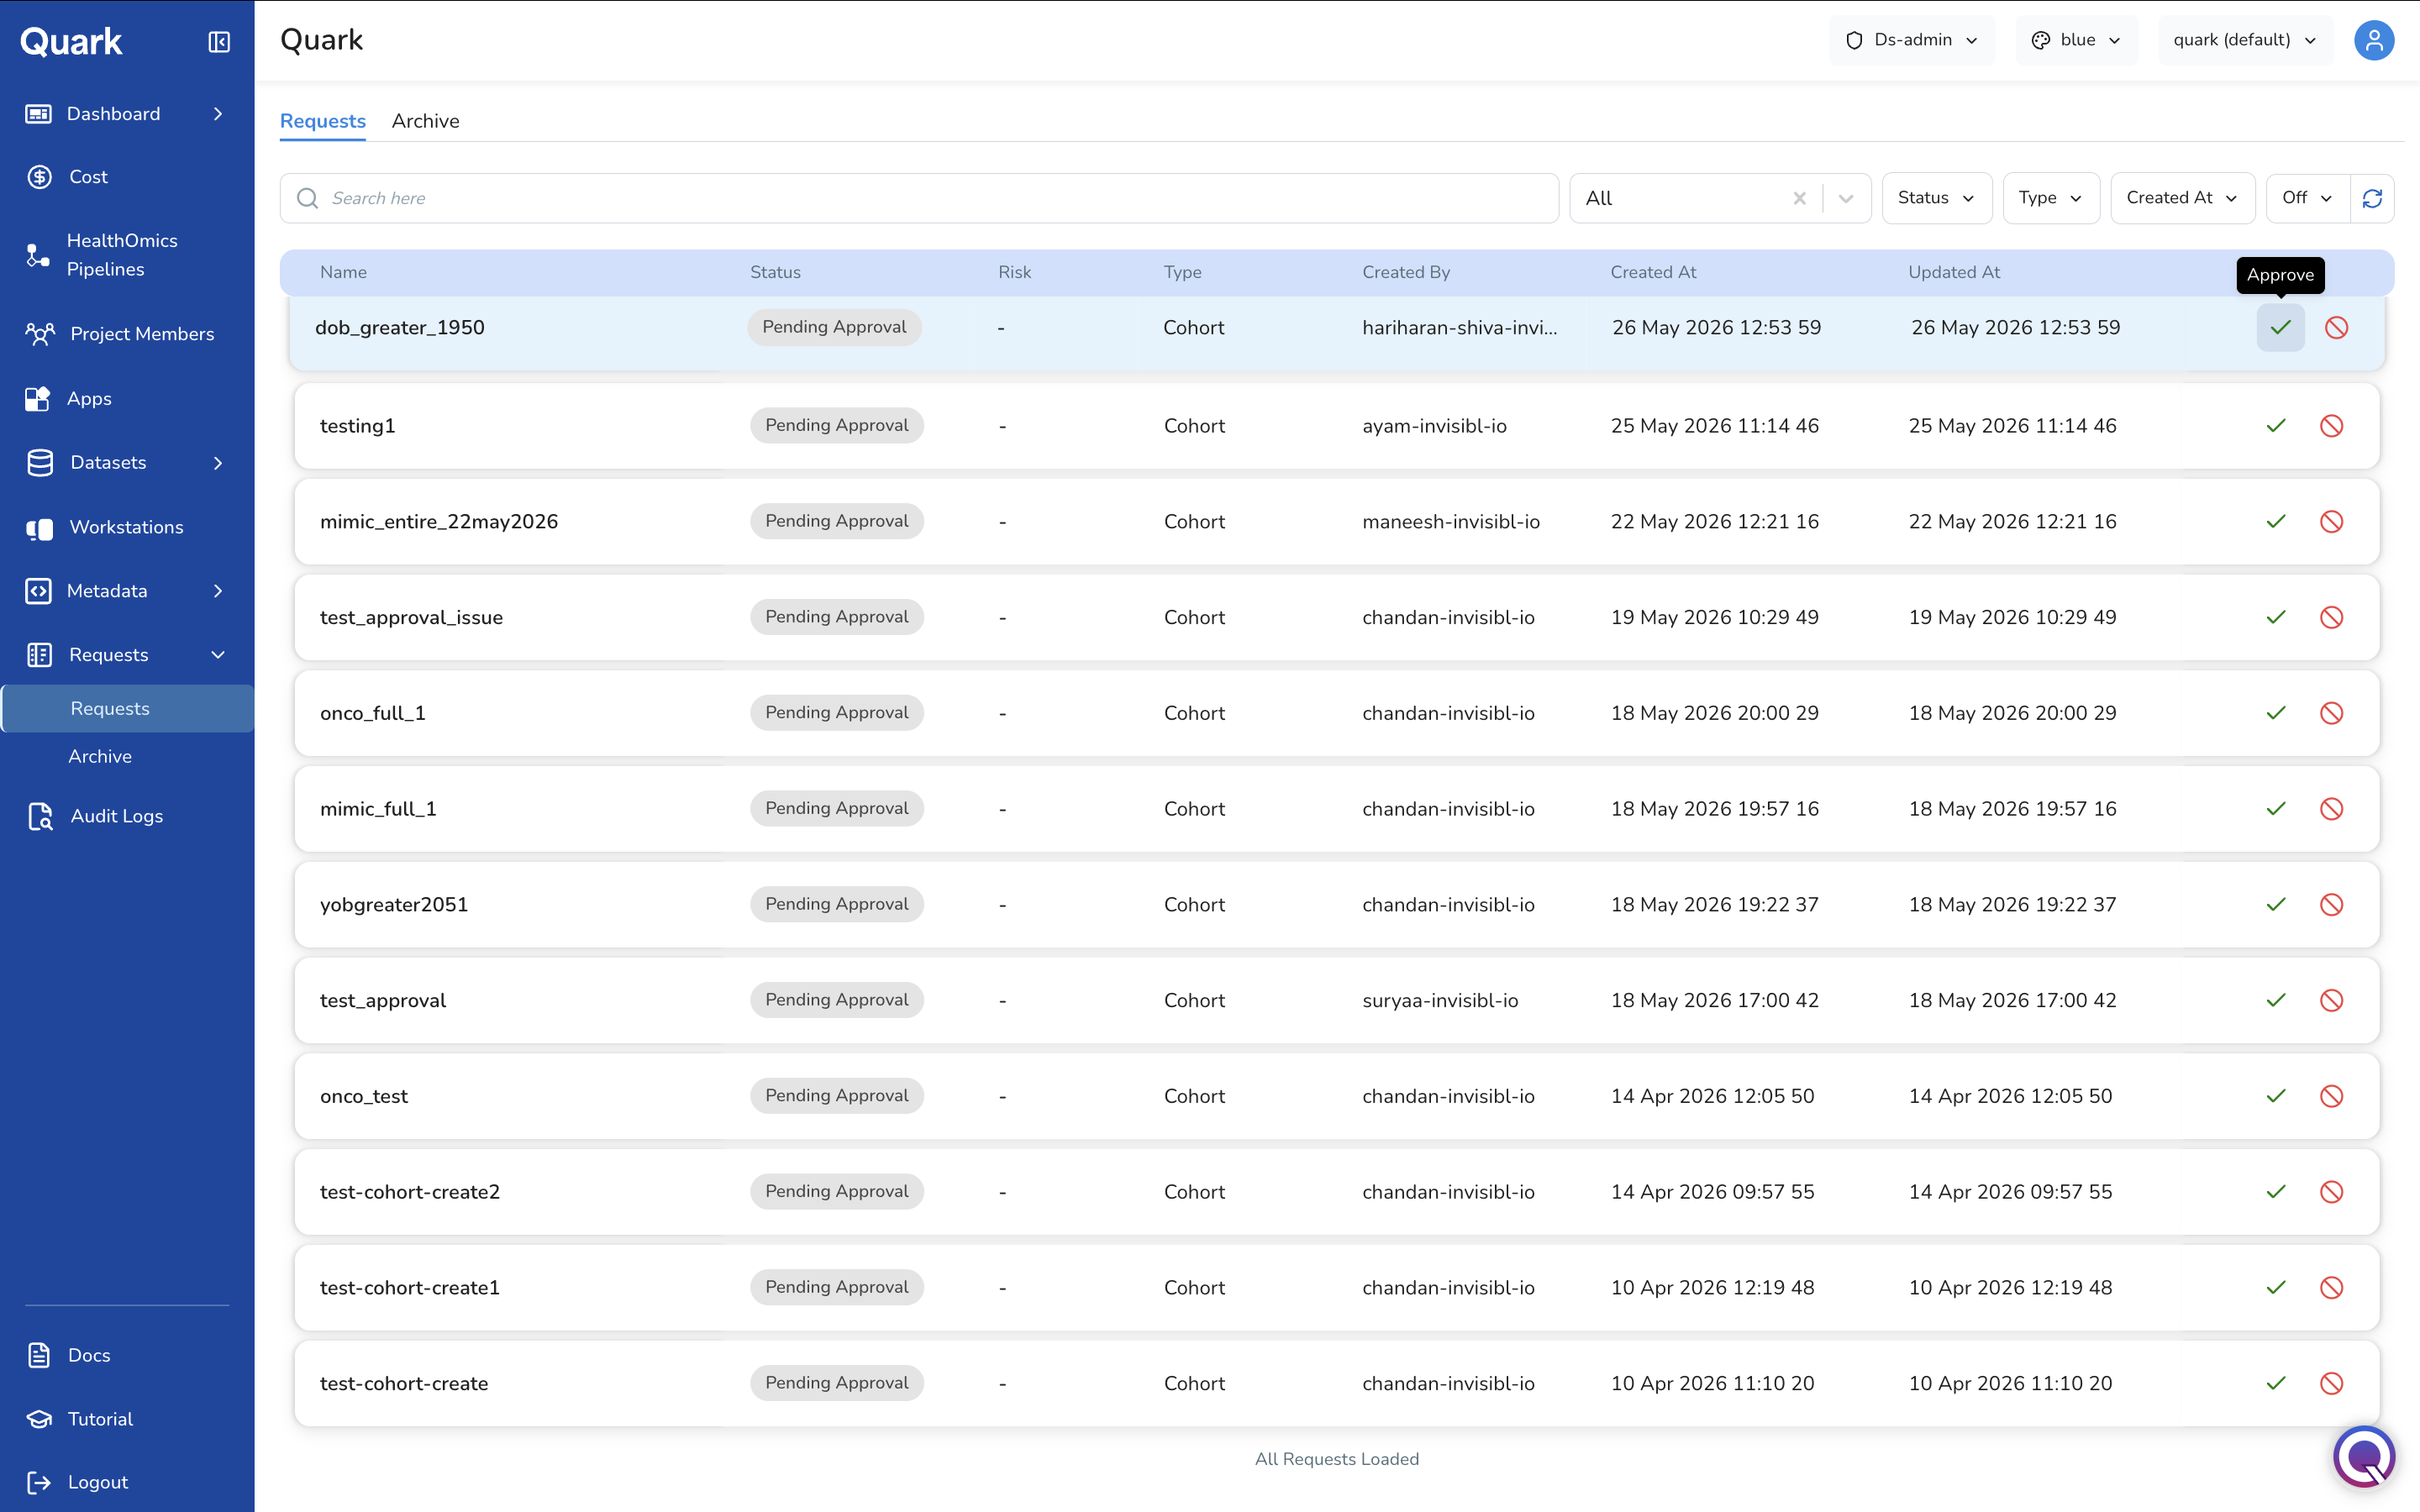
Approving or Rejecting a Request
Each row in the Requests tab has two action icons for actioning the request directly from the queue — no need to open the detail view first.
| Icon | Action |
|---|---|
| ✓ (green checkmark) | Approve the request. |
| 🚫 (red no-entry) | Reject the request. |
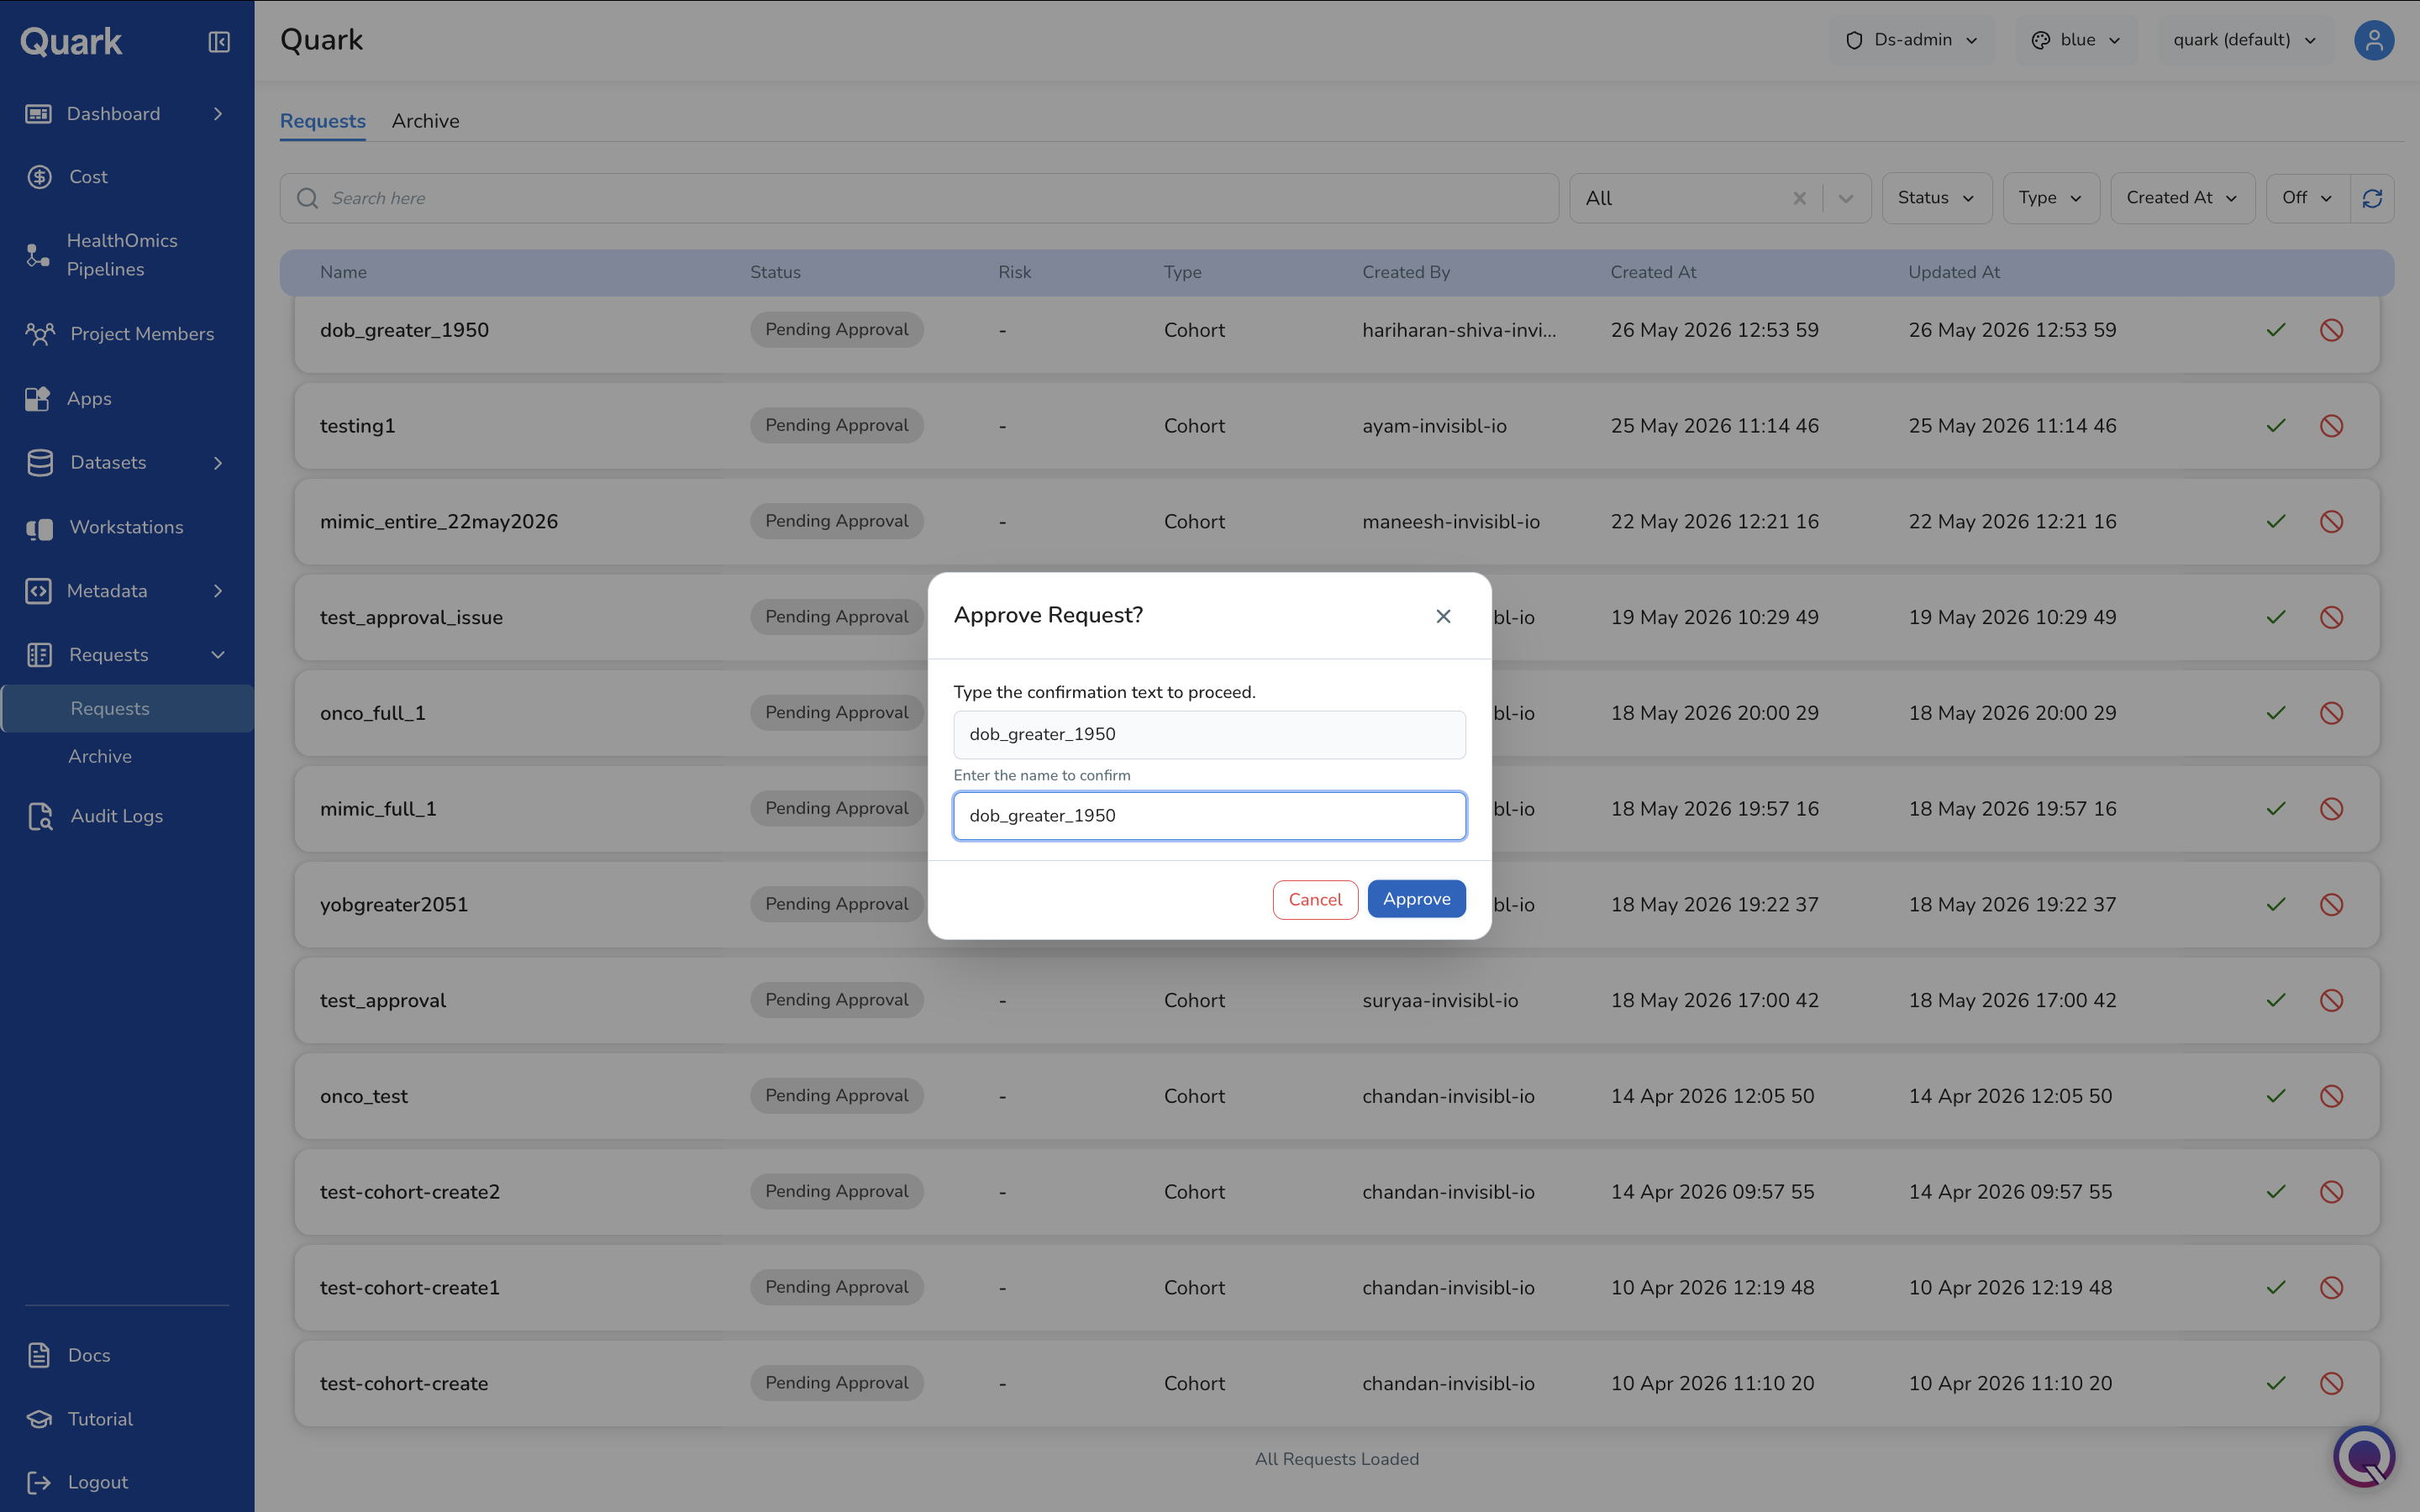
Clicking either icon opens a confirmation dialog. To prevent accidental approvals or rejections, you must type the request's name to confirm before the action is finalised.
Approving
- Click the green checkmark on the request you want to approve.
- In the Approve Request? dialog, type the request's name exactly as shown to confirm.
- Click Approve. Once approved, the request moves to the Archive tab with a status of Approved, and the user gains access to the requested resource.
Rejecting
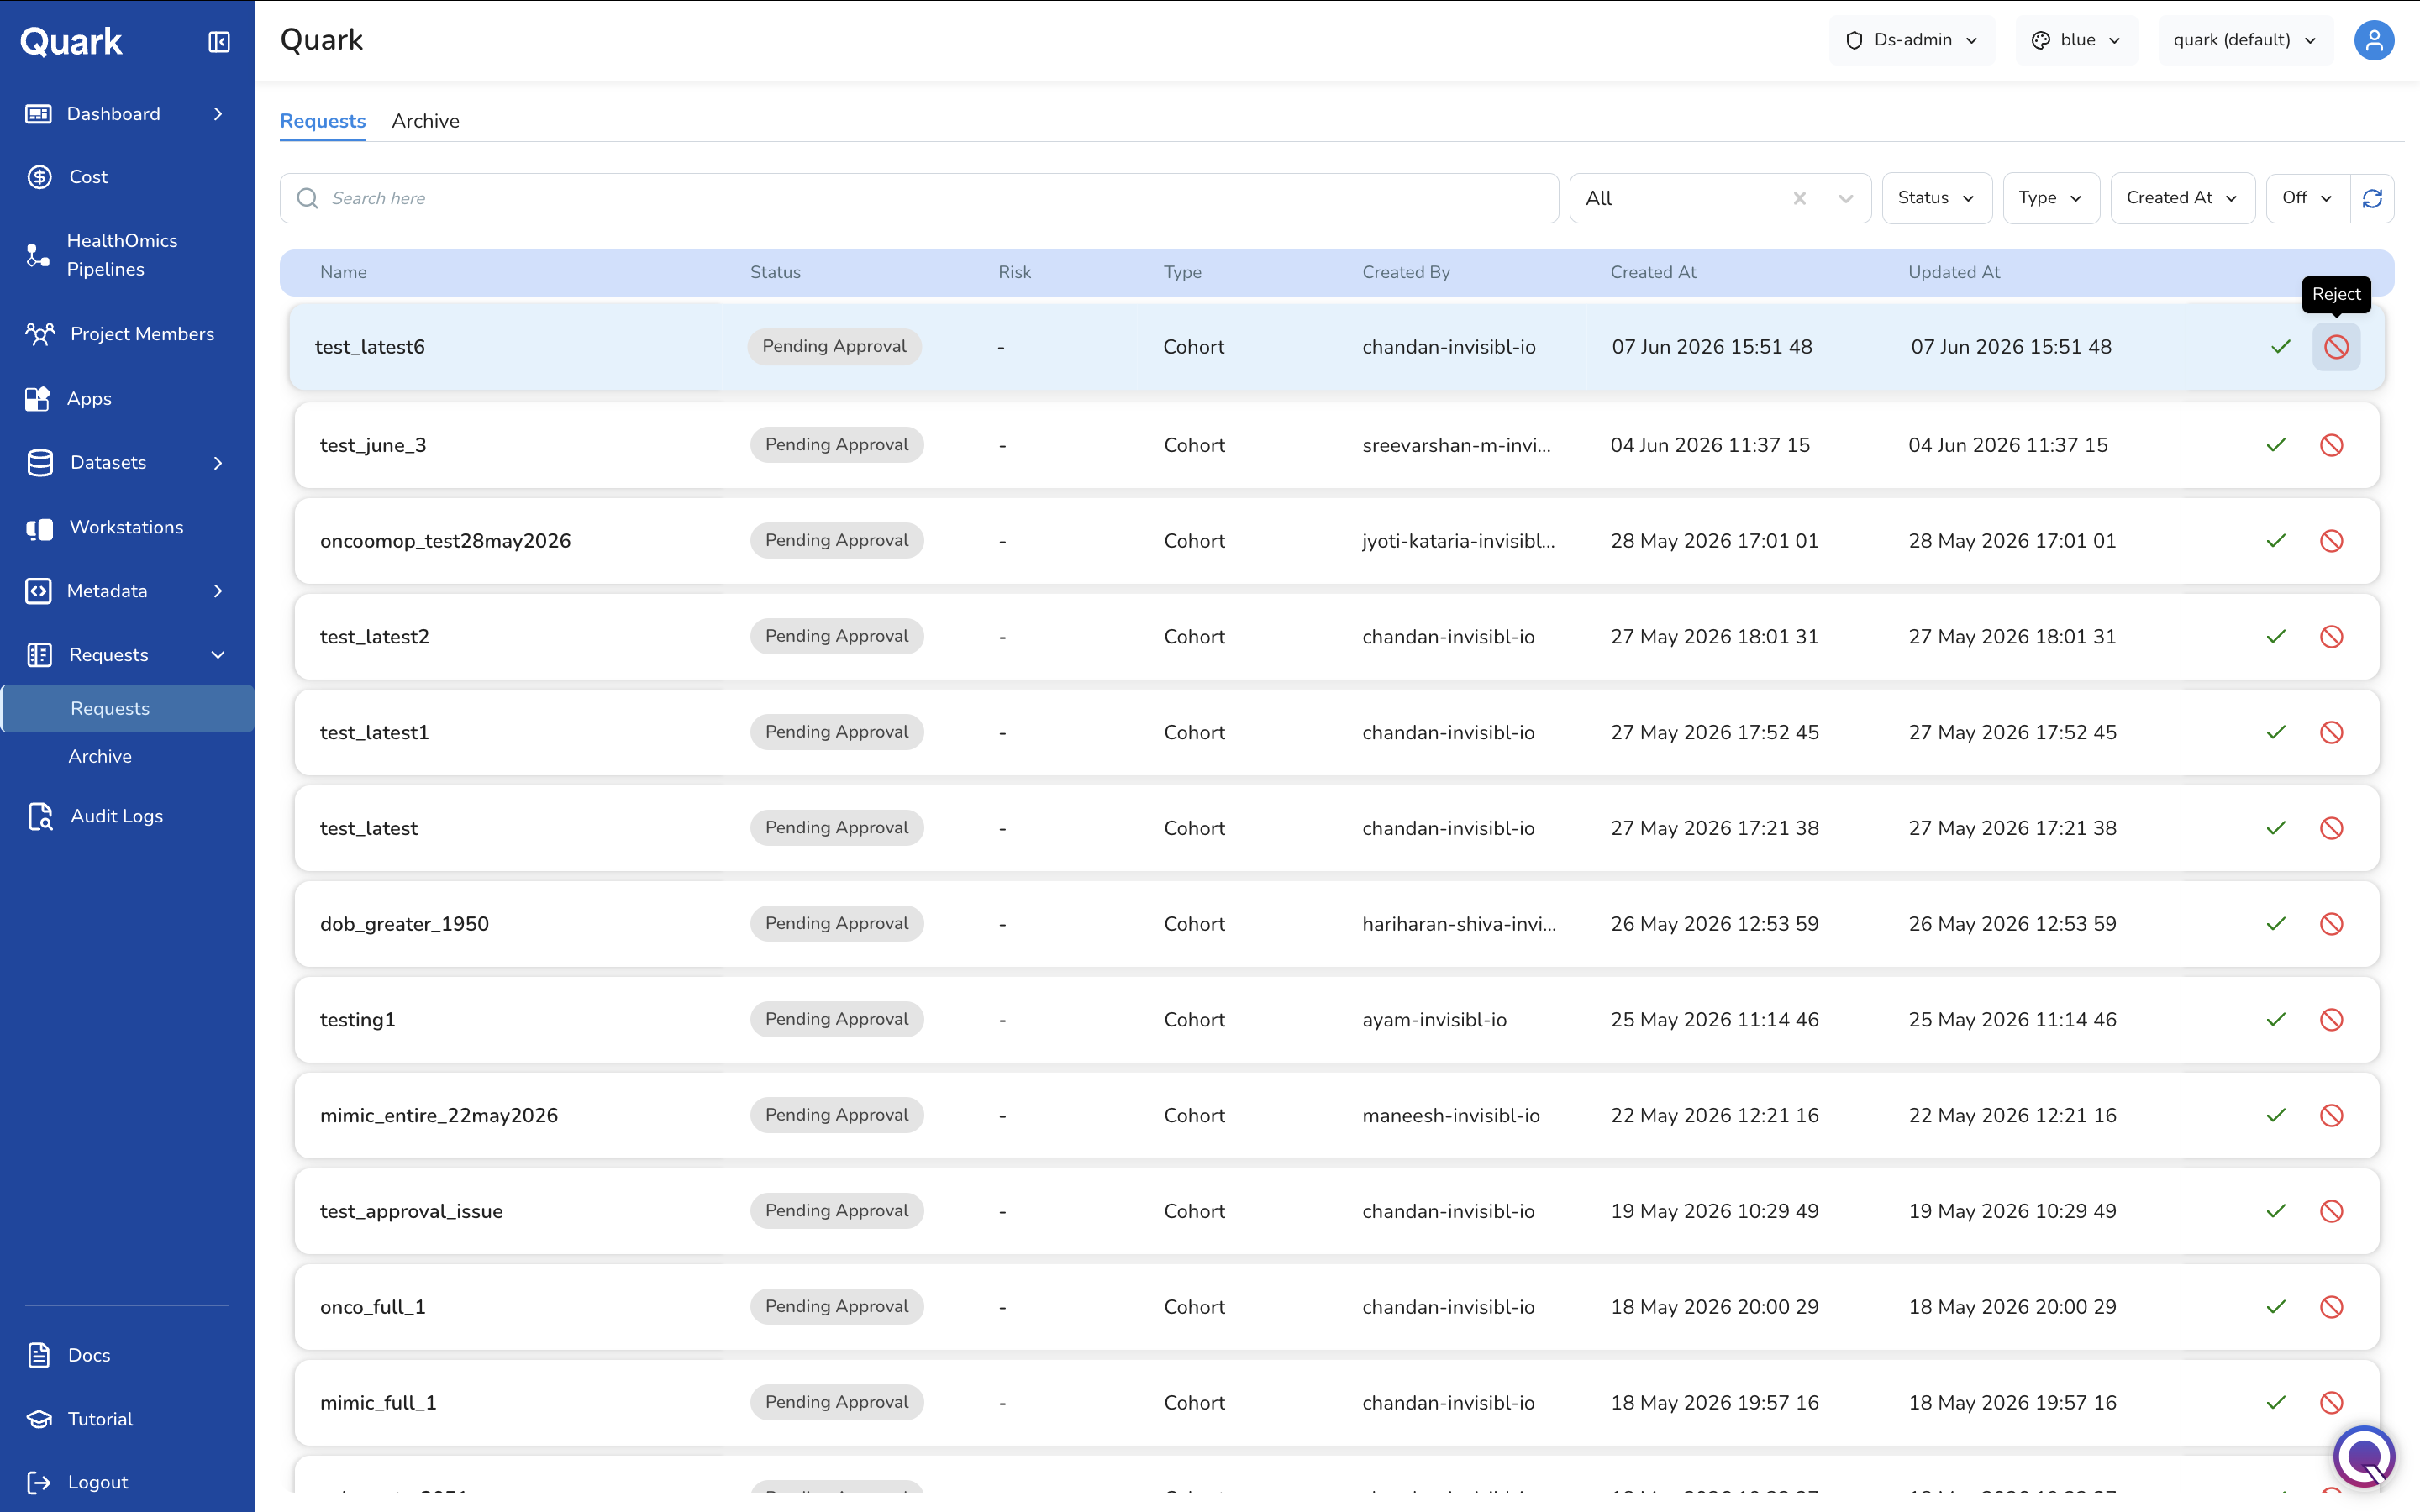
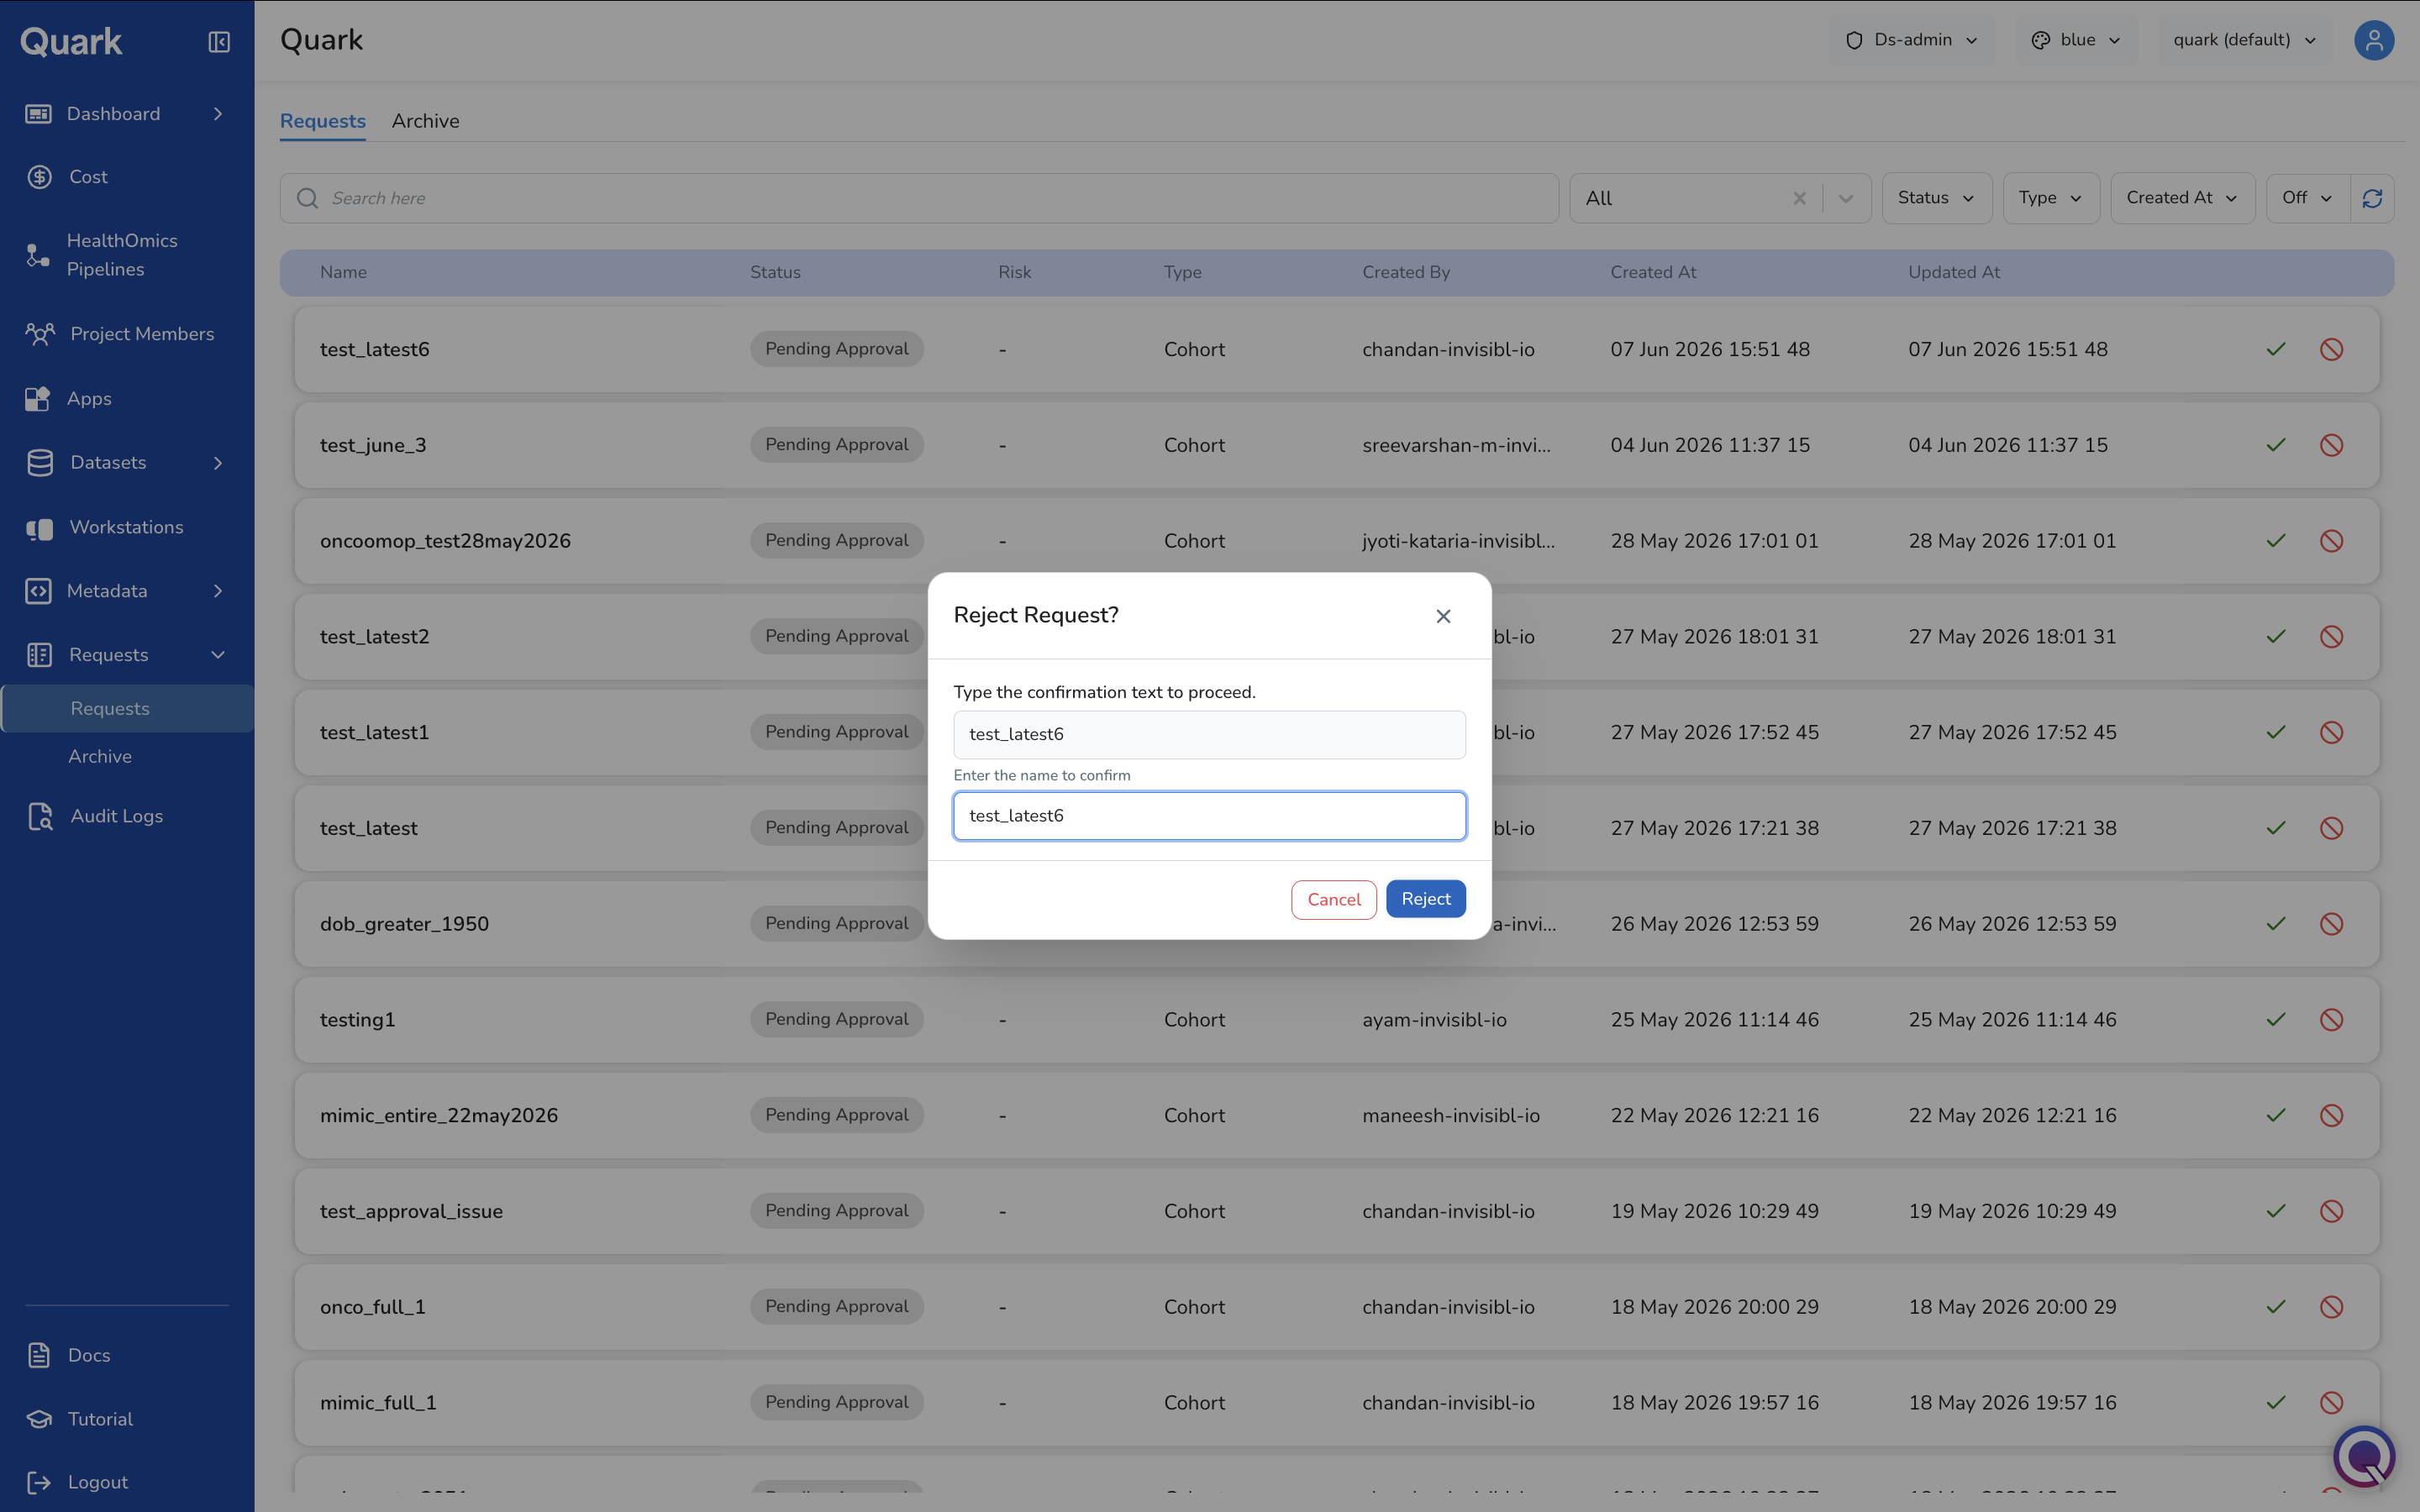
- Click the red no-entry icon on the request you want to reject.
- In the Reject Request? dialog, type the request's name exactly as shown to confirm.
- Click Reject. Once rejected, the request moves to the Archive tab with a status of Denied.
Tip: Because both actions require typing the exact request name, take a moment to confirm you have the correct row selected — particularly in queues with many similarly-named cohort requests.
Reviewing a Request in Detail
Click anywhere on a request row (other than the action icons) to open its detail panel.
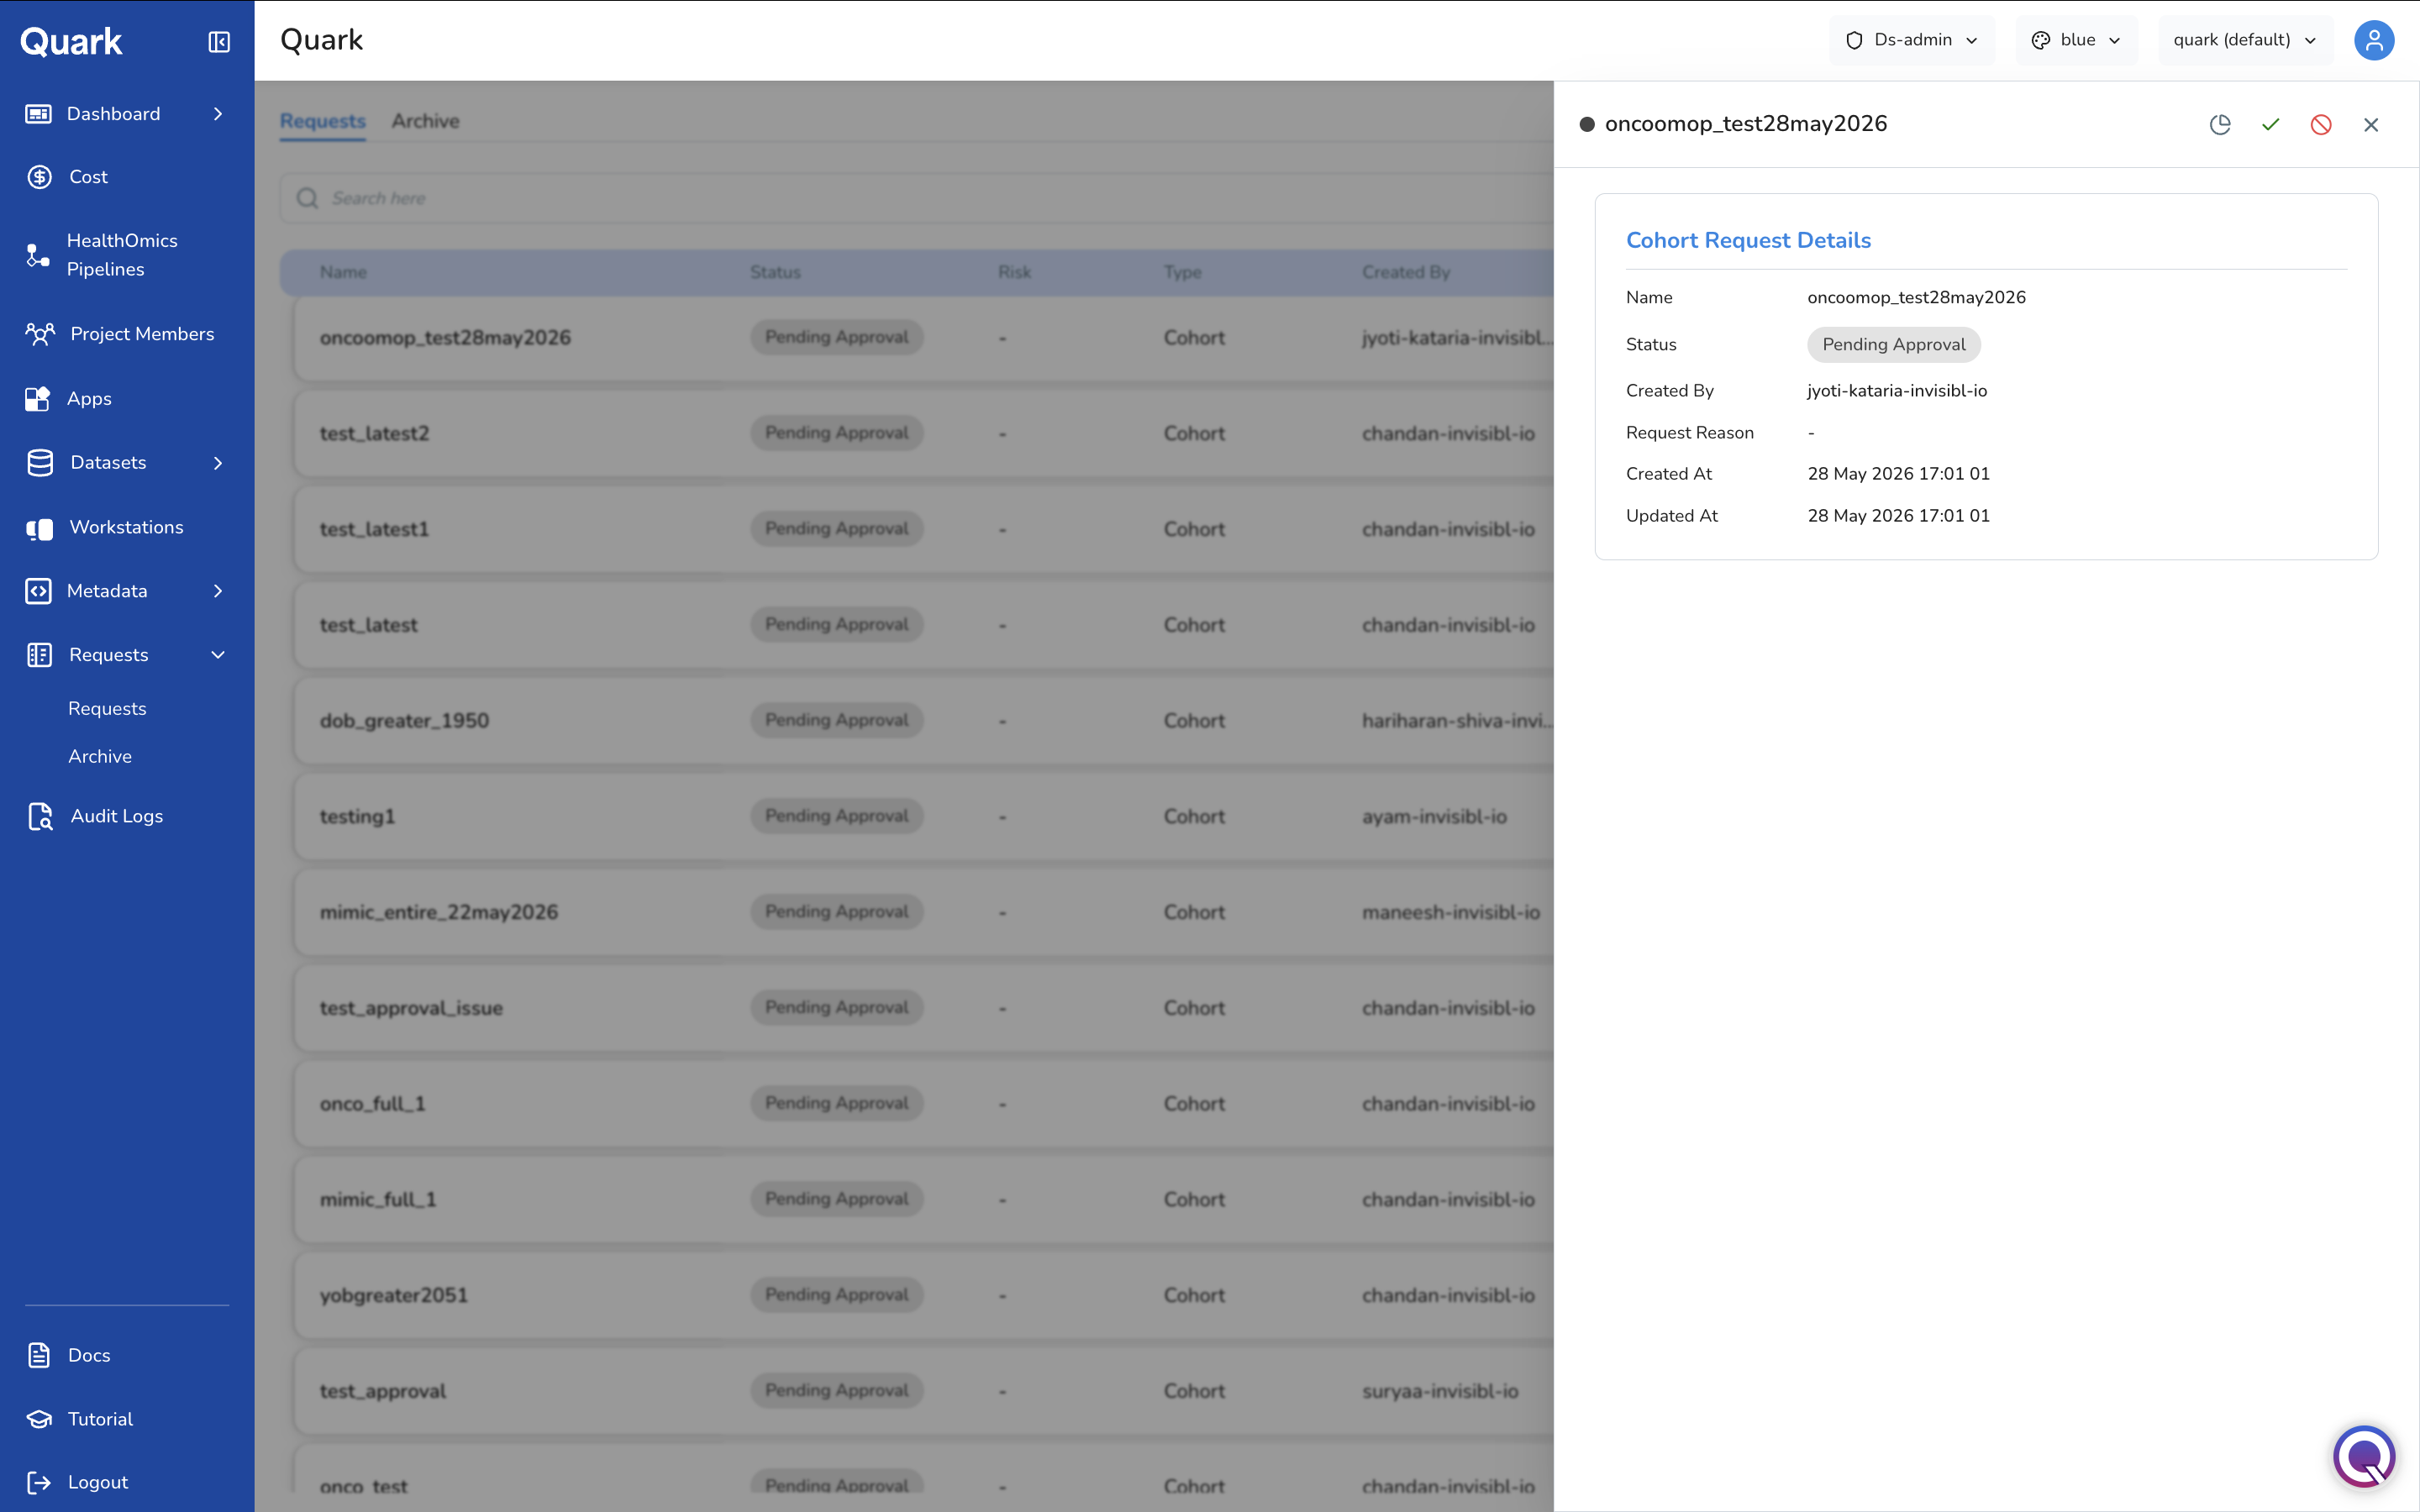
The detail panel shows:
| Field | Description |
|---|---|
| Name | The name of the request. |
| Status | The current state of the request. |
| Created By | The user who submitted the request. |
| Request Reason | Any supporting context provided by the user. Displays - if none was given. |
| Created At | When the request was submitted. |
| Updated At | When the request was most recently updated. |
The panel header also provides quick-access icons to view aggregate statistics for the requested resource, approve, or reject the request — these trigger the same confirmation dialogs described above. Use the close icon to return to the list.
Archive Tab
The Archive tab holds every resolved request — approved or rejected — providing a permanent record of administrative decisions.
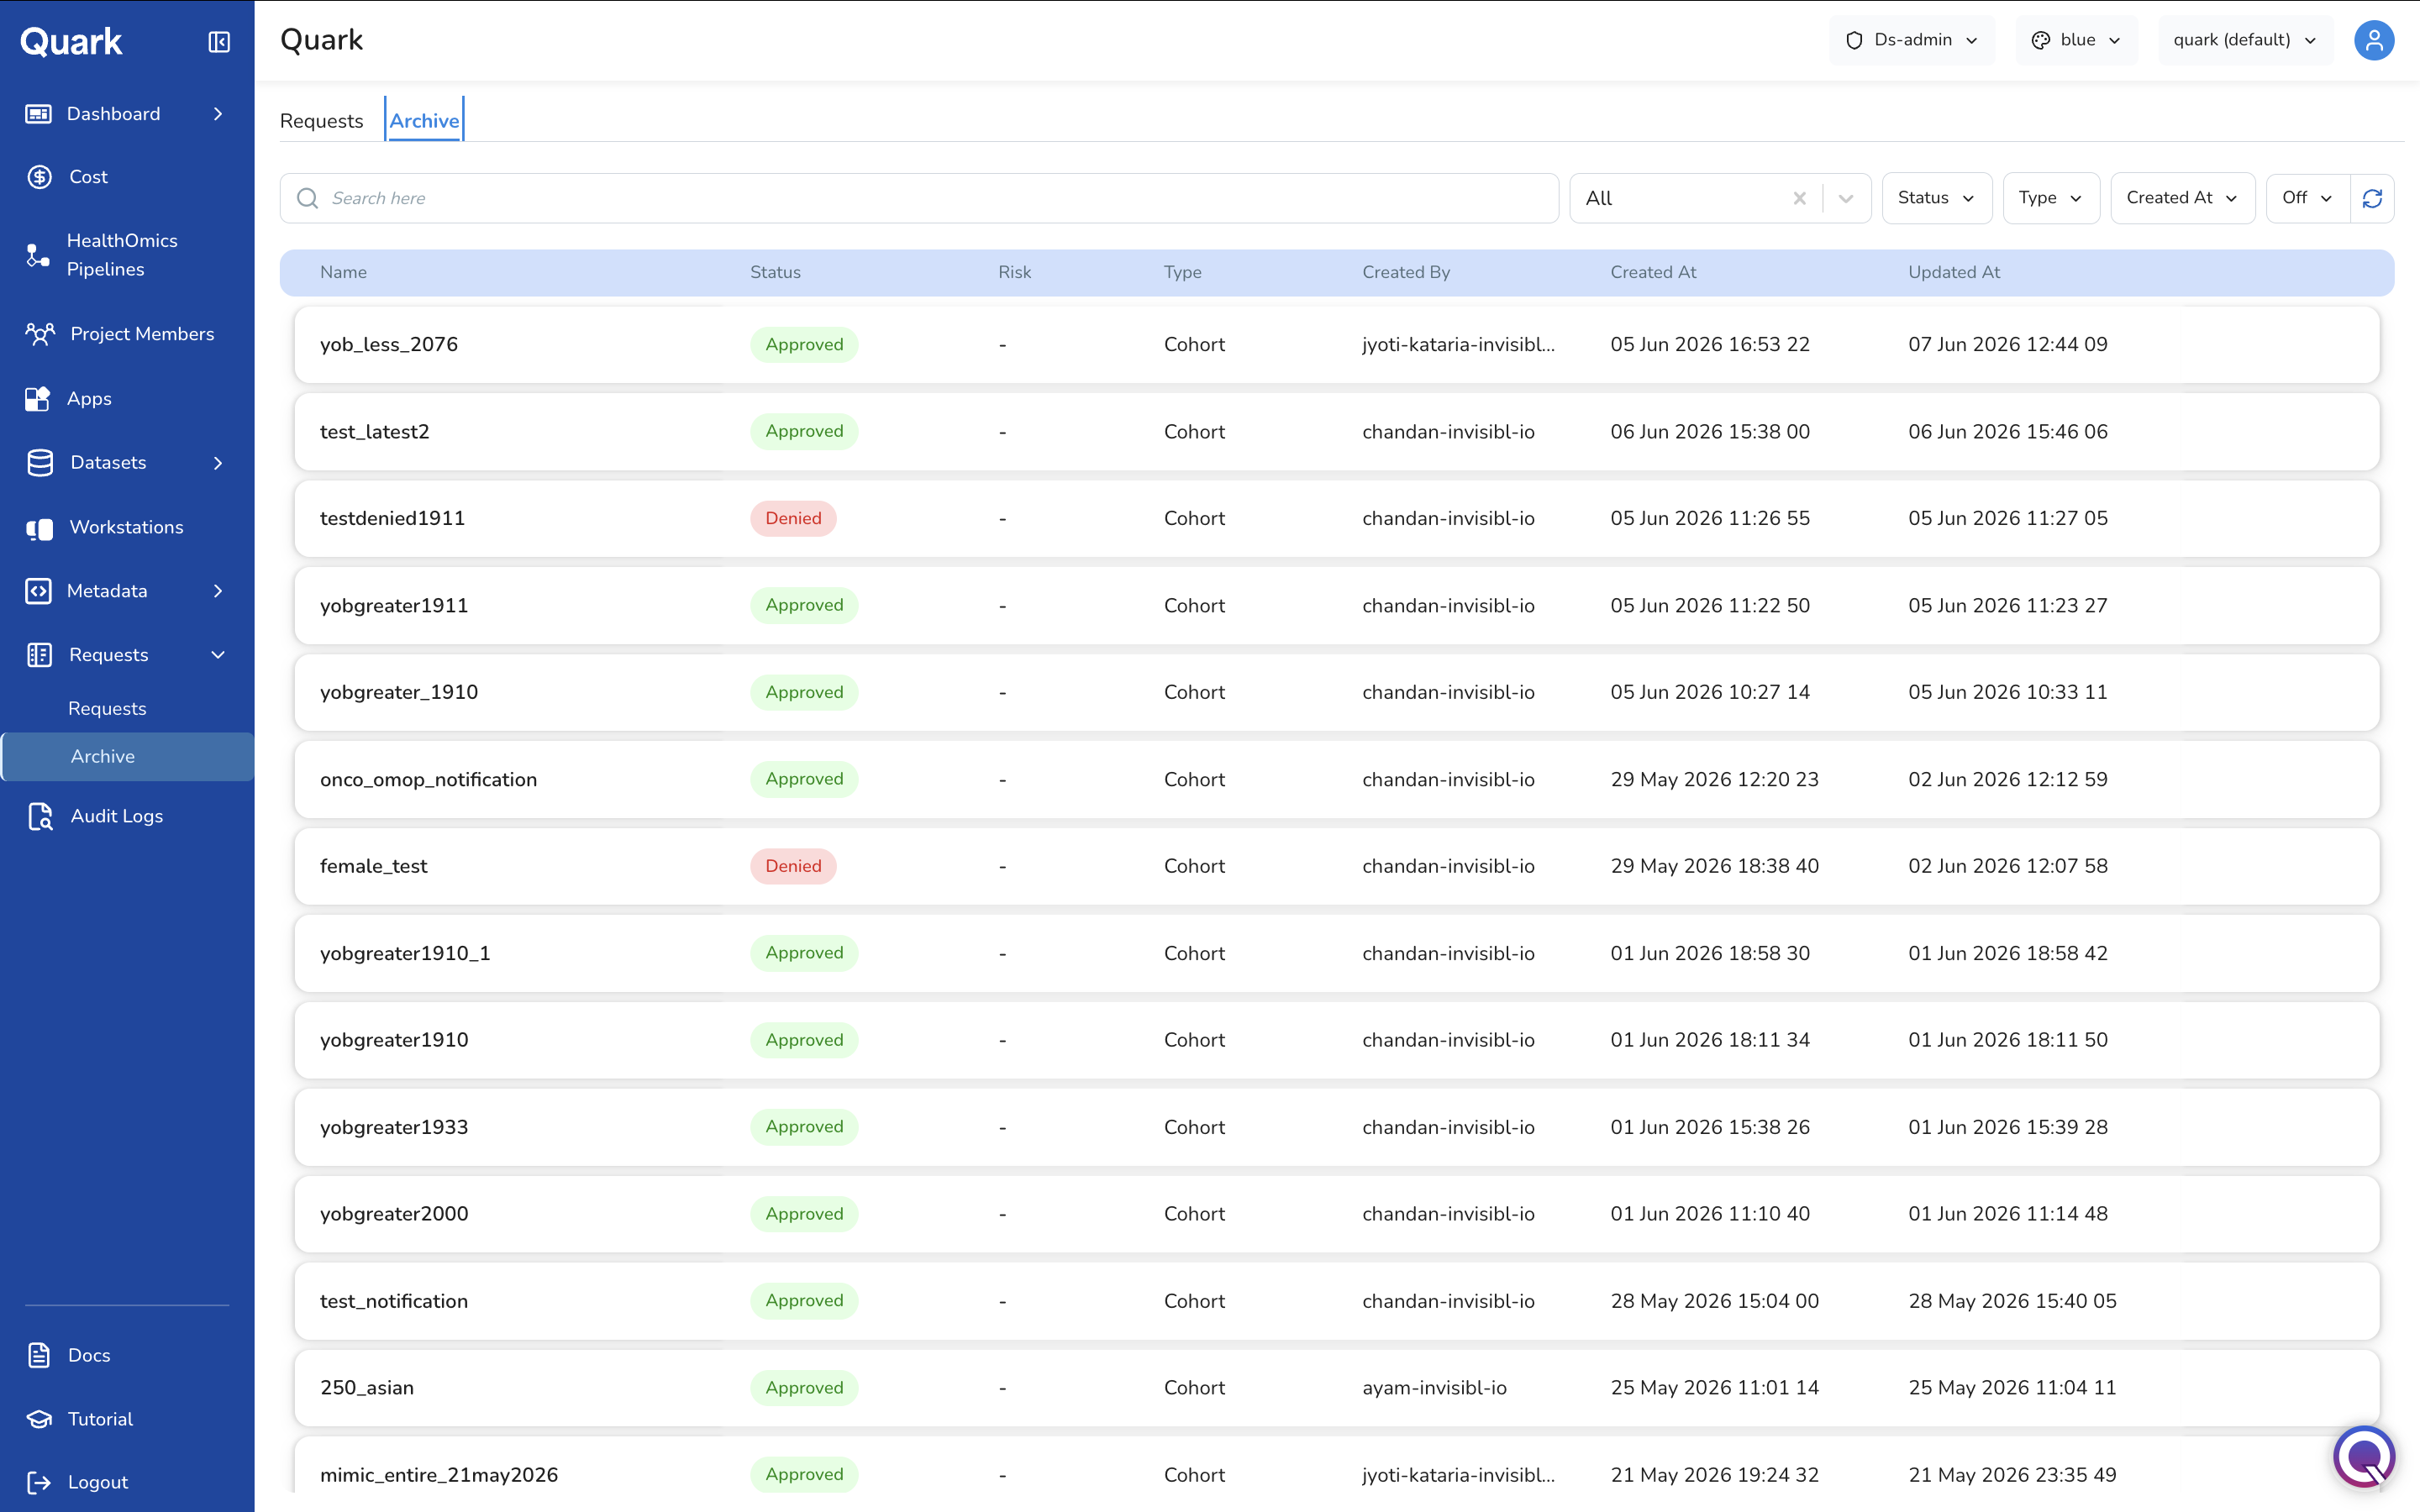
The columns match the Requests tab, with Status showing the final outcome:
| Status | Description |
|---|---|
| Approved | The request was reviewed and approved. |
| Denied | The request was reviewed and rejected. |
Use the search bar and Created At filter to locate a specific past decision. Click a row to view its full detail panel, including the request reason and resolution timestamps.
Request Types: What to Check Before Approving
Cohort Requests
- Review the aggregate statistics of the cohort (via the detail panel) to assess how much sensitive information will be exposed.
- Confirm the requesting user has a legitimate project need for the cohort.
- For complex or high-sensitivity cohorts, consider whether the request should be escalated for a second review before approving.
Data Download Requests
- Check the Risk indicator. High-risk downloads (e.g., large sensitive datasets, patient-identifiable data) warrant closer scrutiny before approval.
- Confirm the user has a legitimate project need for the data being requested.
Data Upload Requests
- Verify that the data being uploaded is appropriate for the platform and consistent with the project's data governance policy.
- Check that the user understands any metadata requirements that will apply to the uploaded data (see Metadata).
Workstation Requests
- Confirm the requested workstation template is appropriate for the user's stated use case.
- Check that approving the workstation will not push the project over its budget threshold (see Cost).
What's Next
- Datasets — Approved cohort requests appear in the Cohorts tab, where you can review access timelines or revoke access if needed.
- Workstations — After approving a workstation request, the workstation becomes available for the user to launch.
- Audit Logs — All approval and rejection actions are captured in the audit log, providing a complete, immutable record of administrative decisions.