Settings
Overview
The Settings section is where the Infrastructure Administrator reviews platform-wide configuration, manages the users who have access to the platform instance, and defines the roles that control what each user is permitted to do. Changes made here affect the entire platform — access control and role assignments made in Settings apply across every section of the Infra Admin interface.
Navigation: Select Settings from the left-hand navigation pane. The section expands to show General, Members, and Roles as sub-items.
General Tab
The General tab displays the platform's current infrastructure-level configuration, organised into four cards.
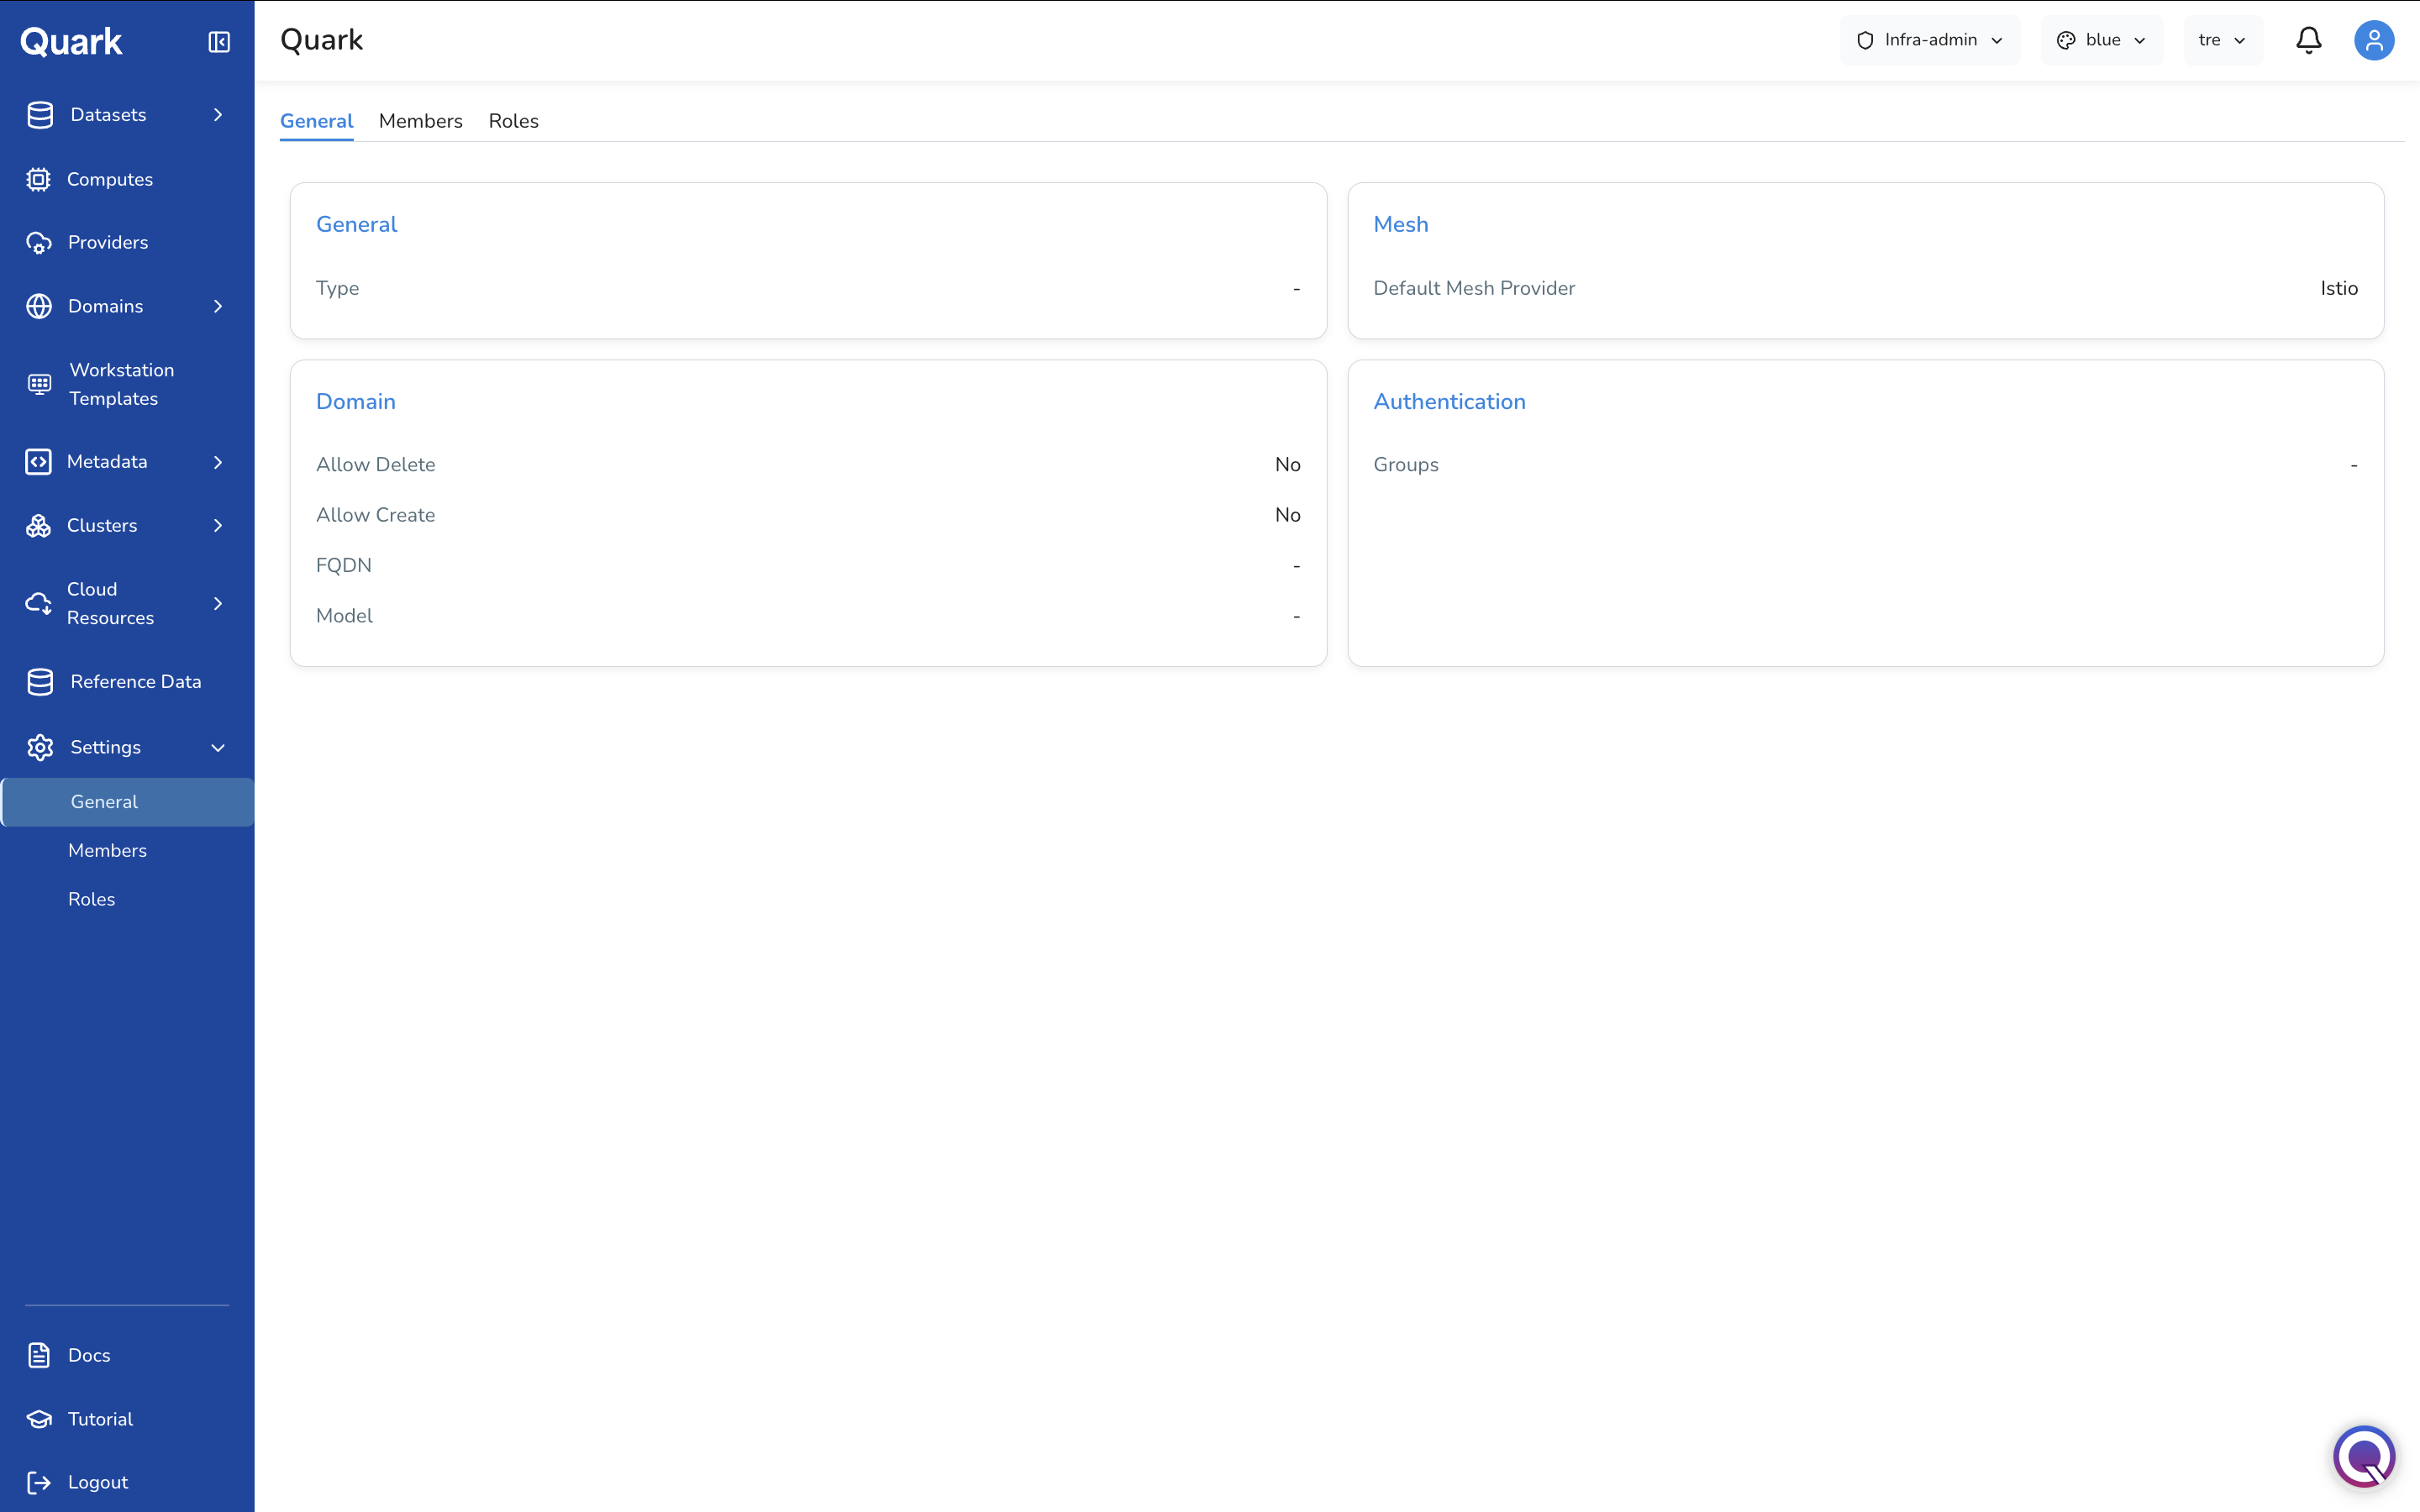
General
| Field | Description |
|---|---|
| Type | The platform deployment type for this instance. |
Mesh
| Field | Description |
|---|---|
| Default Mesh Provider | The service mesh provider used for intra-cluster traffic management and observability. Defaults to Istio. |
Domain
| Field | Description |
|---|---|
| Allow Delete | Whether domain deletion is permitted from the platform. |
| Allow Create | Whether new domain creation is permitted from the platform. |
| FQDN | The fully qualified domain name for this platform instance. |
| Model | The domain model configuration for this platform instance. |
Authentication
| Field | Description |
|---|---|
| Groups | The identity provider groups mapped to this platform instance for authentication and access control. |
Members Tab
The Members tab lists every user who has been granted access to this platform instance by the Admin. This is the authoritative list of all platform users across all roles and projects.
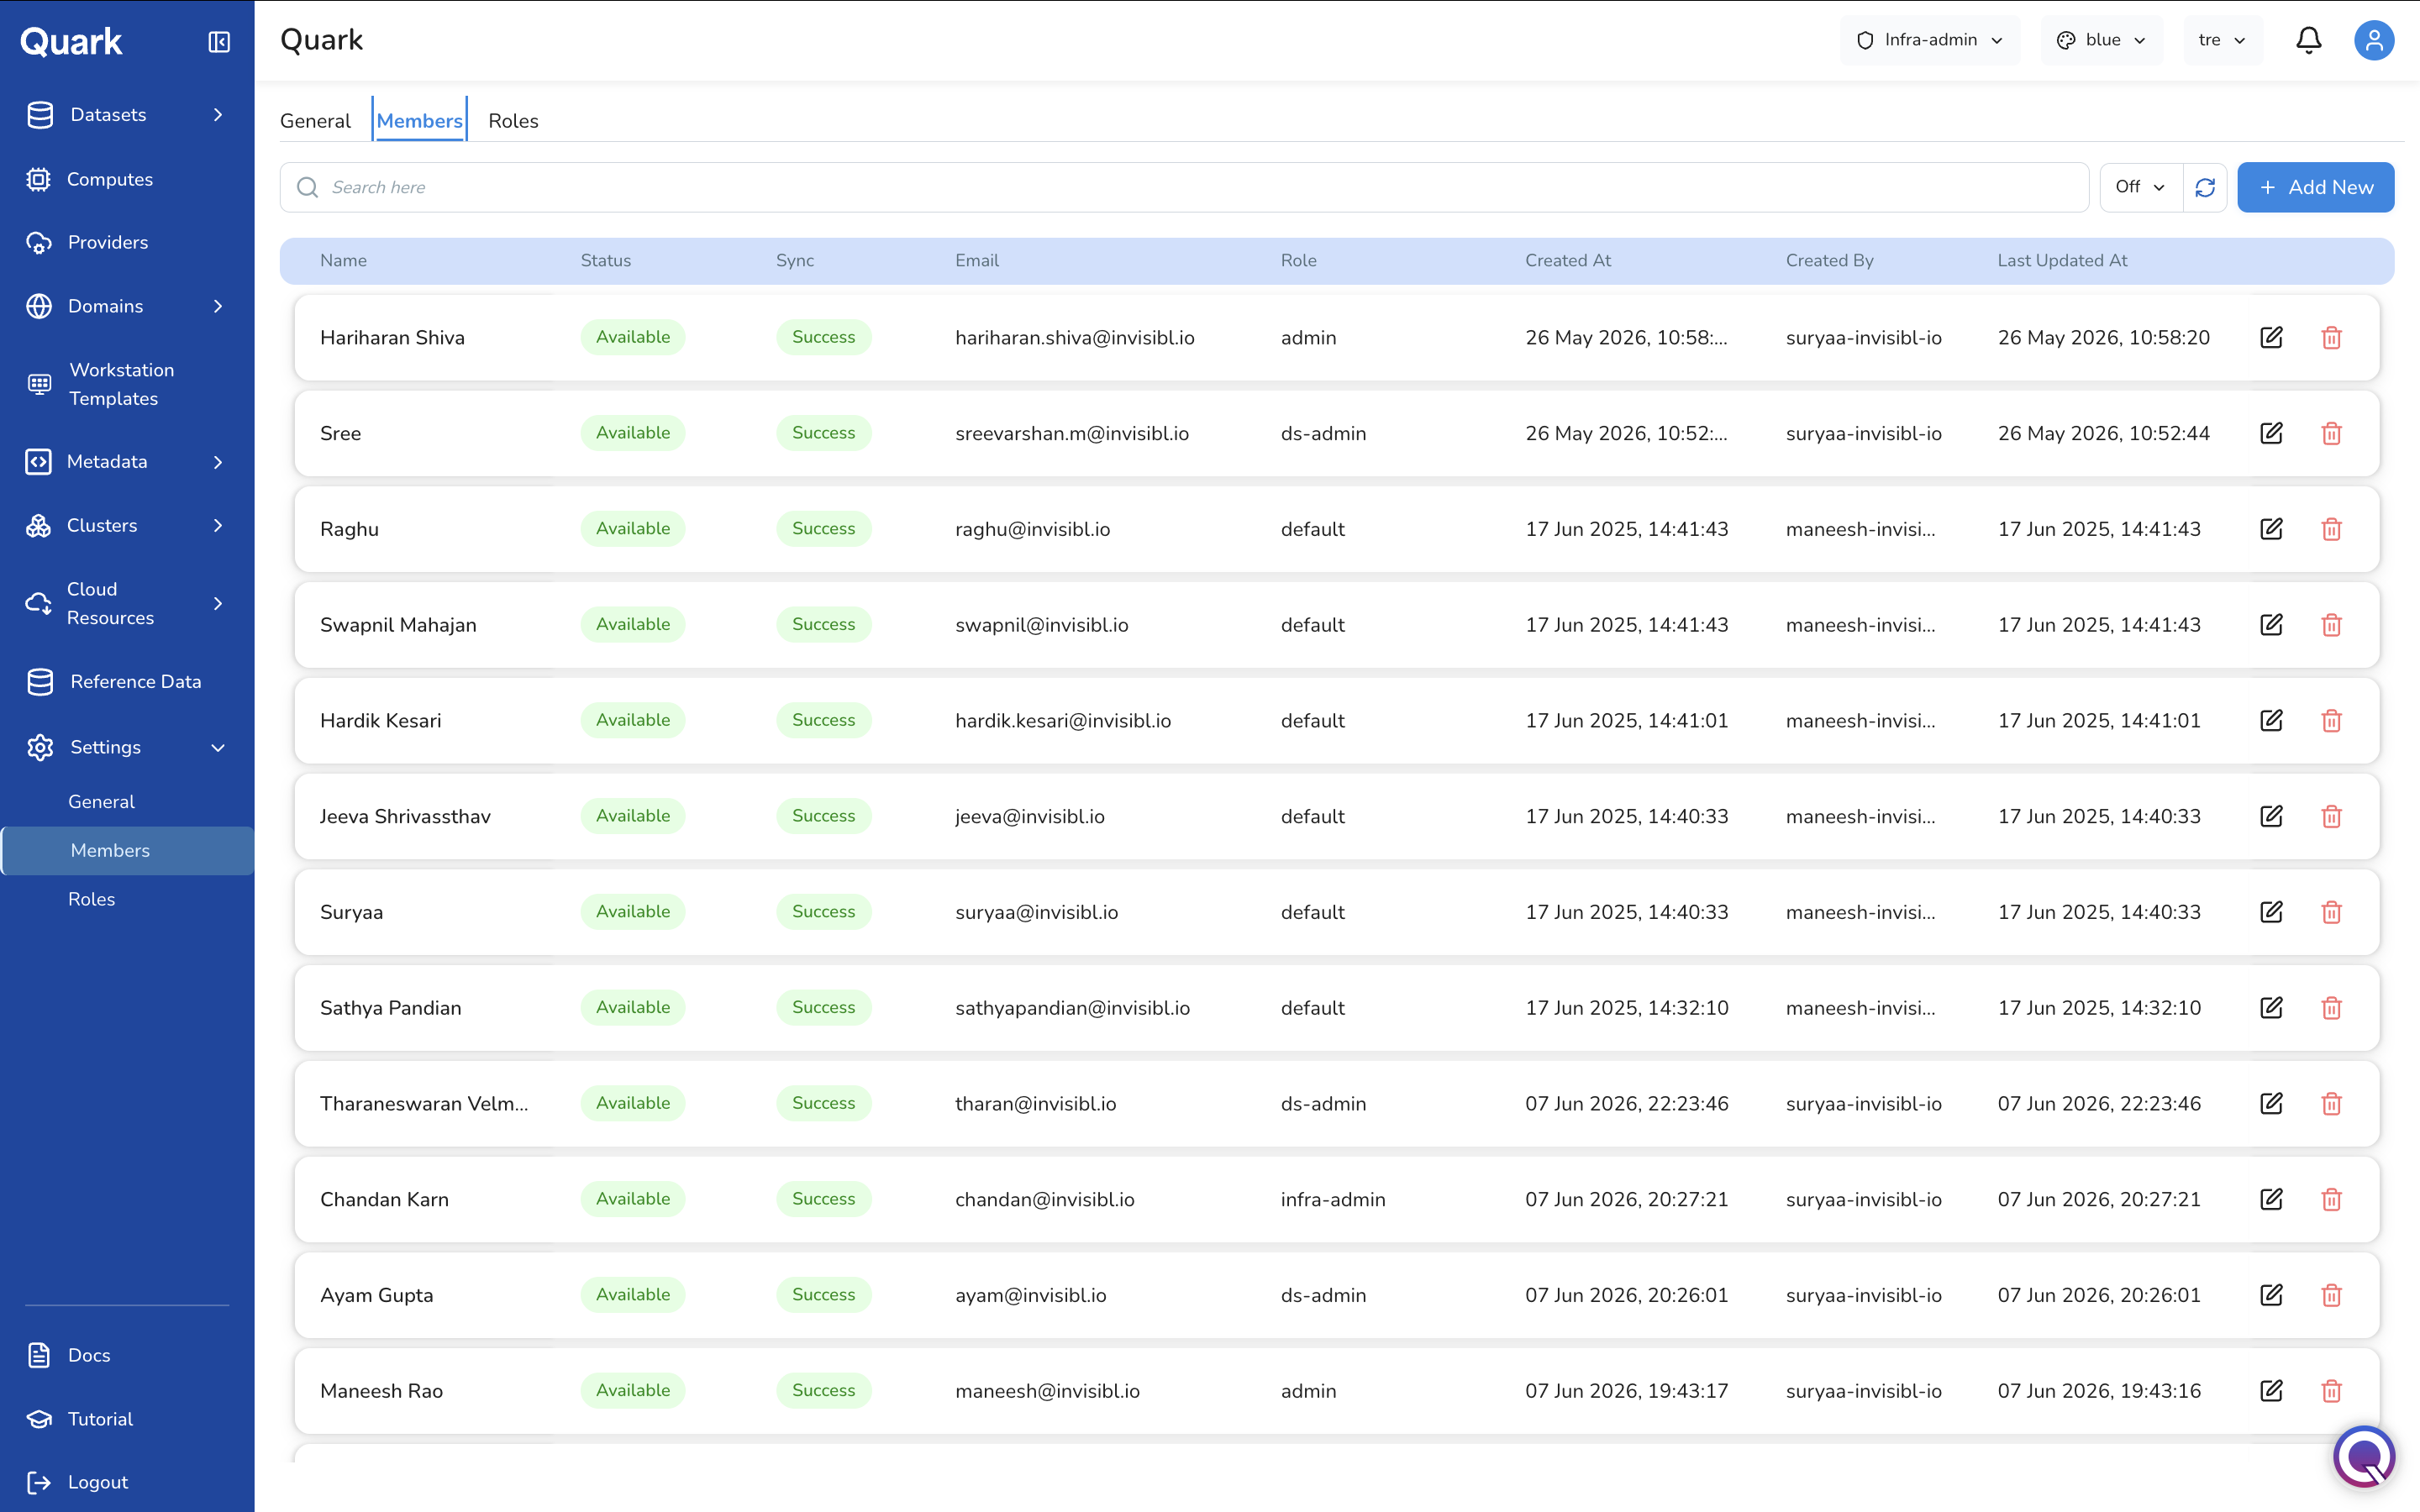
Each row shows:
| Column | Description |
|---|---|
| Name | The member's display name. |
| Status | Whether the member's account is Available or in an error state. |
| Sync | The result of the last directory synchronisation for this user — Success or a failure state. |
| The member's email address. | |
| Role | The platform role assigned to this member (e.g., admin, infra-admin, ds-admin, default). |
| Created At | When the member was added to the platform. |
| Created By | The user who added this member. |
| Last Updated At | When the member's record was most recently modified. |
Each row has two actions: Edit (pencil icon) to update the member's role or settings, and Delete (red trash icon) to remove the member from the platform.
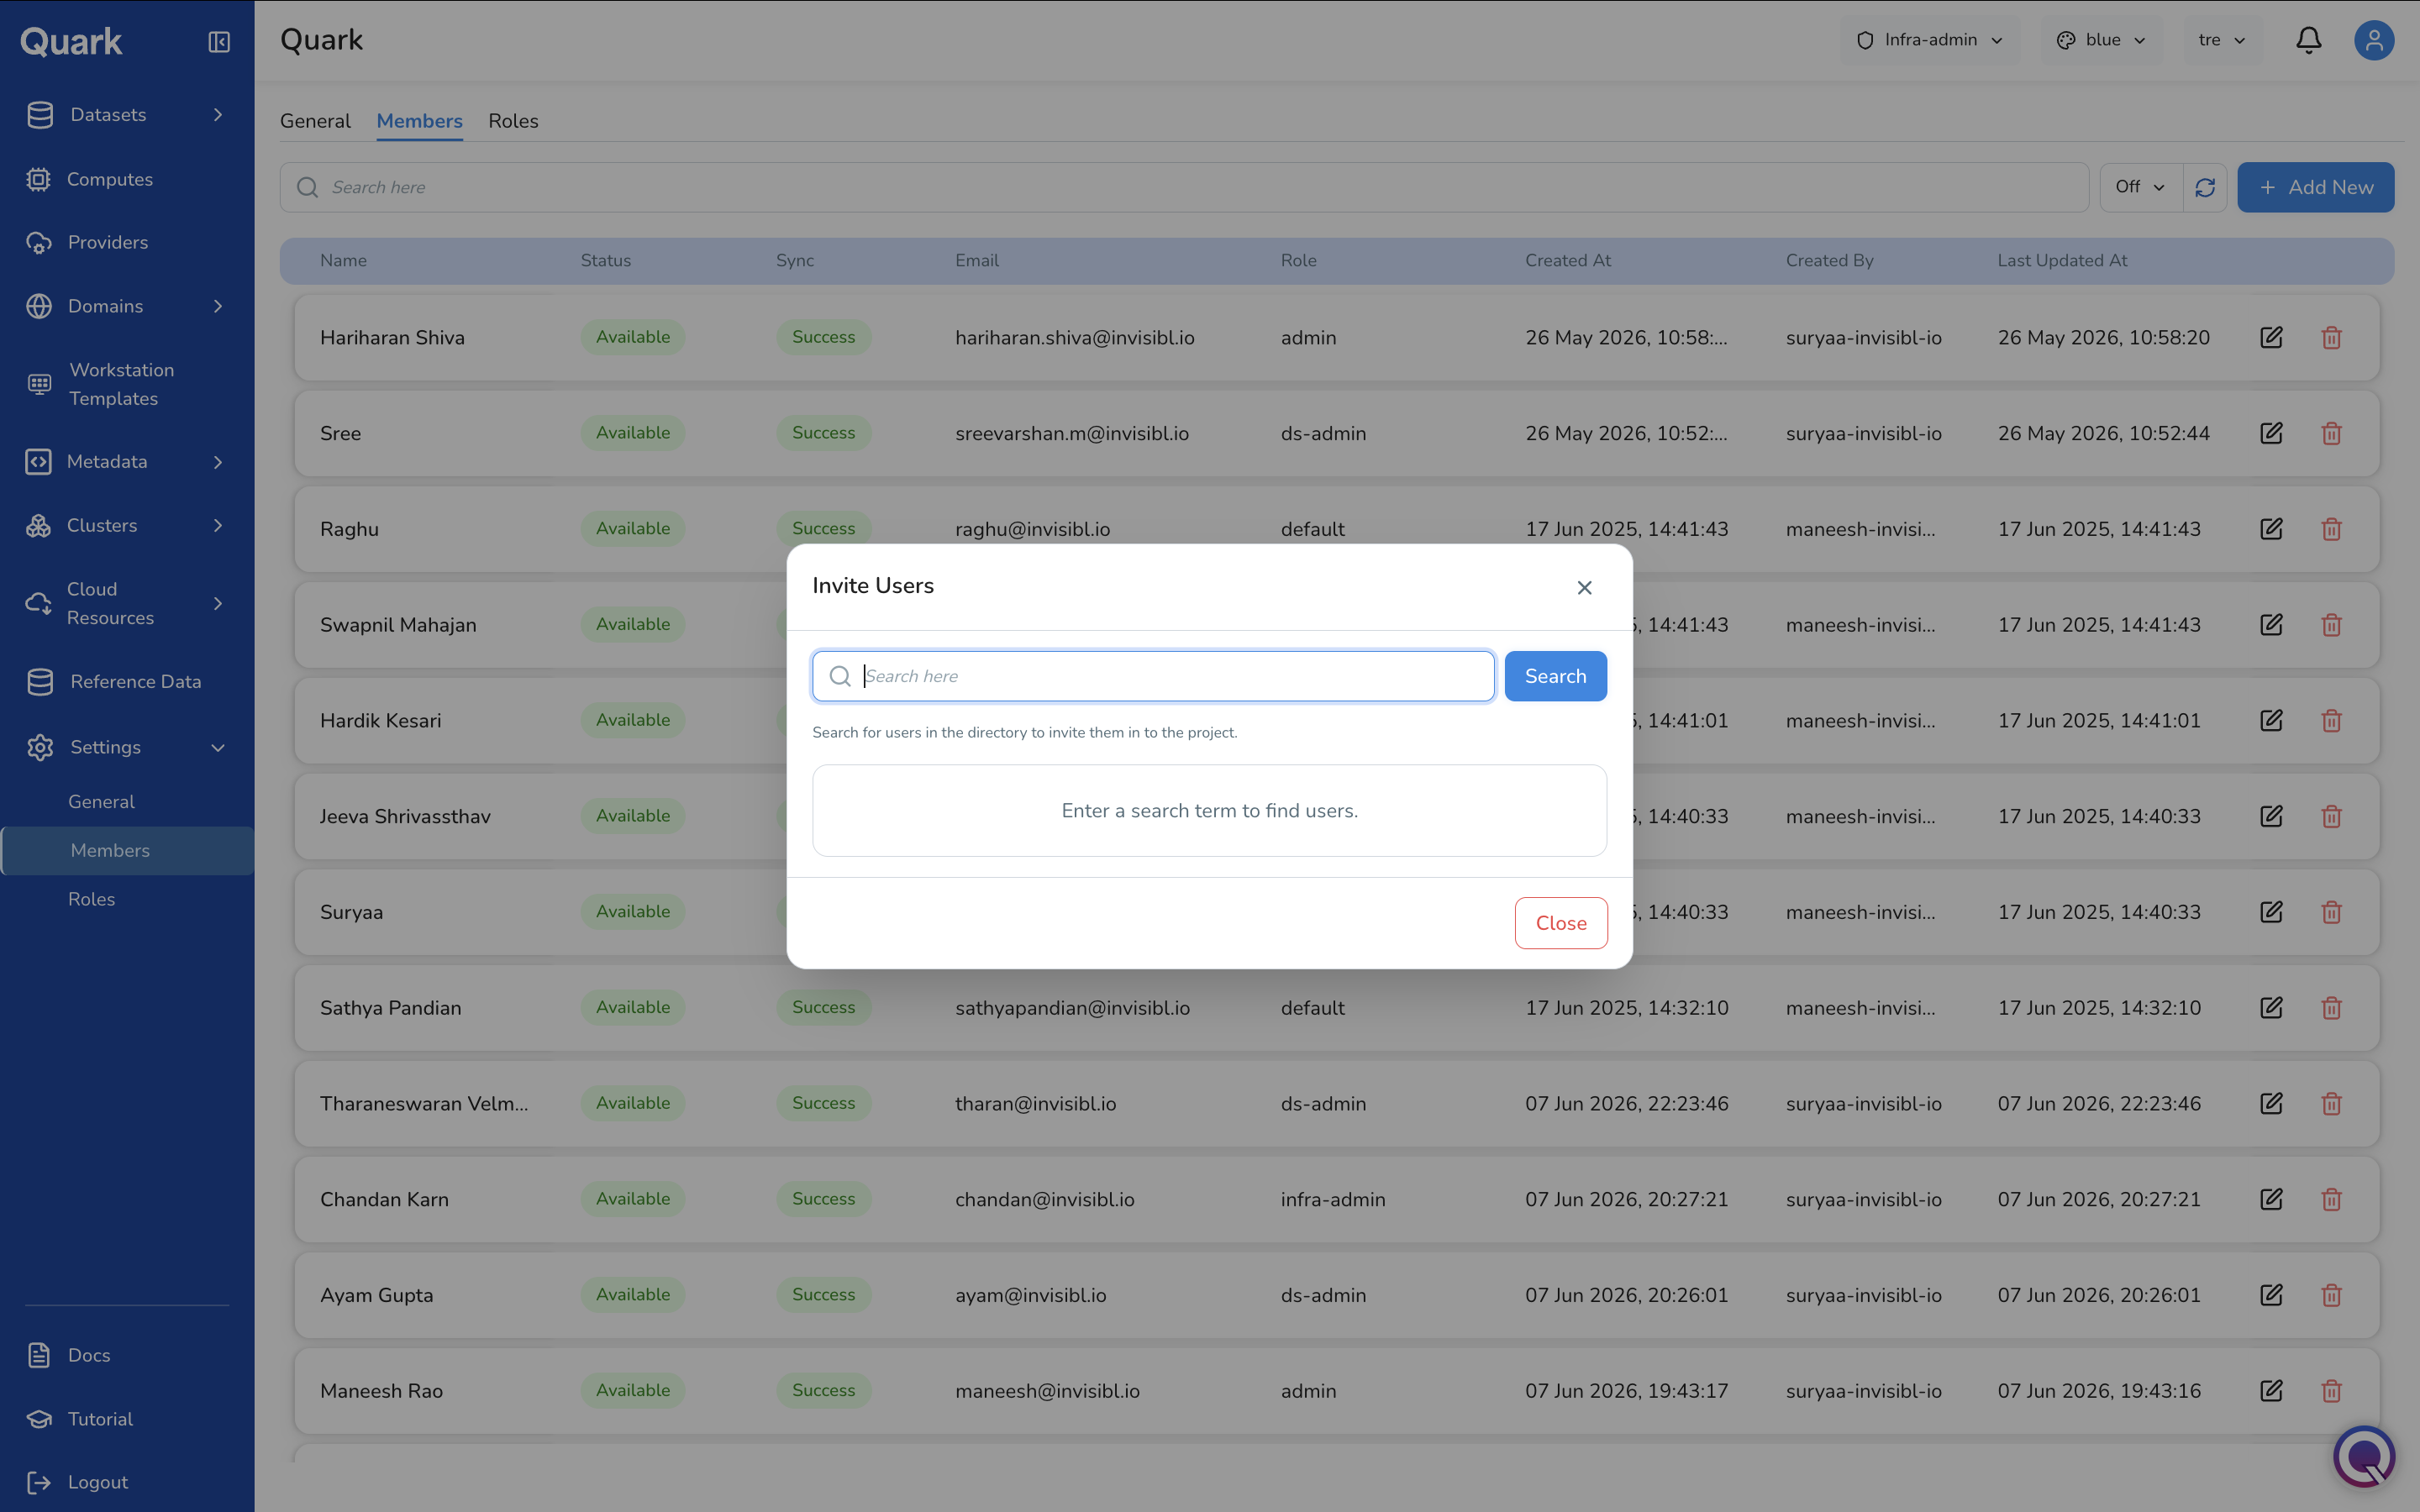
Inviting a New Member
To add a new user:
- Click + Add New in the toolbar.
-
The Invite Users modal appears with a search field.
-
Enter a name or email address in the search field and click Search to look up the user in the organisation's directory.
- Select the user from the search results to add them to the platform.
Note: Users must exist in the connected identity provider directory before they can be invited.
Roles Tab
The Roles tab lists all roles defined on the platform. Roles control what actions each member is permitted to perform across every section of the platform. A set of built-in roles is provided by default; custom roles can be created to match your organisation's specific access requirements.
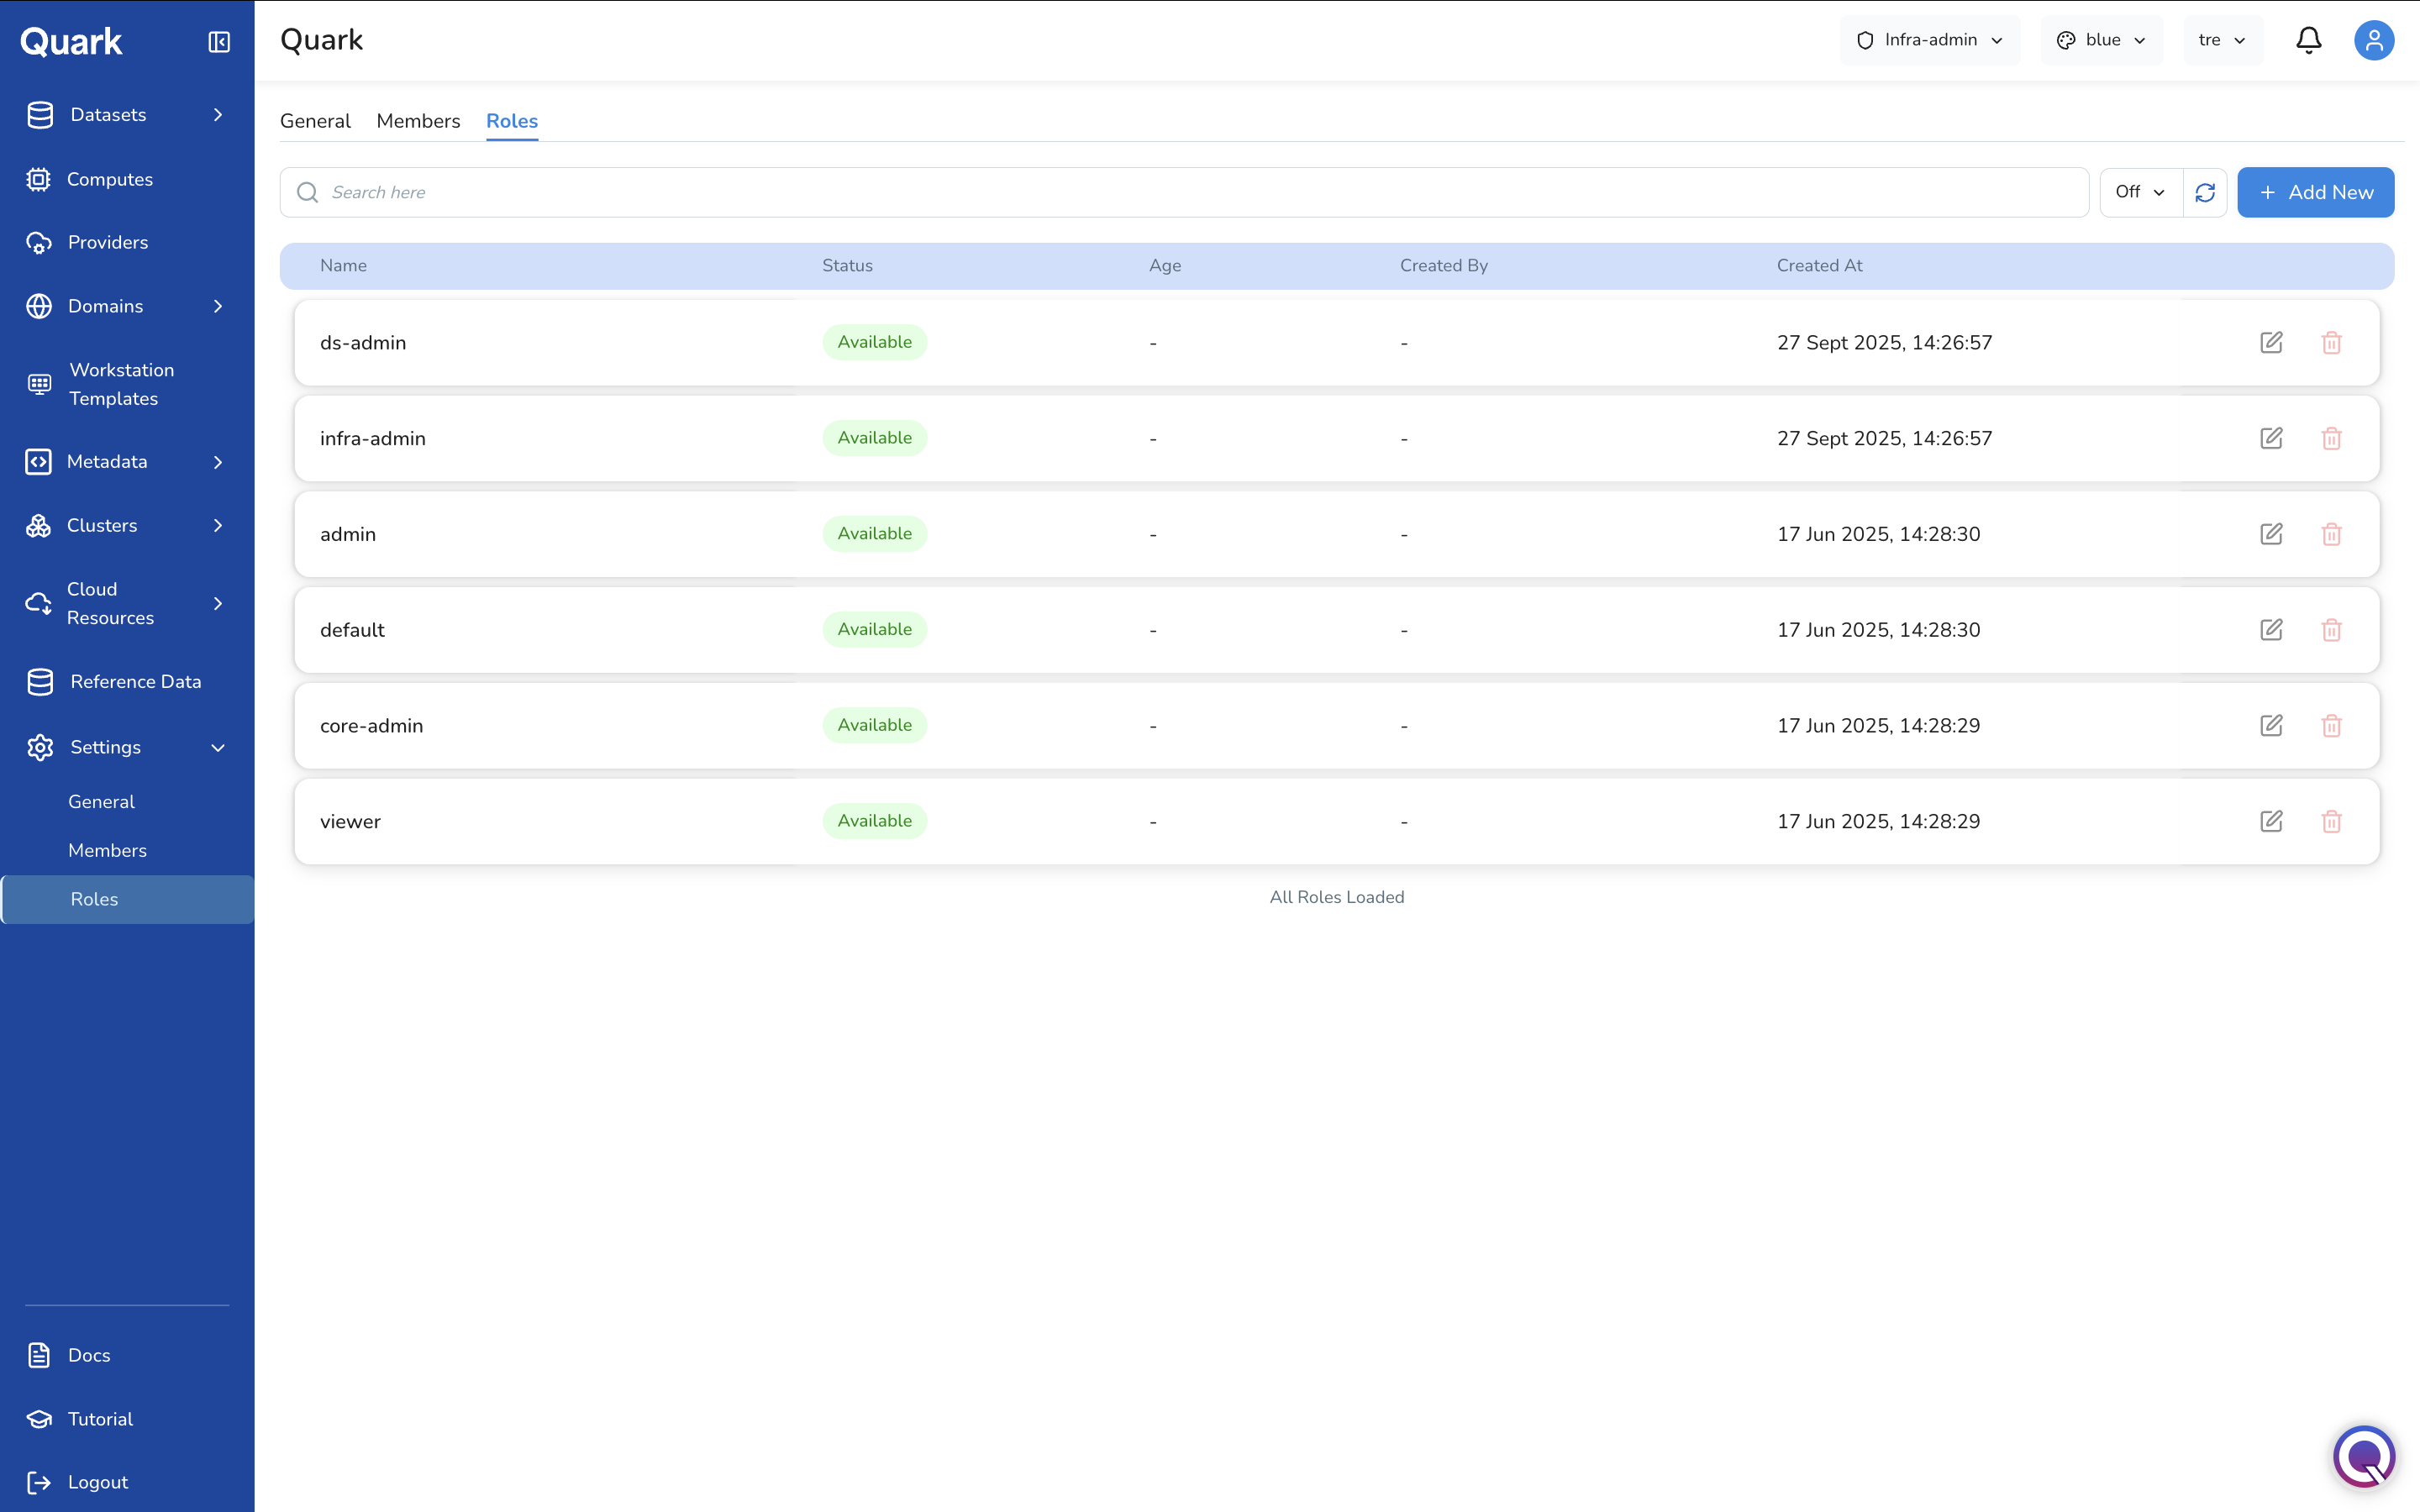
Built-in Roles
The following roles are available by default:
| Role | Description |
|---|---|
| admin | Full administrative access to the platform. |
| infra-admin | Access to infrastructure provisioning and configuration — the role documented in this guide. |
| ds-admin | Access to data science operations — pipeline management, workstations, datasets, and metadata. |
| core-admin | Core platform administration access. |
| default | The baseline role assigned to standard platform users. |
| viewer | Read-only access across the platform. |
Each built-in role can be edited to adjust its permissions, or deleted if no longer required. Click any role row to view its full permission set or see all users assigned to that role.
Creating a Custom Role
To define a new role:
- Click + Add New in the toolbar.
- The Create Role wizard opens with two steps: General and Review.
Step 1: General
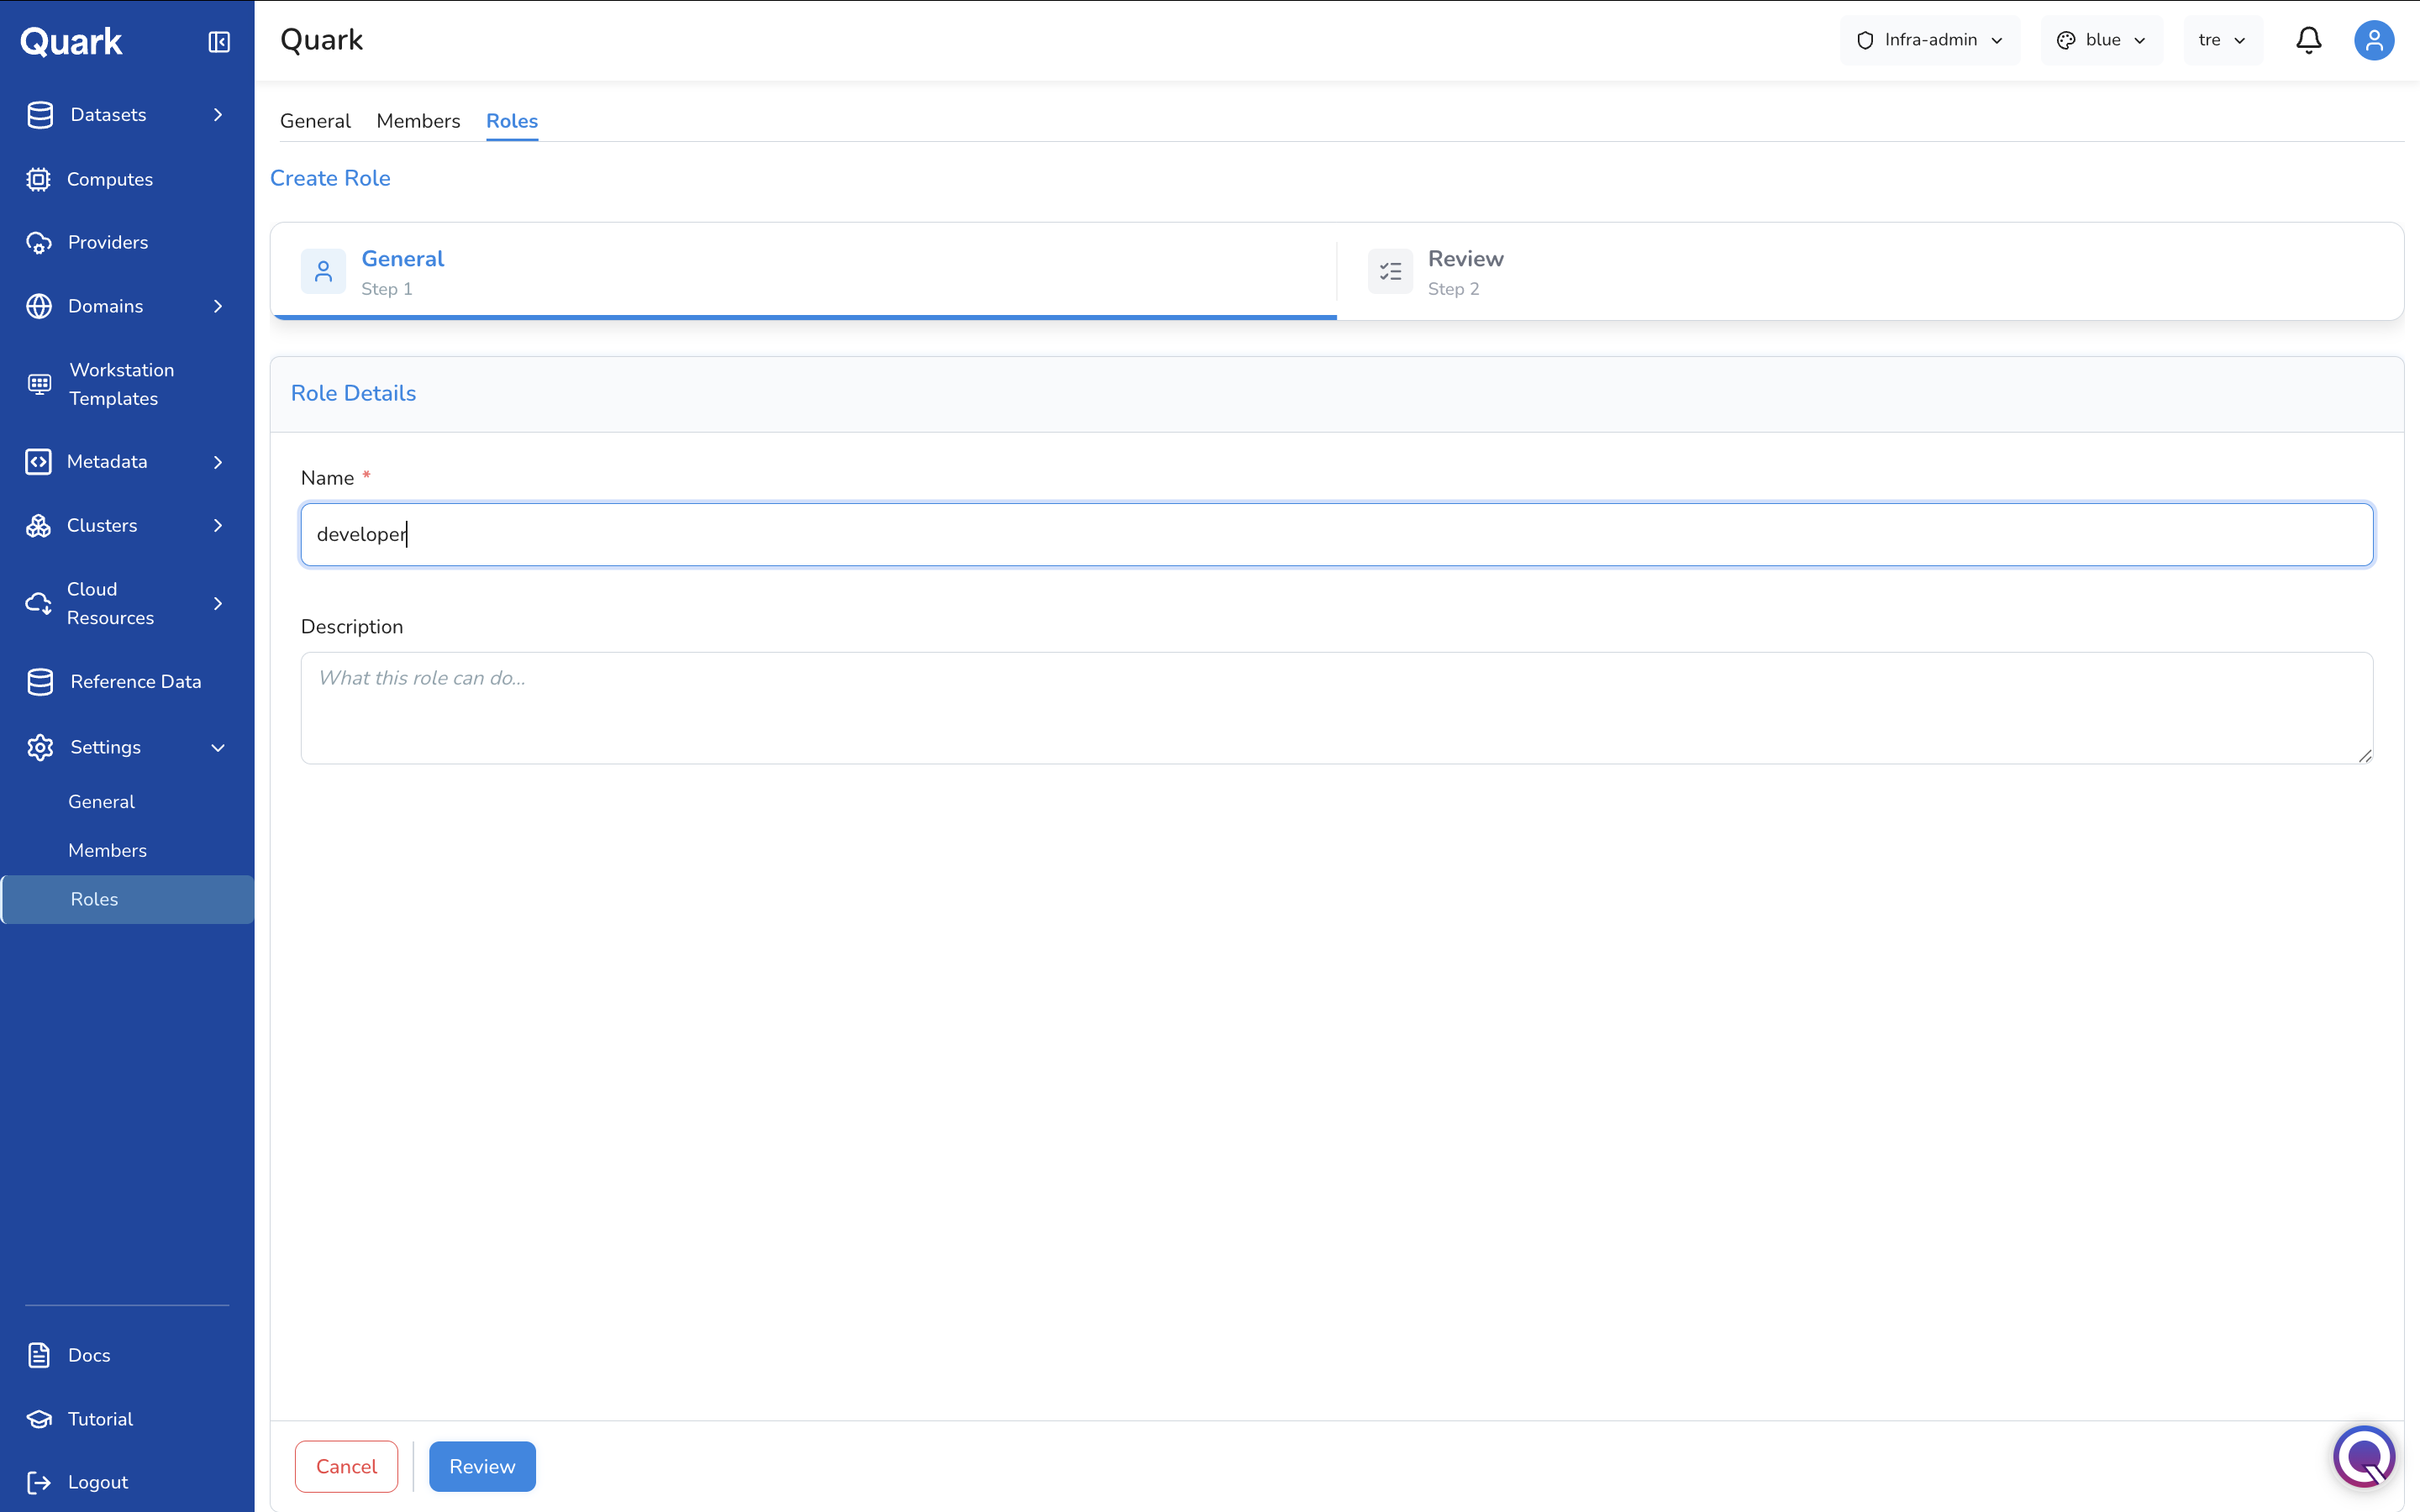
| Field | Description |
|---|---|
| Name (mandatory) | A unique name for this role (e.g., developer, pipeline-reviewer). This is the identifier that will appear in the Members tab when assigning the role to a user. |
| Description | A plain-language description of what this role is intended for and what permissions it will carry. |
Step 2: Review
Review the role name and description, then click Create to add the role to the platform.
Once created, the role appears in the Roles list. Click the role row to open its permission configuration and assign the specific platform actions this role is permitted to perform. Permissions are configured from a checklist of platform actions — enabling or disabling each action determines what members holding this role can see and do across the platform.
Managing Roles
Each role row has two actions:
- Edit (pencil icon) — Opens the role's full configuration, including its permission checklist. Use this to adjust which platform actions the role is permitted to perform, or to update the role name and description.
- Delete (red trash icon) — Removes the role from the platform.
What's Next
With Settings configured, the platform's infrastructure foundation is complete. The suggested order for verifying everything is in place before researchers begin using the platform:
- Providers — Cloud accounts and credentials are connected.
- Clusters — Kubernetes clusters are provisioned and healthy.
- Computes — Compute profiles are scoped to the right projects.
- Datasets — Reference data and datasets are published and visible in the catalog.
- Workstation Templates — Templates are available for the projects researchers belong to.