HealthOmics Pipelines
Overview
In the HealthOmics Pipelines page, the DS Administrator imports and configures AWS HealthOmics workflows so that bench scientists and bioinformaticians can discover and run them from their pipeline catalogue.
Navigation: Select HealthOmics Pipelines from the left-hand navigation pane.
Quark V3 integrates natively with AWS HealthOmics, Amazon's managed service for storing, querying, and analysing genomics and biological data at scale.
Workflow Types
AWS HealthOmics offers two types of workflows, both accessible from this section:
| Workflow Type | Description | When to Use |
|---|---|---|
| AWS HealthOmics Private Workflow | Your organisation's own private, custom workflows — imported and run within a secure HealthOmics environment. | Your organisation has existing HealthOmics workflows deployed in AWS, or needs to run proprietary, internally-developed pipelines at scale. |
| AWS HealthOmics Ready2Run Workflow | Pre-validated, production-ready genomics workflows provided and maintained by AWS — available to run immediately. | You need a well-validated standard pipeline for a common use case (e.g., WGS or WES secondary analysis) and do not have a custom workflow to import. |
Importing a Pipeline
To make a pipeline available to users:
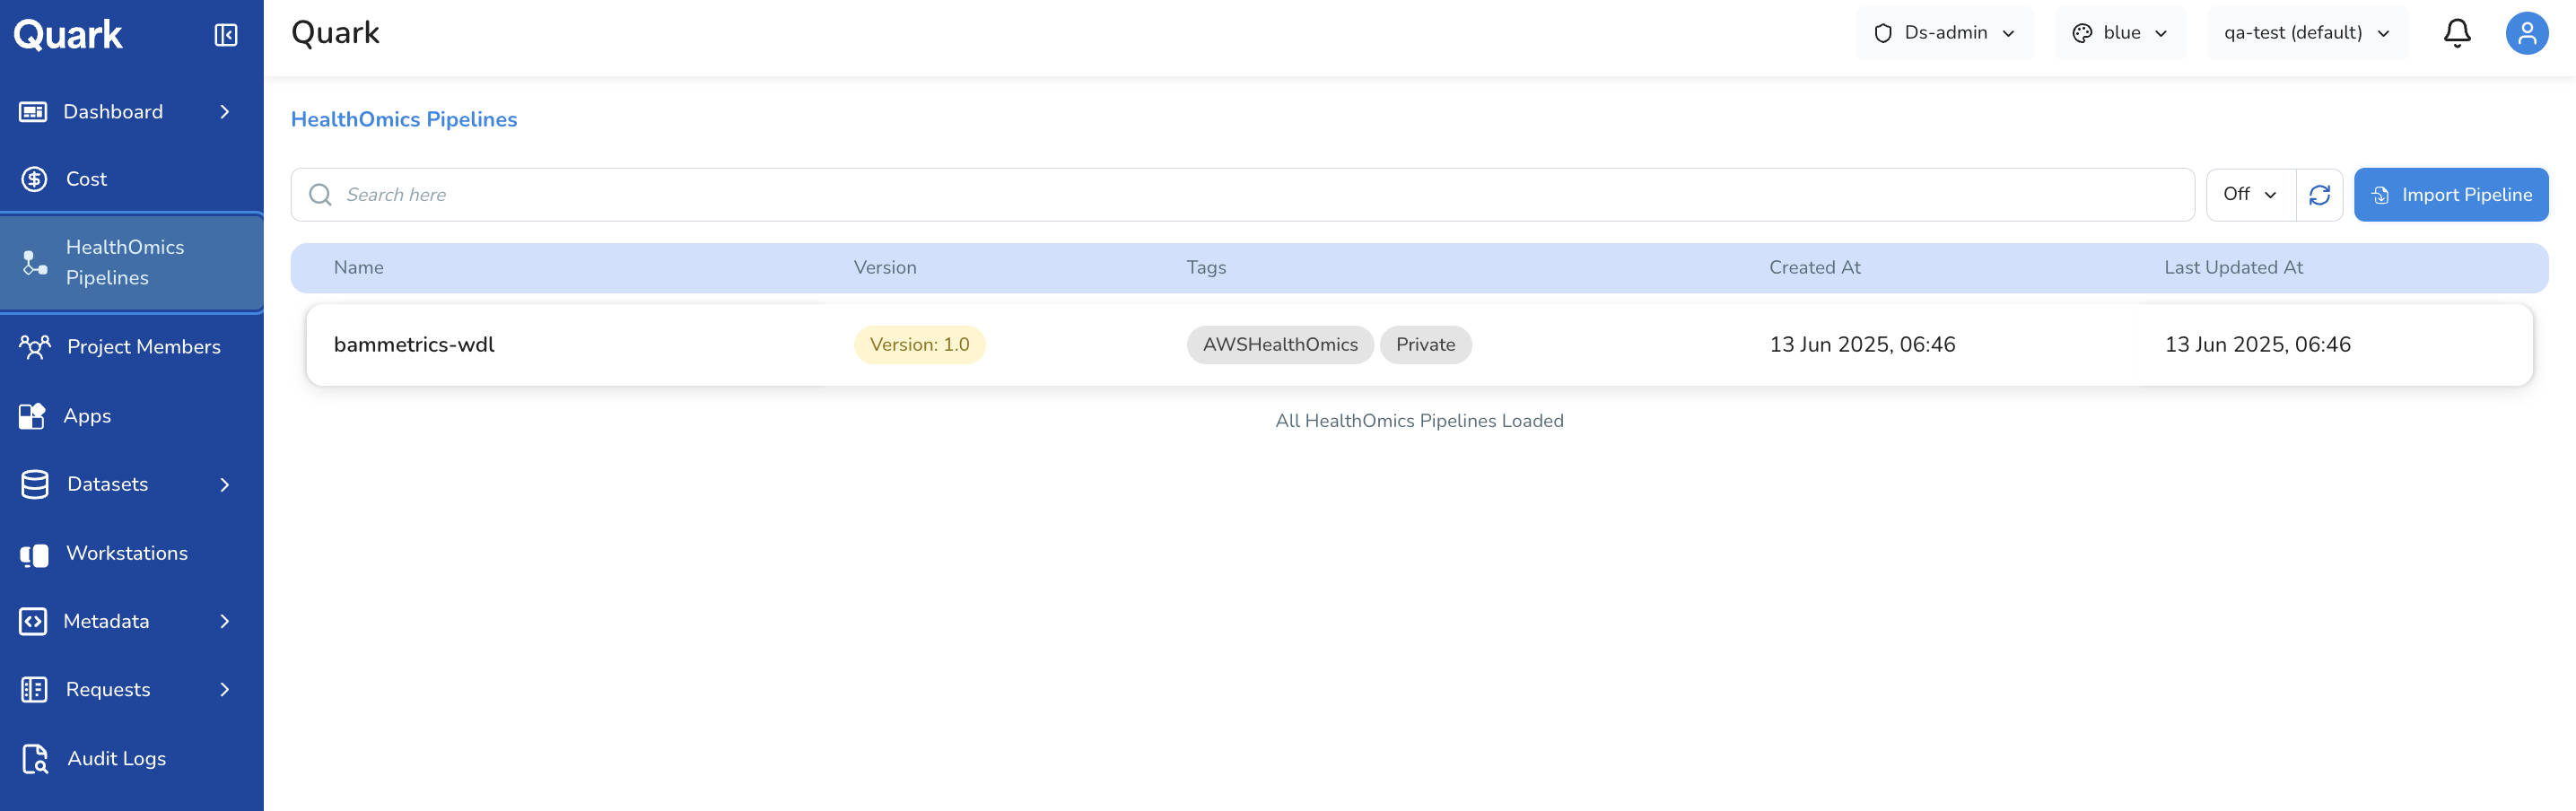
- Select HealthOmics Pipelines from the left navigation pane.
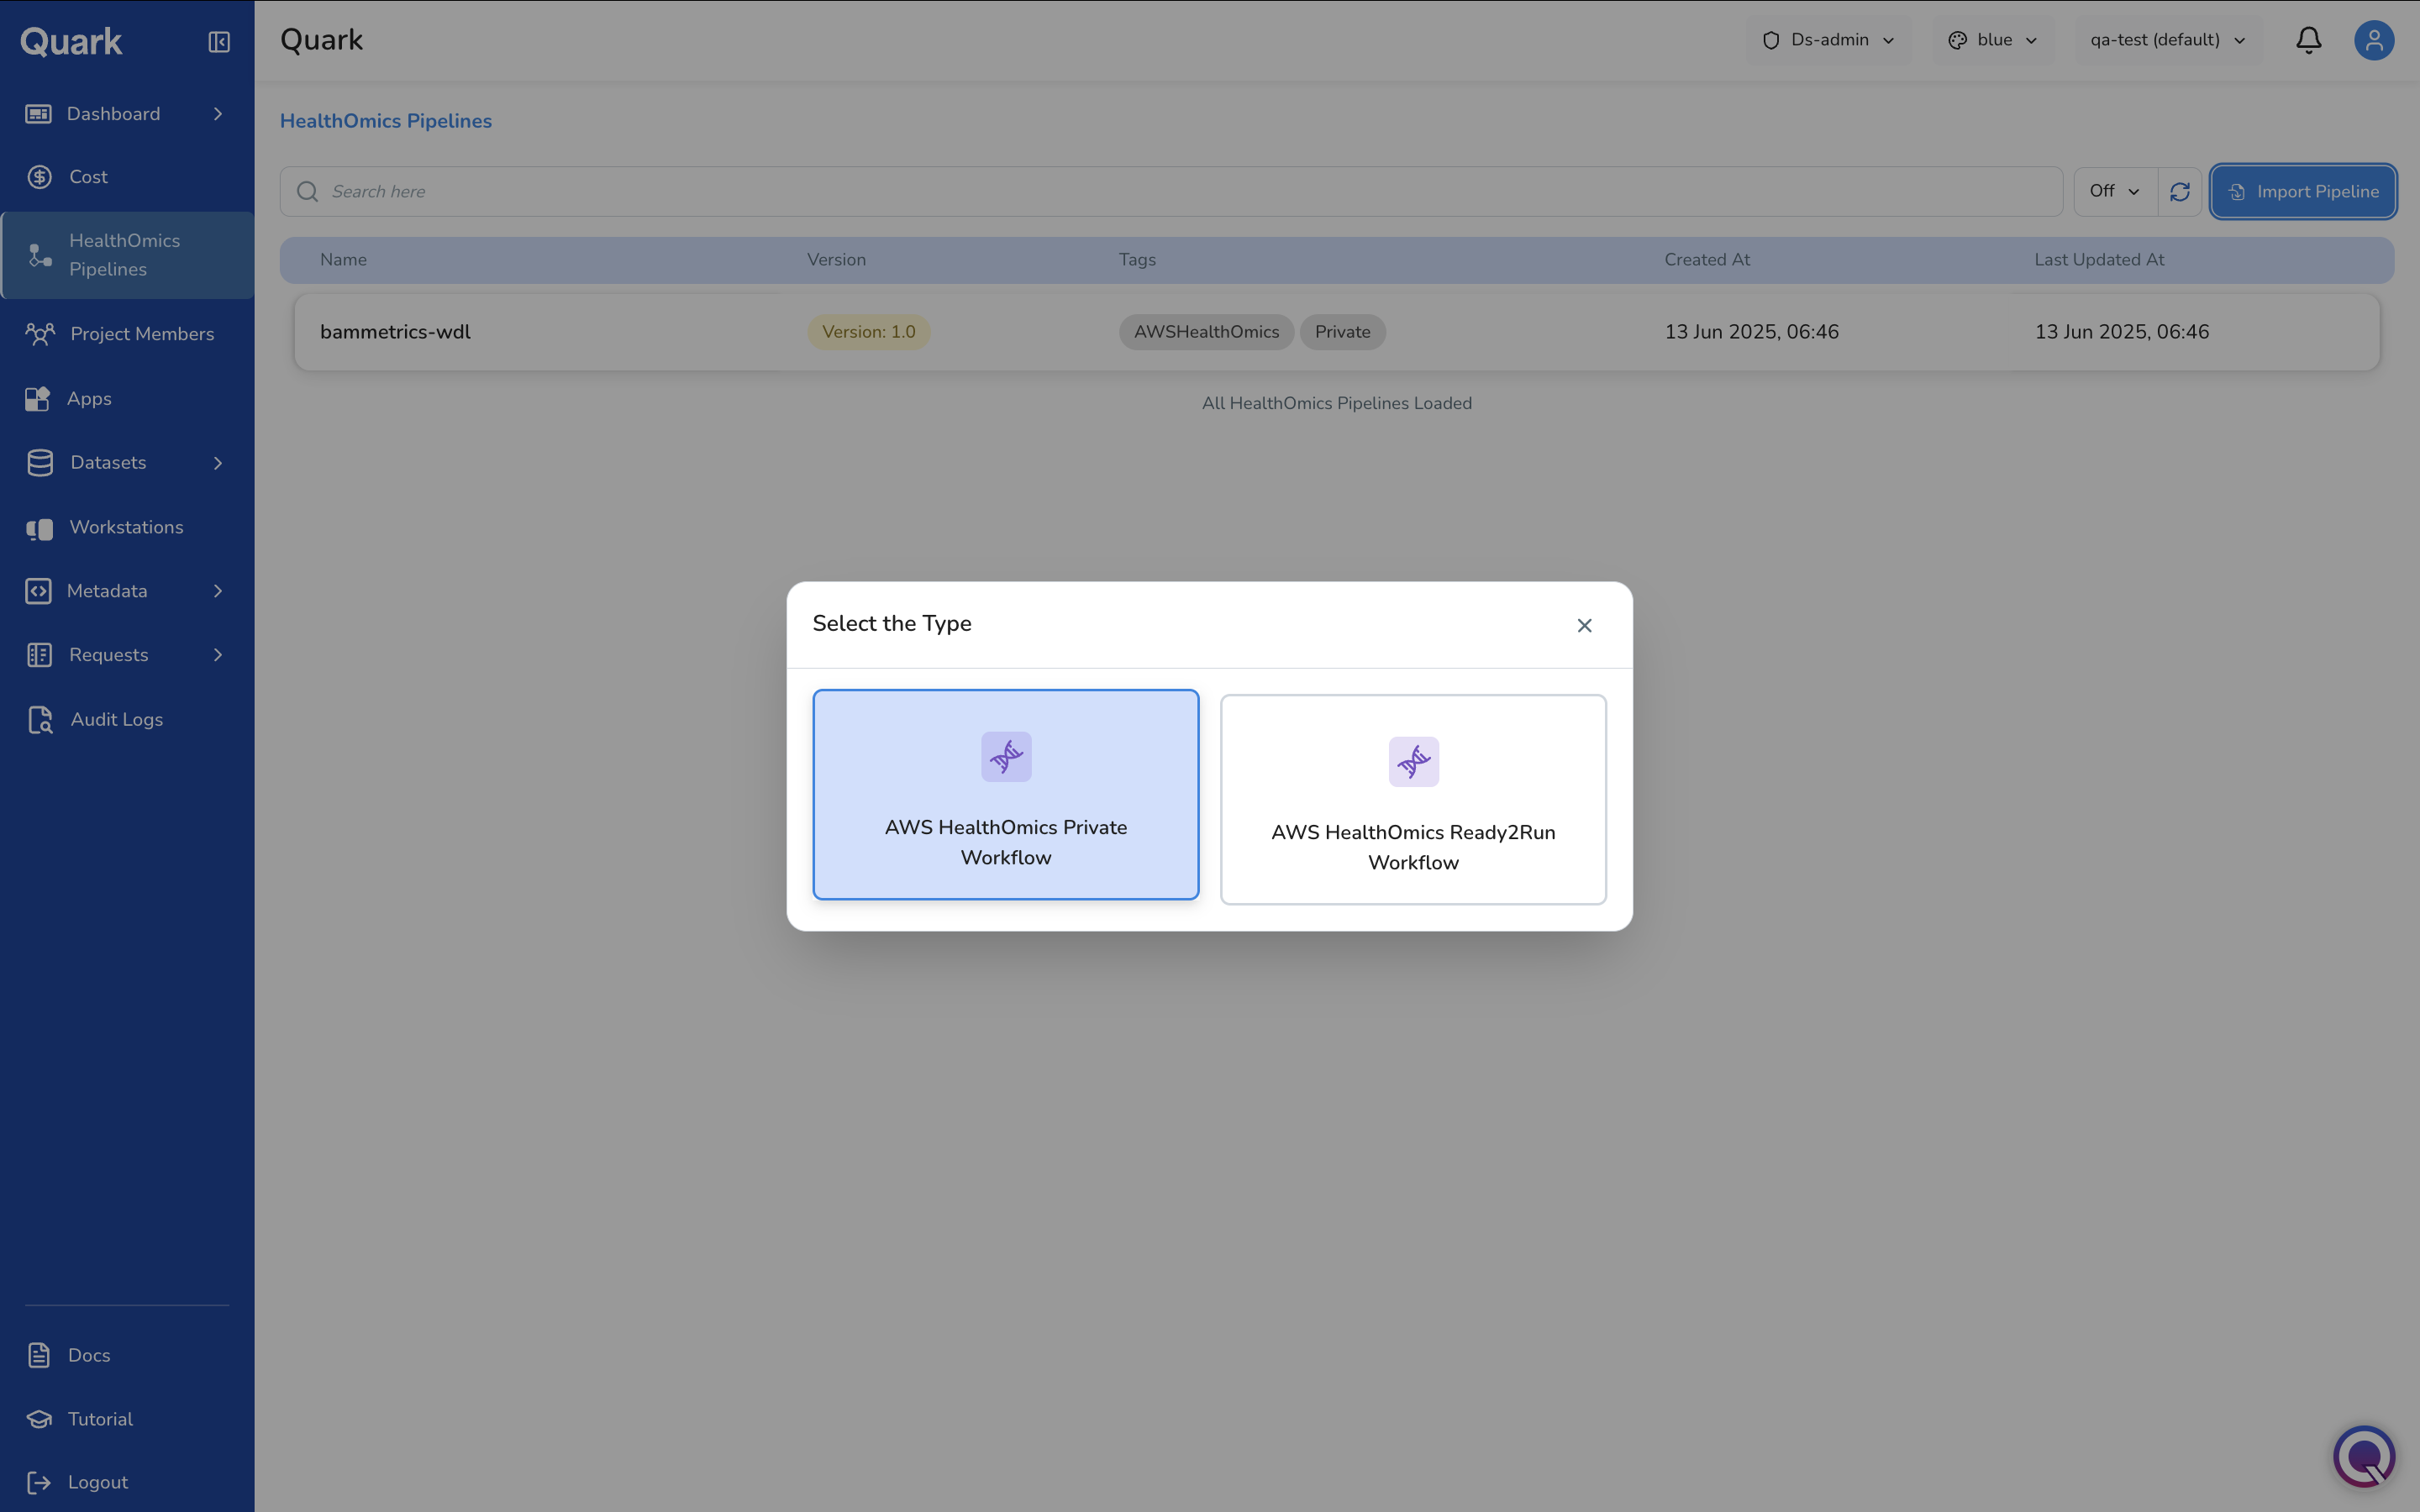
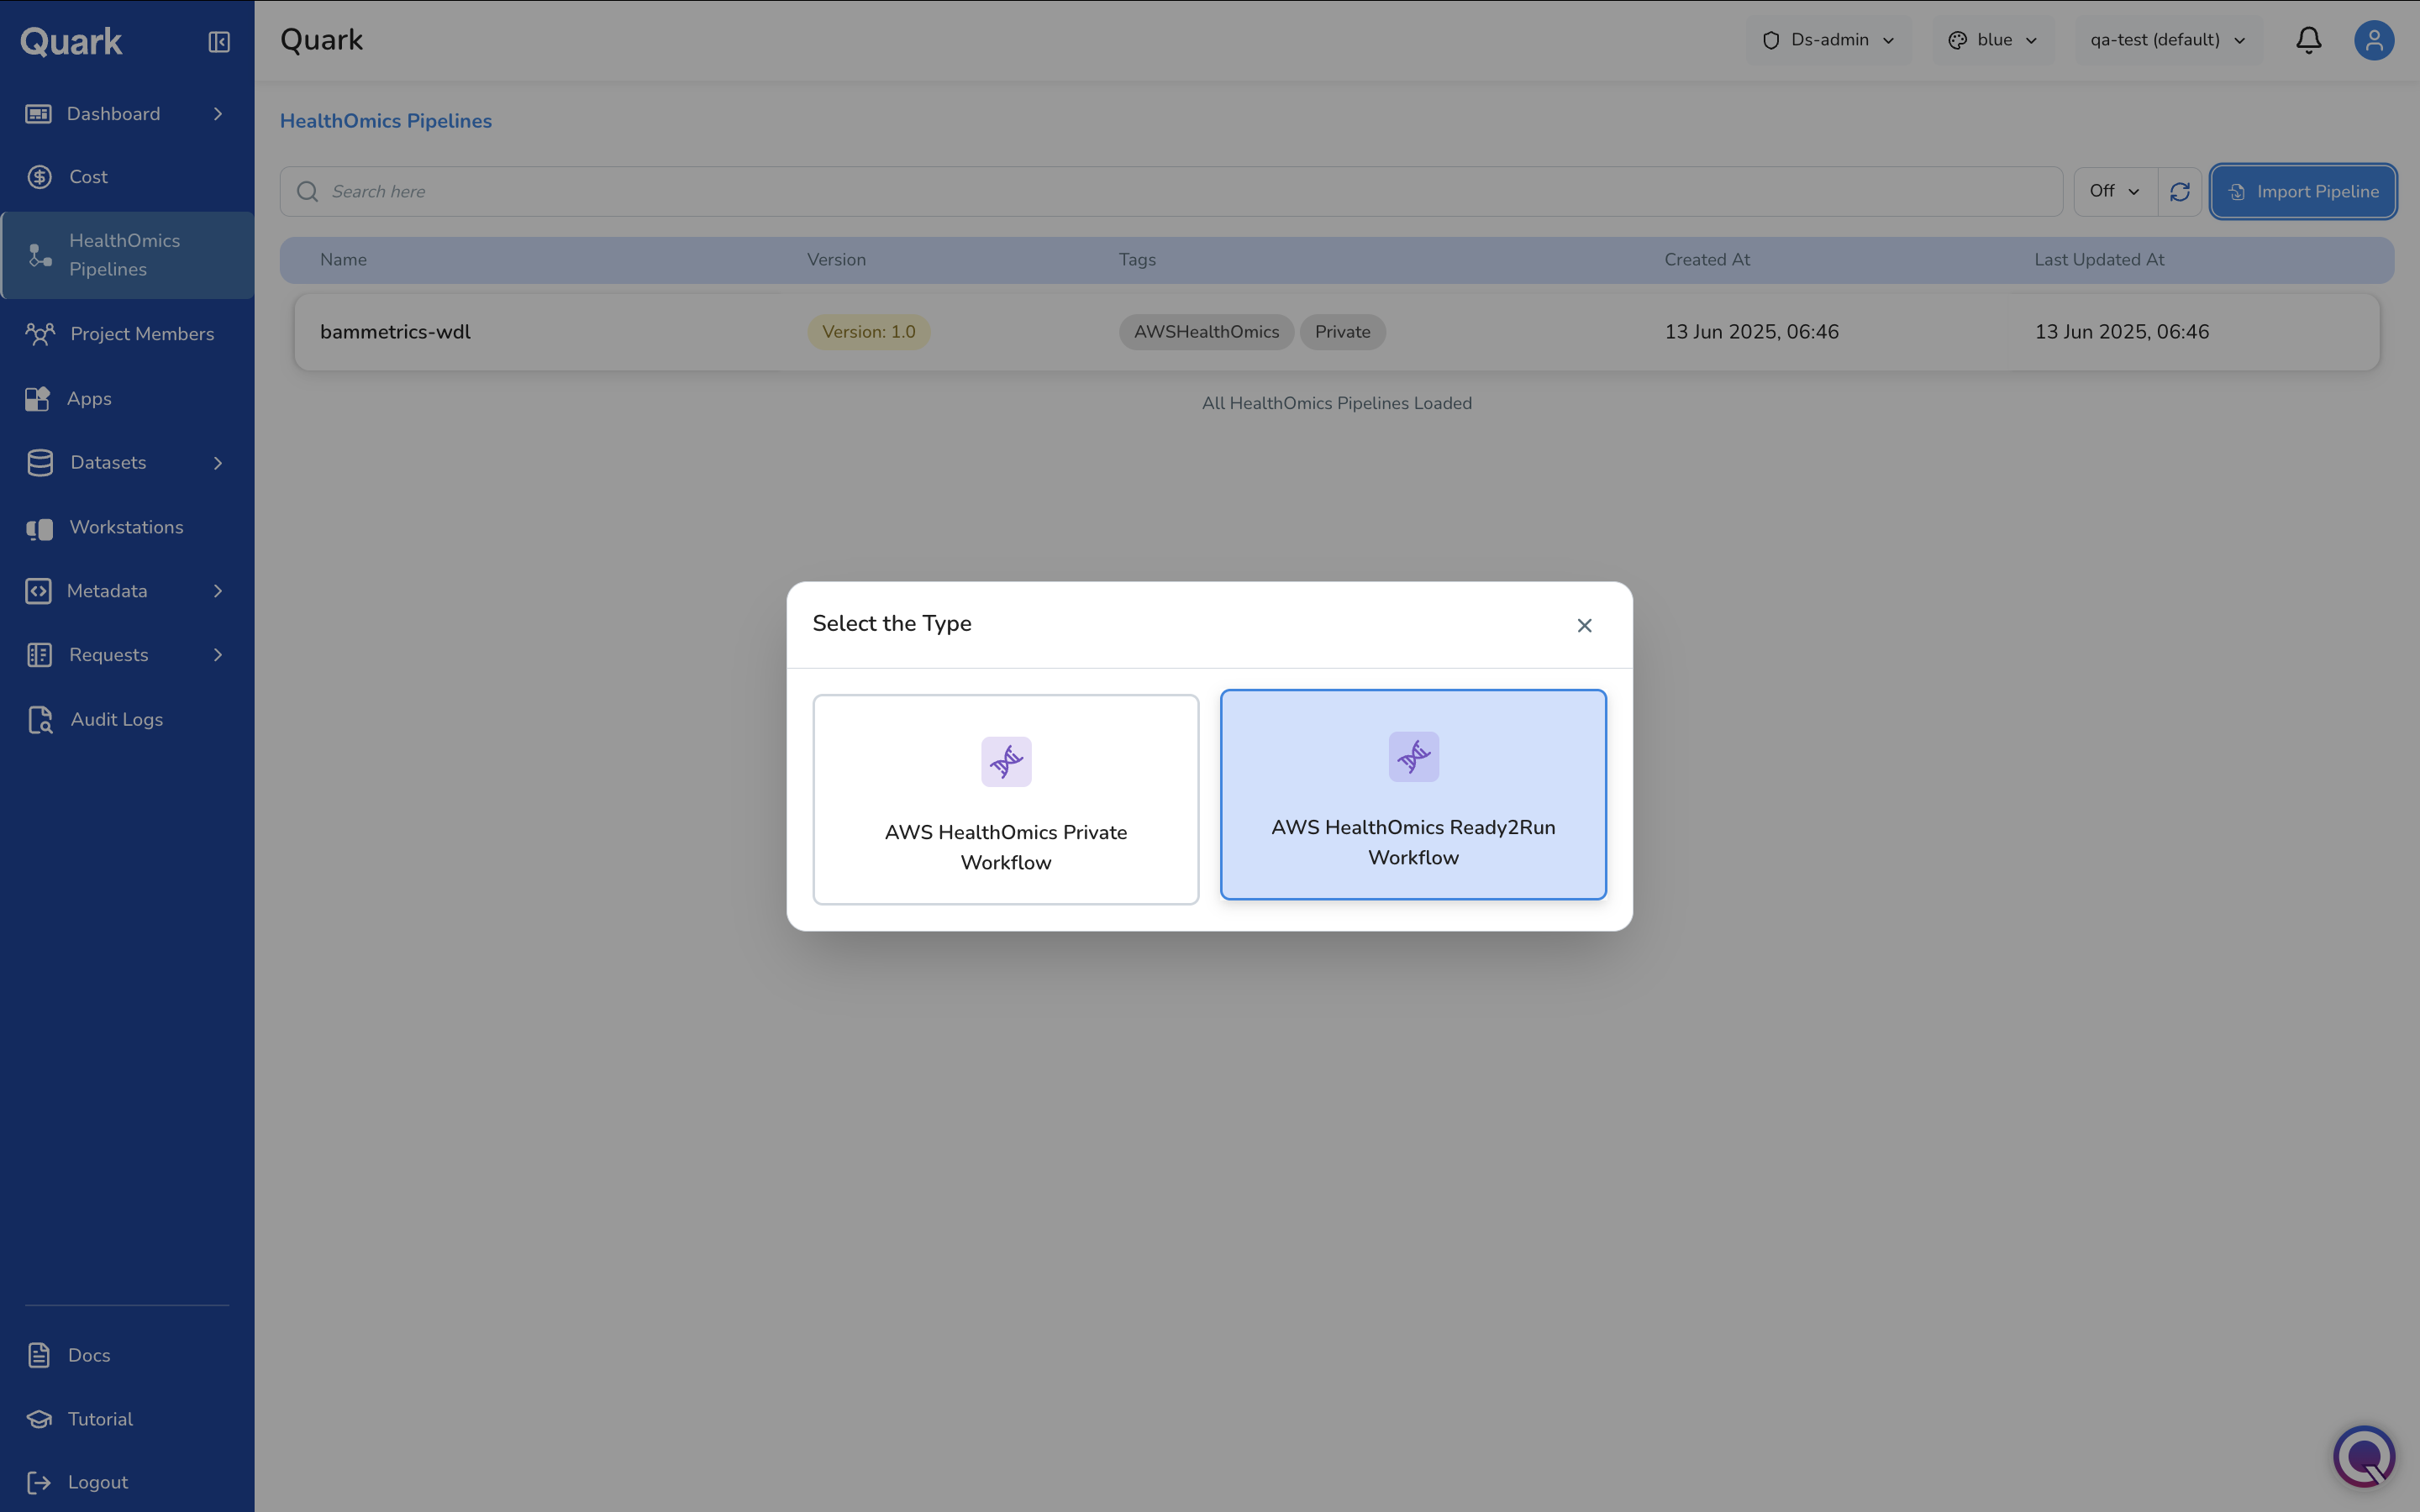
- Click Import Pipeline in the top-right corner.
-
Choose your workflow type from the two options presented:
- AWS HealthOmics Private Workflow
- AWS HealthOmics Ready2Run Workflow
Importing a Private Workflow
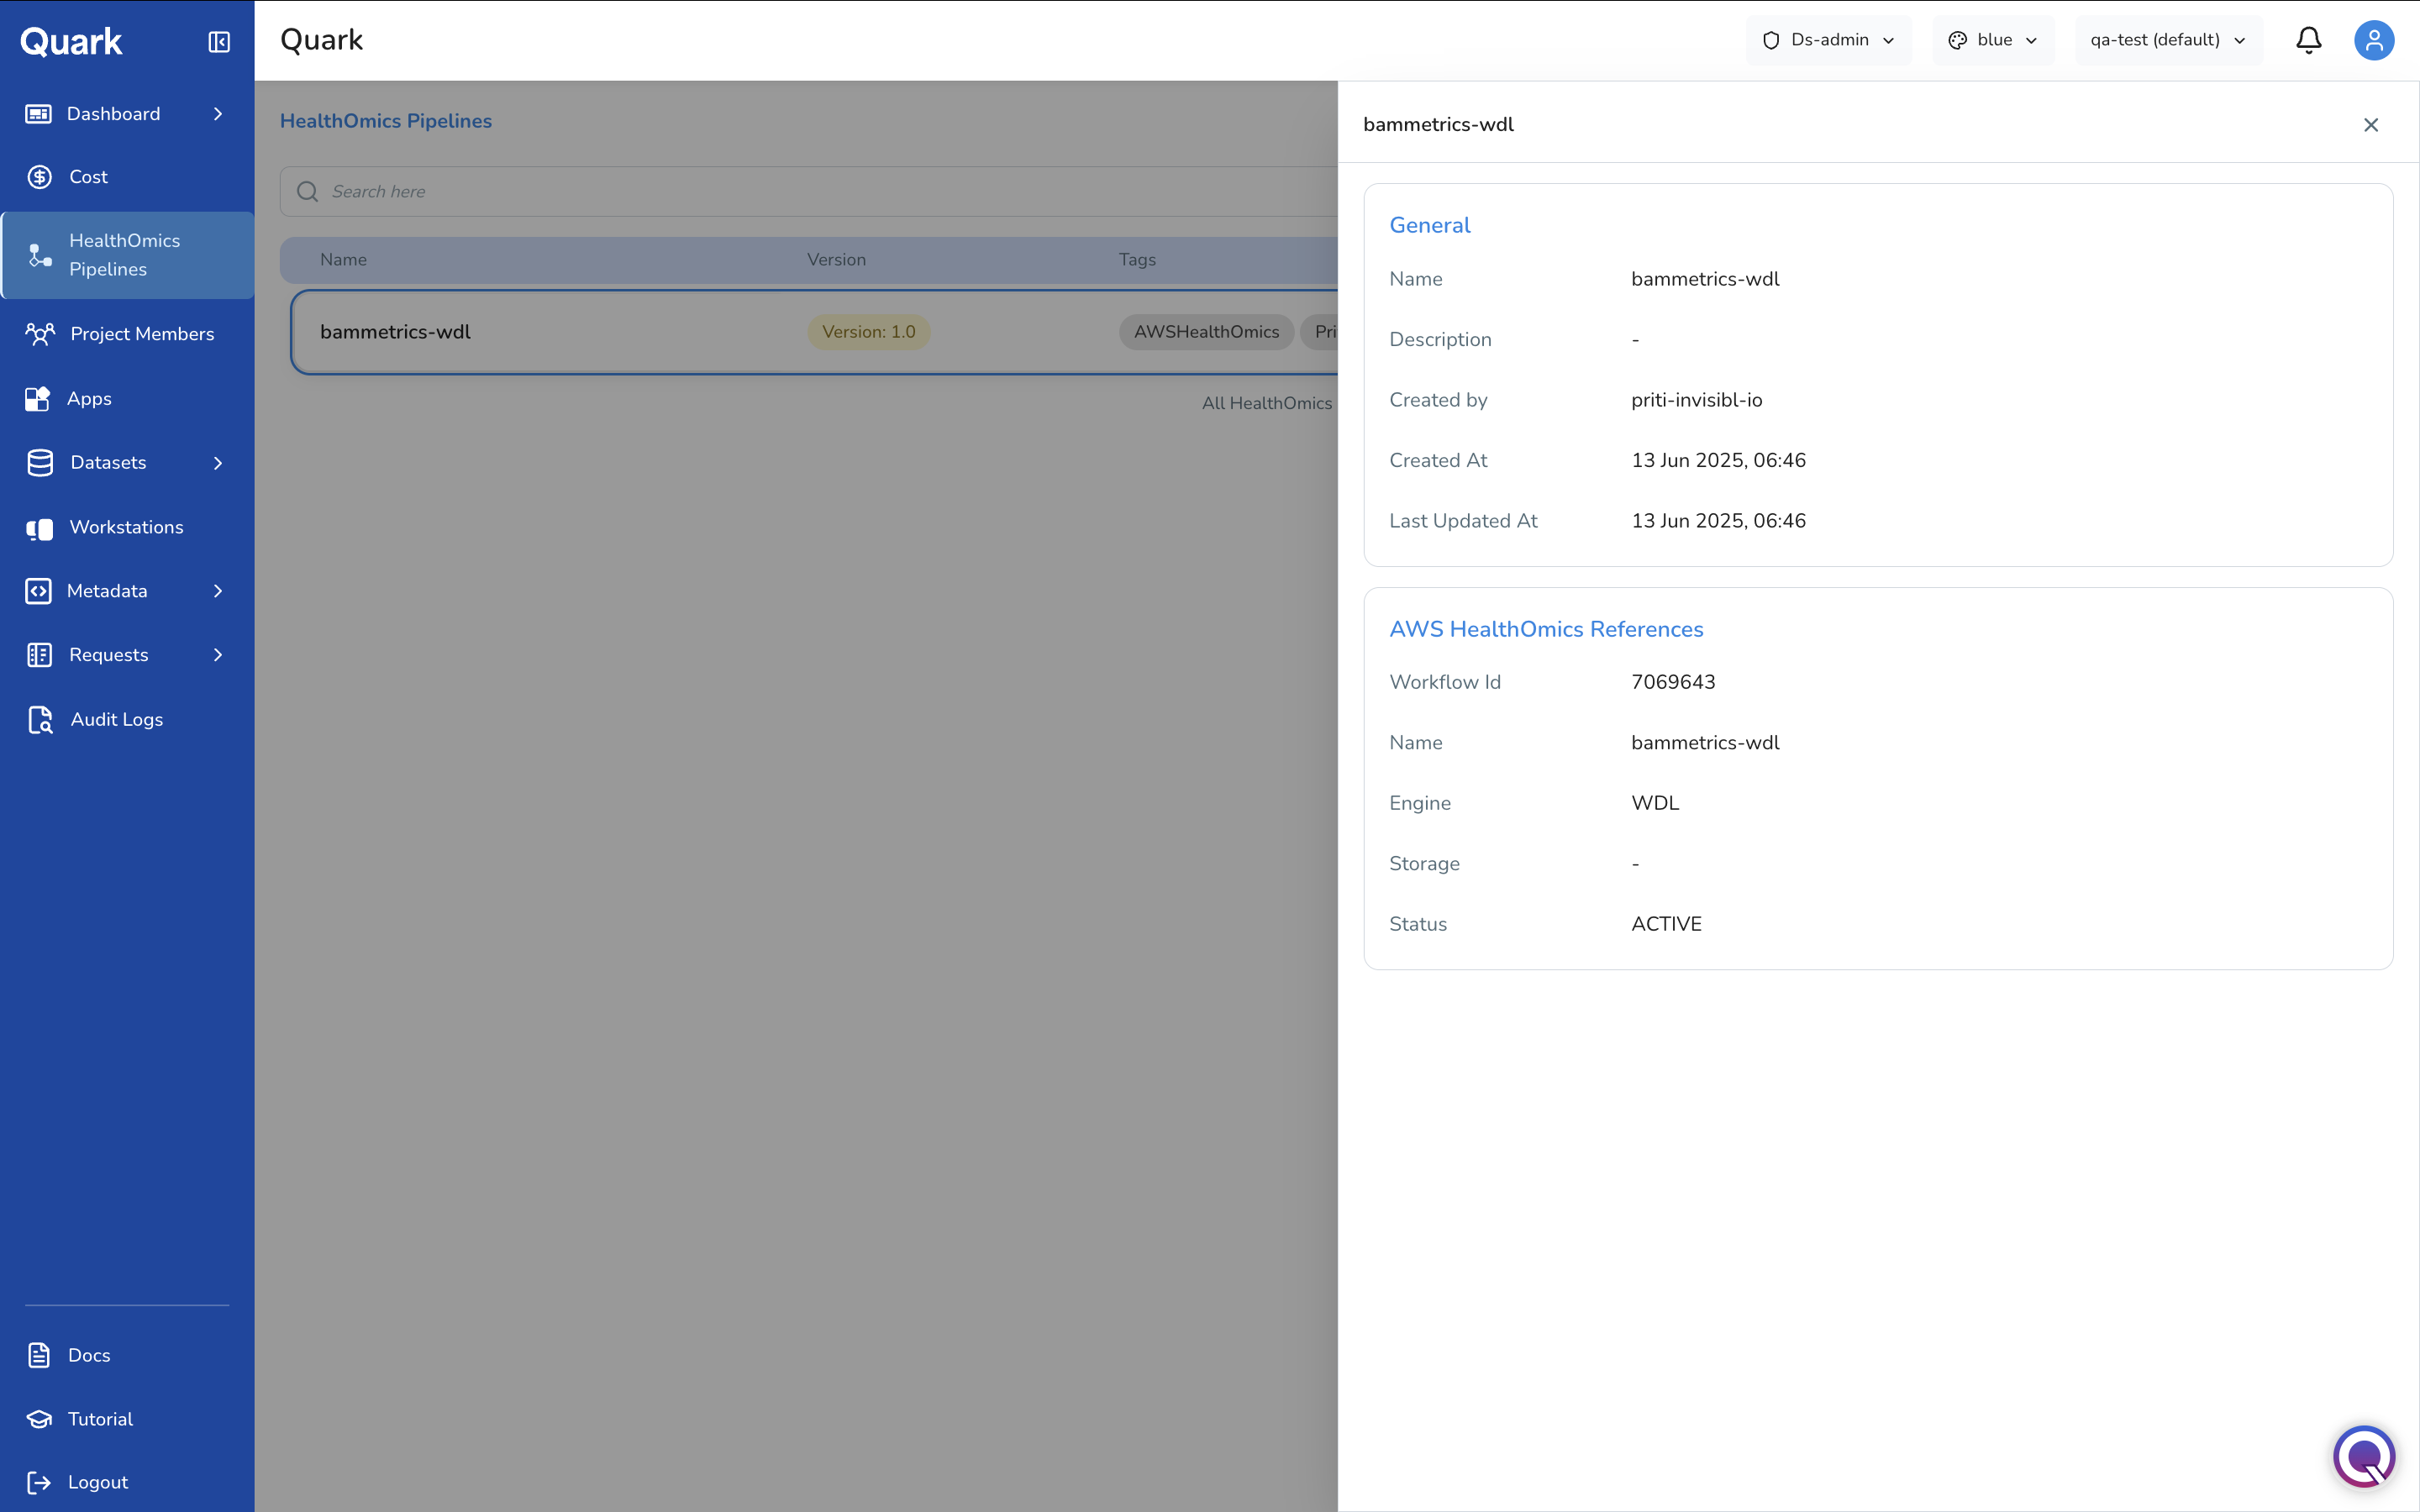
If you select AWS HealthOmics Private Workflow, Quark will display a catalogue of your organisation's private workflows available for import.
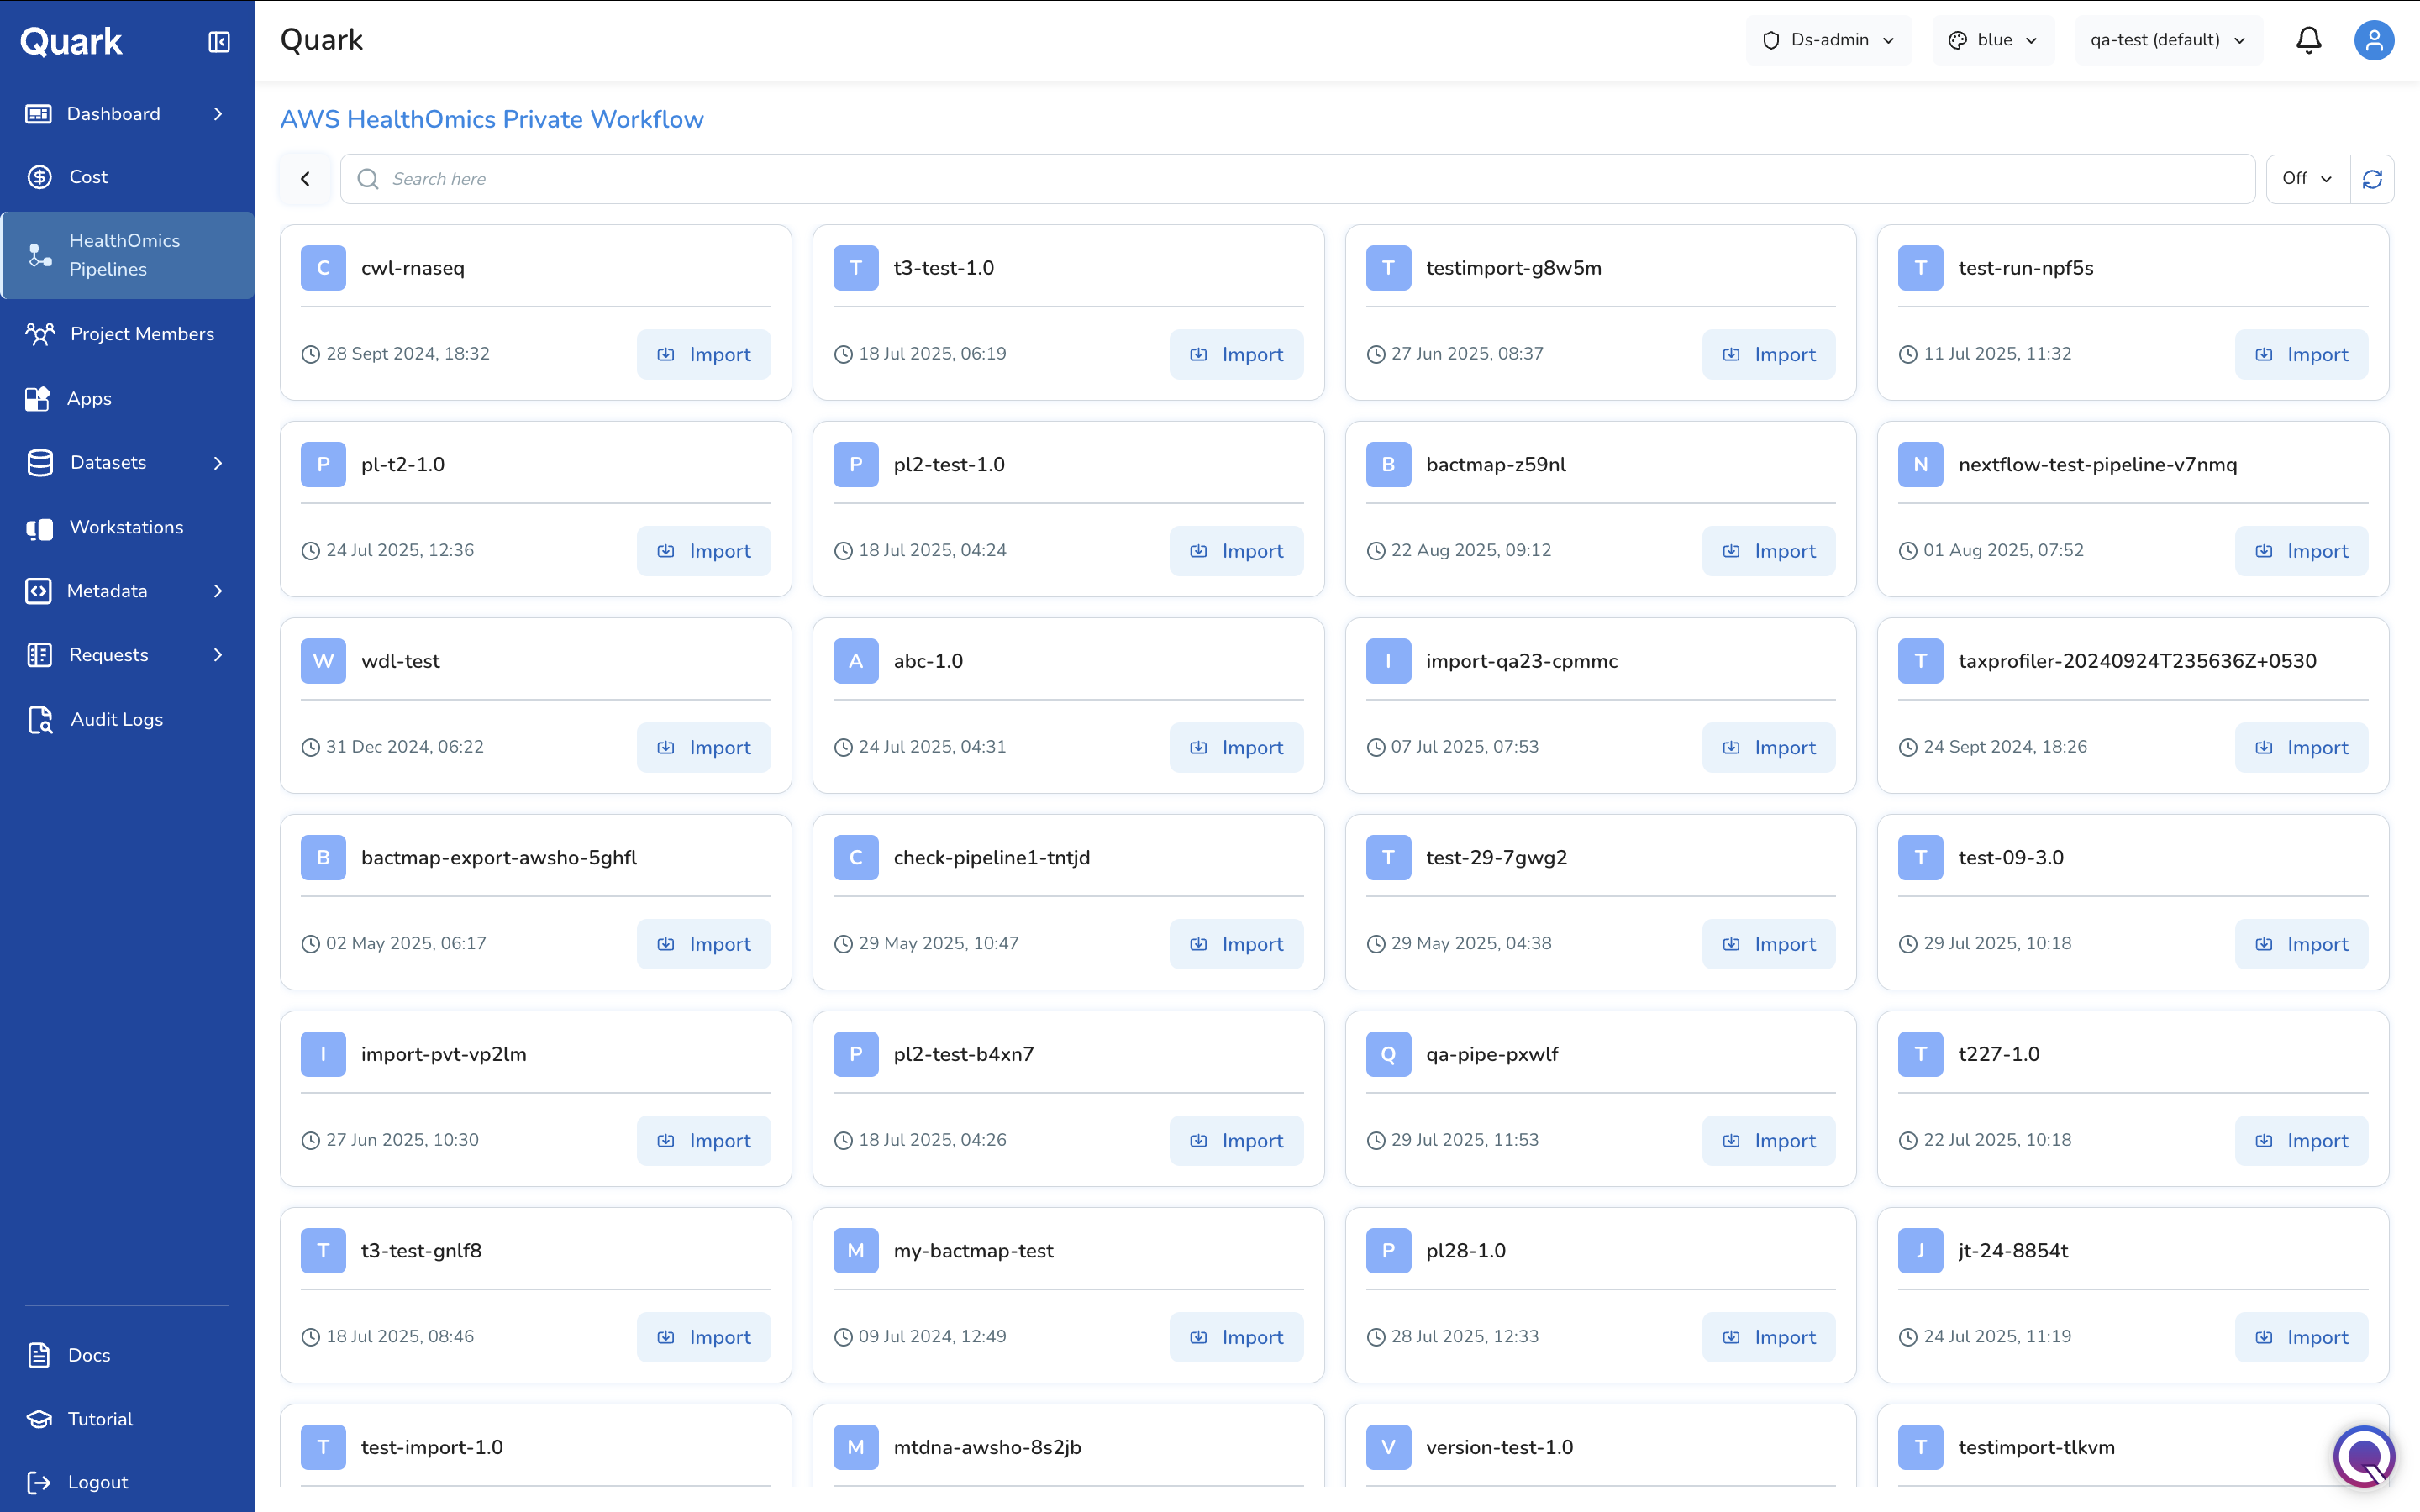
Click a pipeline to get an overview of its requirements.
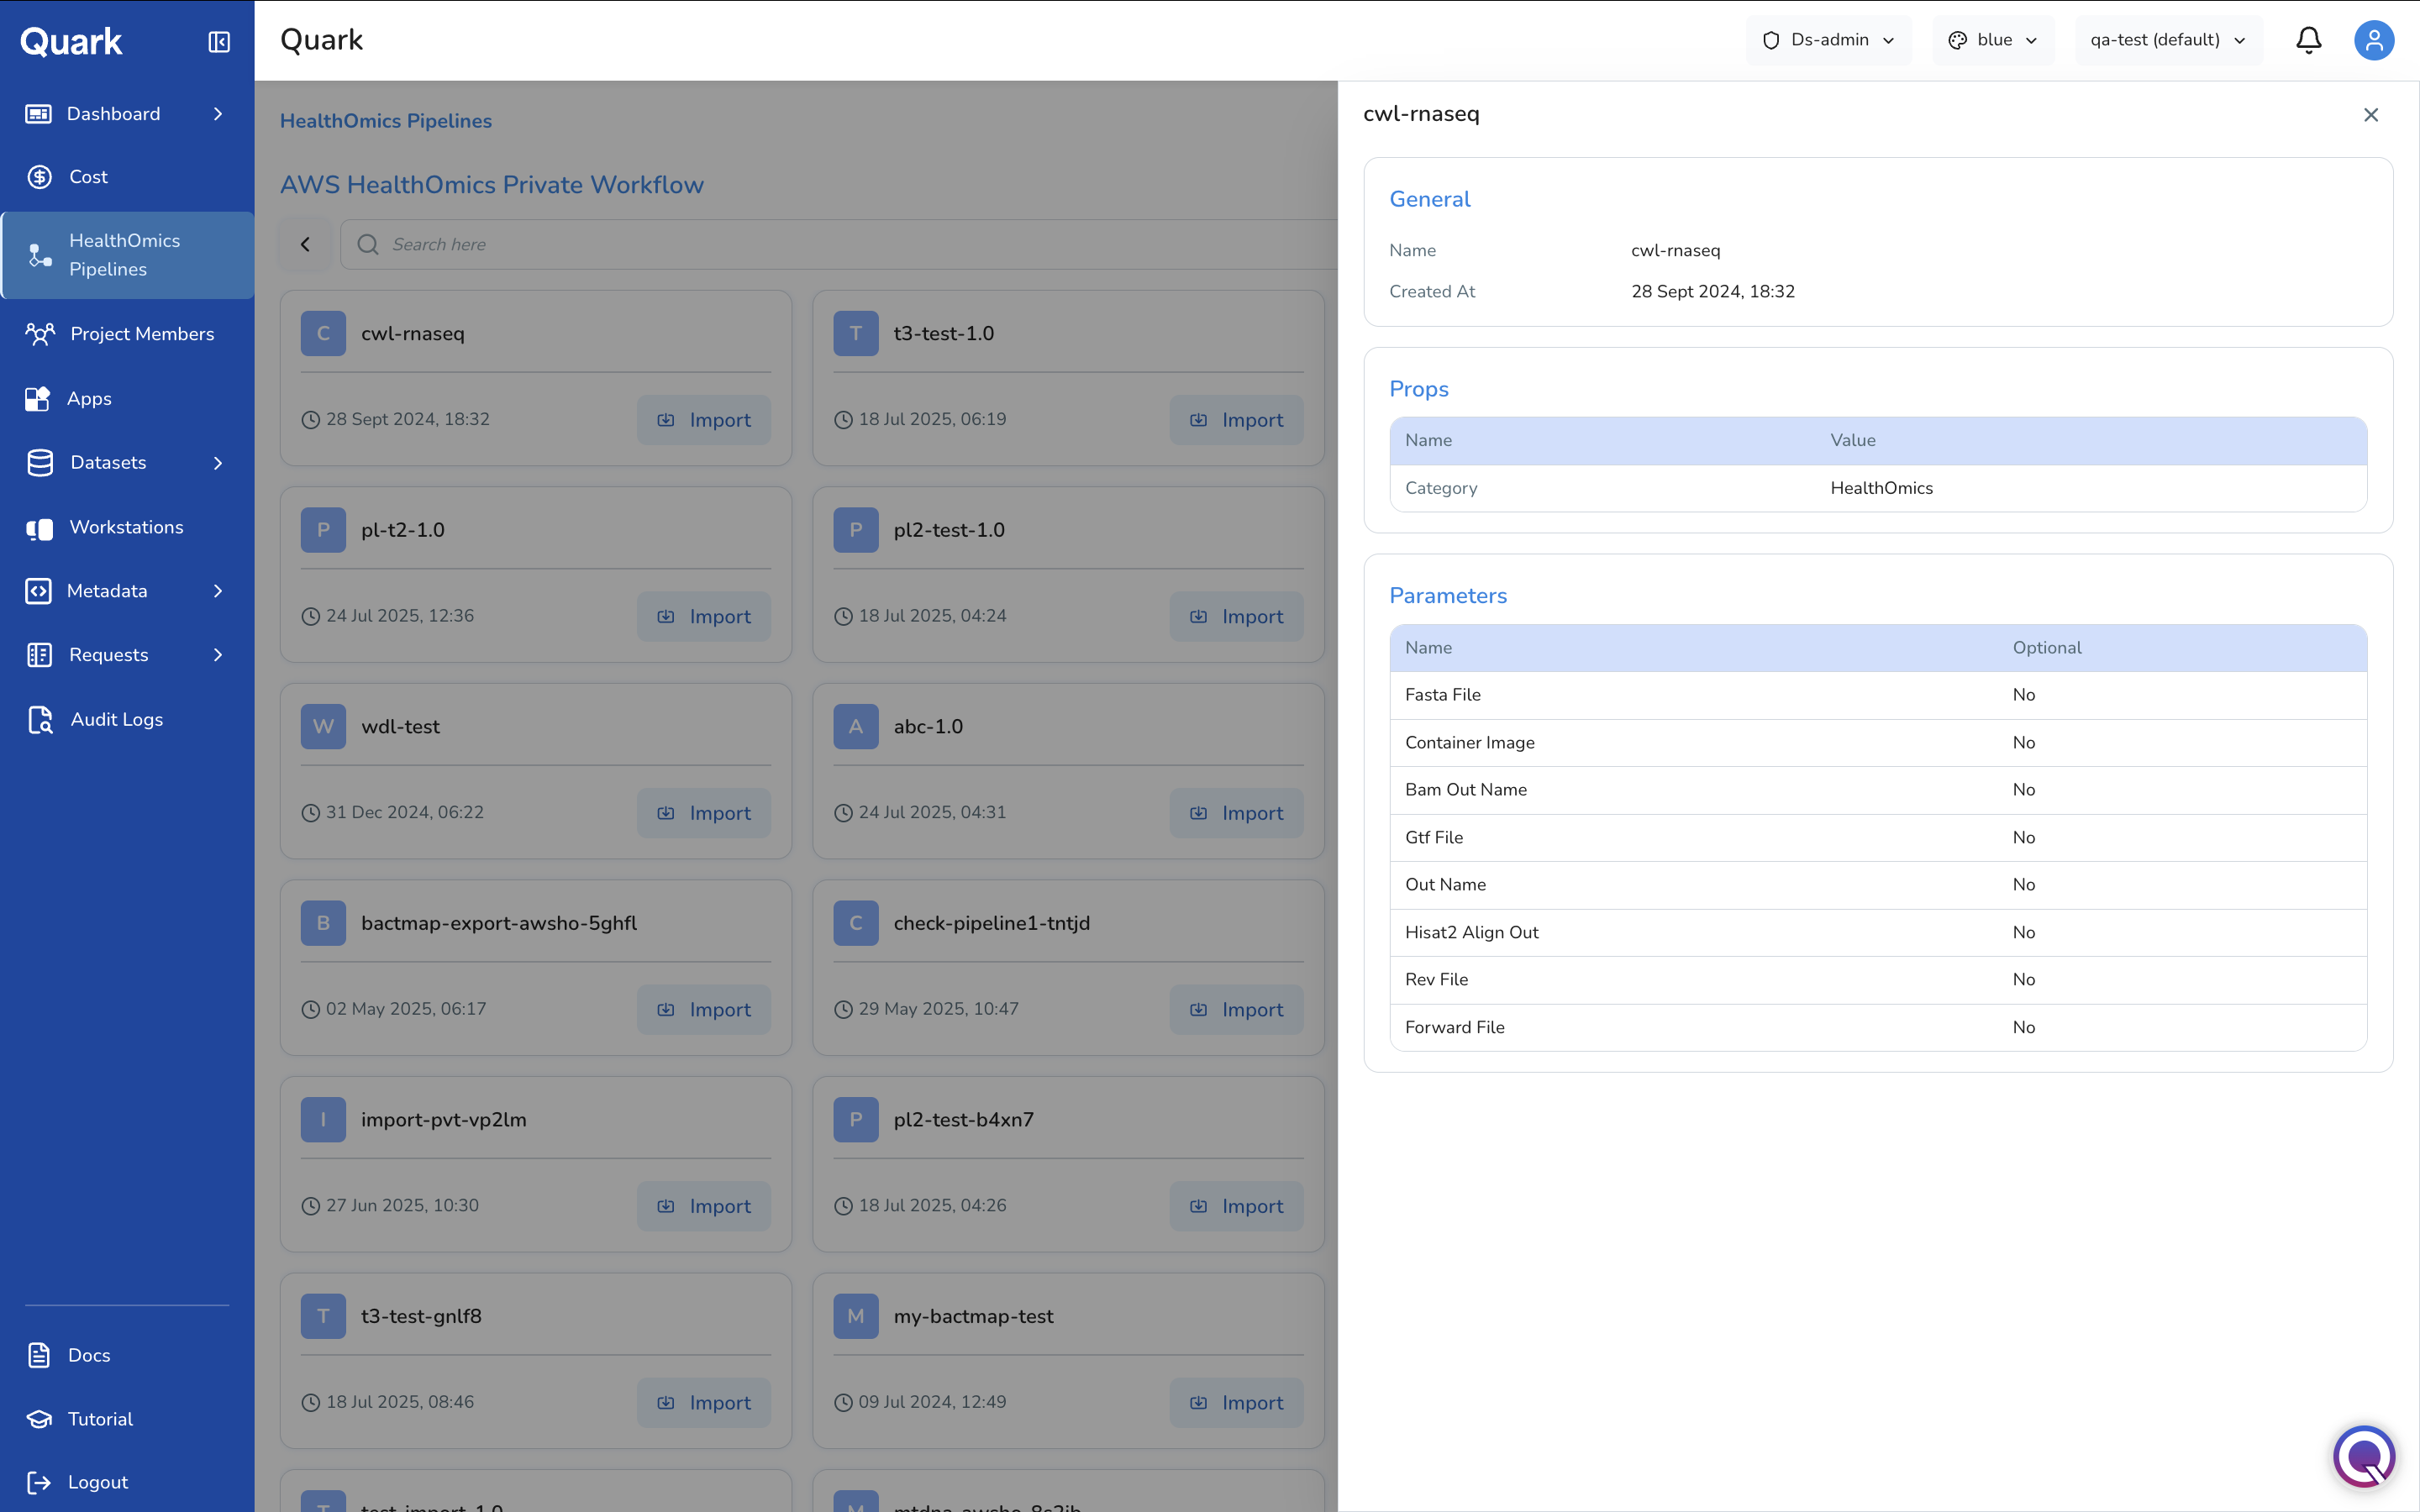
Click Import next to the desired pipeline in the card. You will then be guided through three configuration steps.
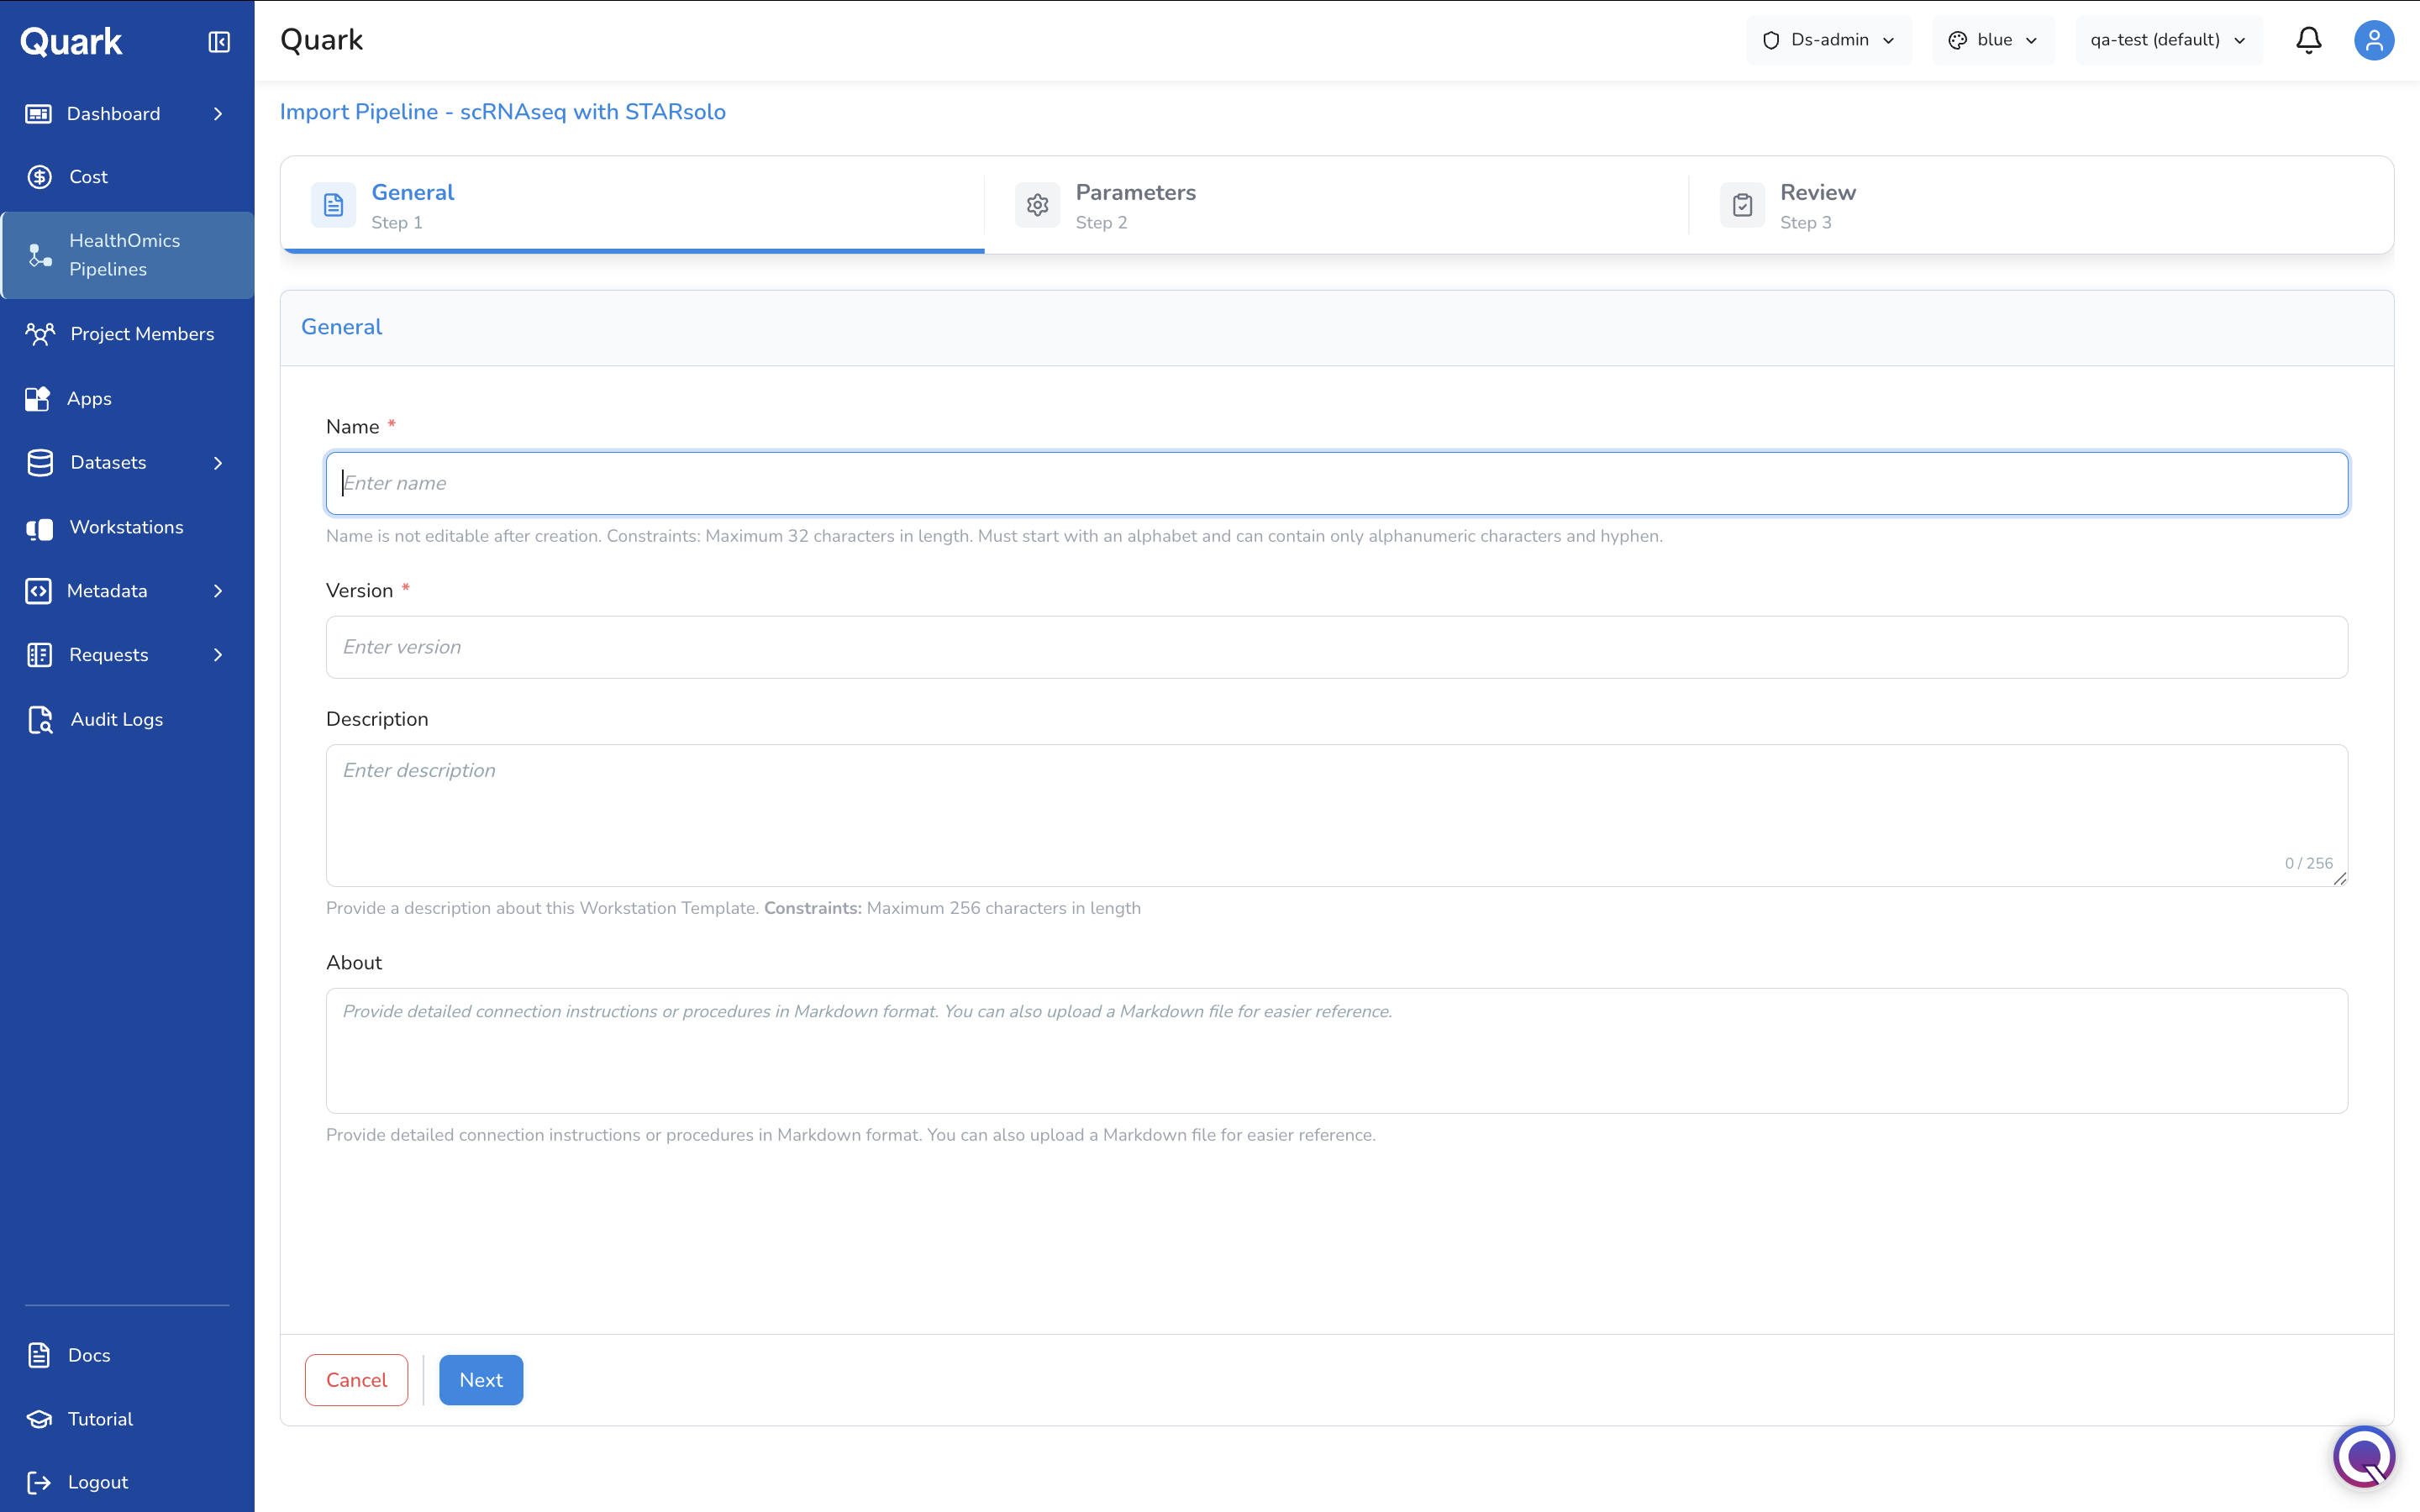
Step 1: General Parameters
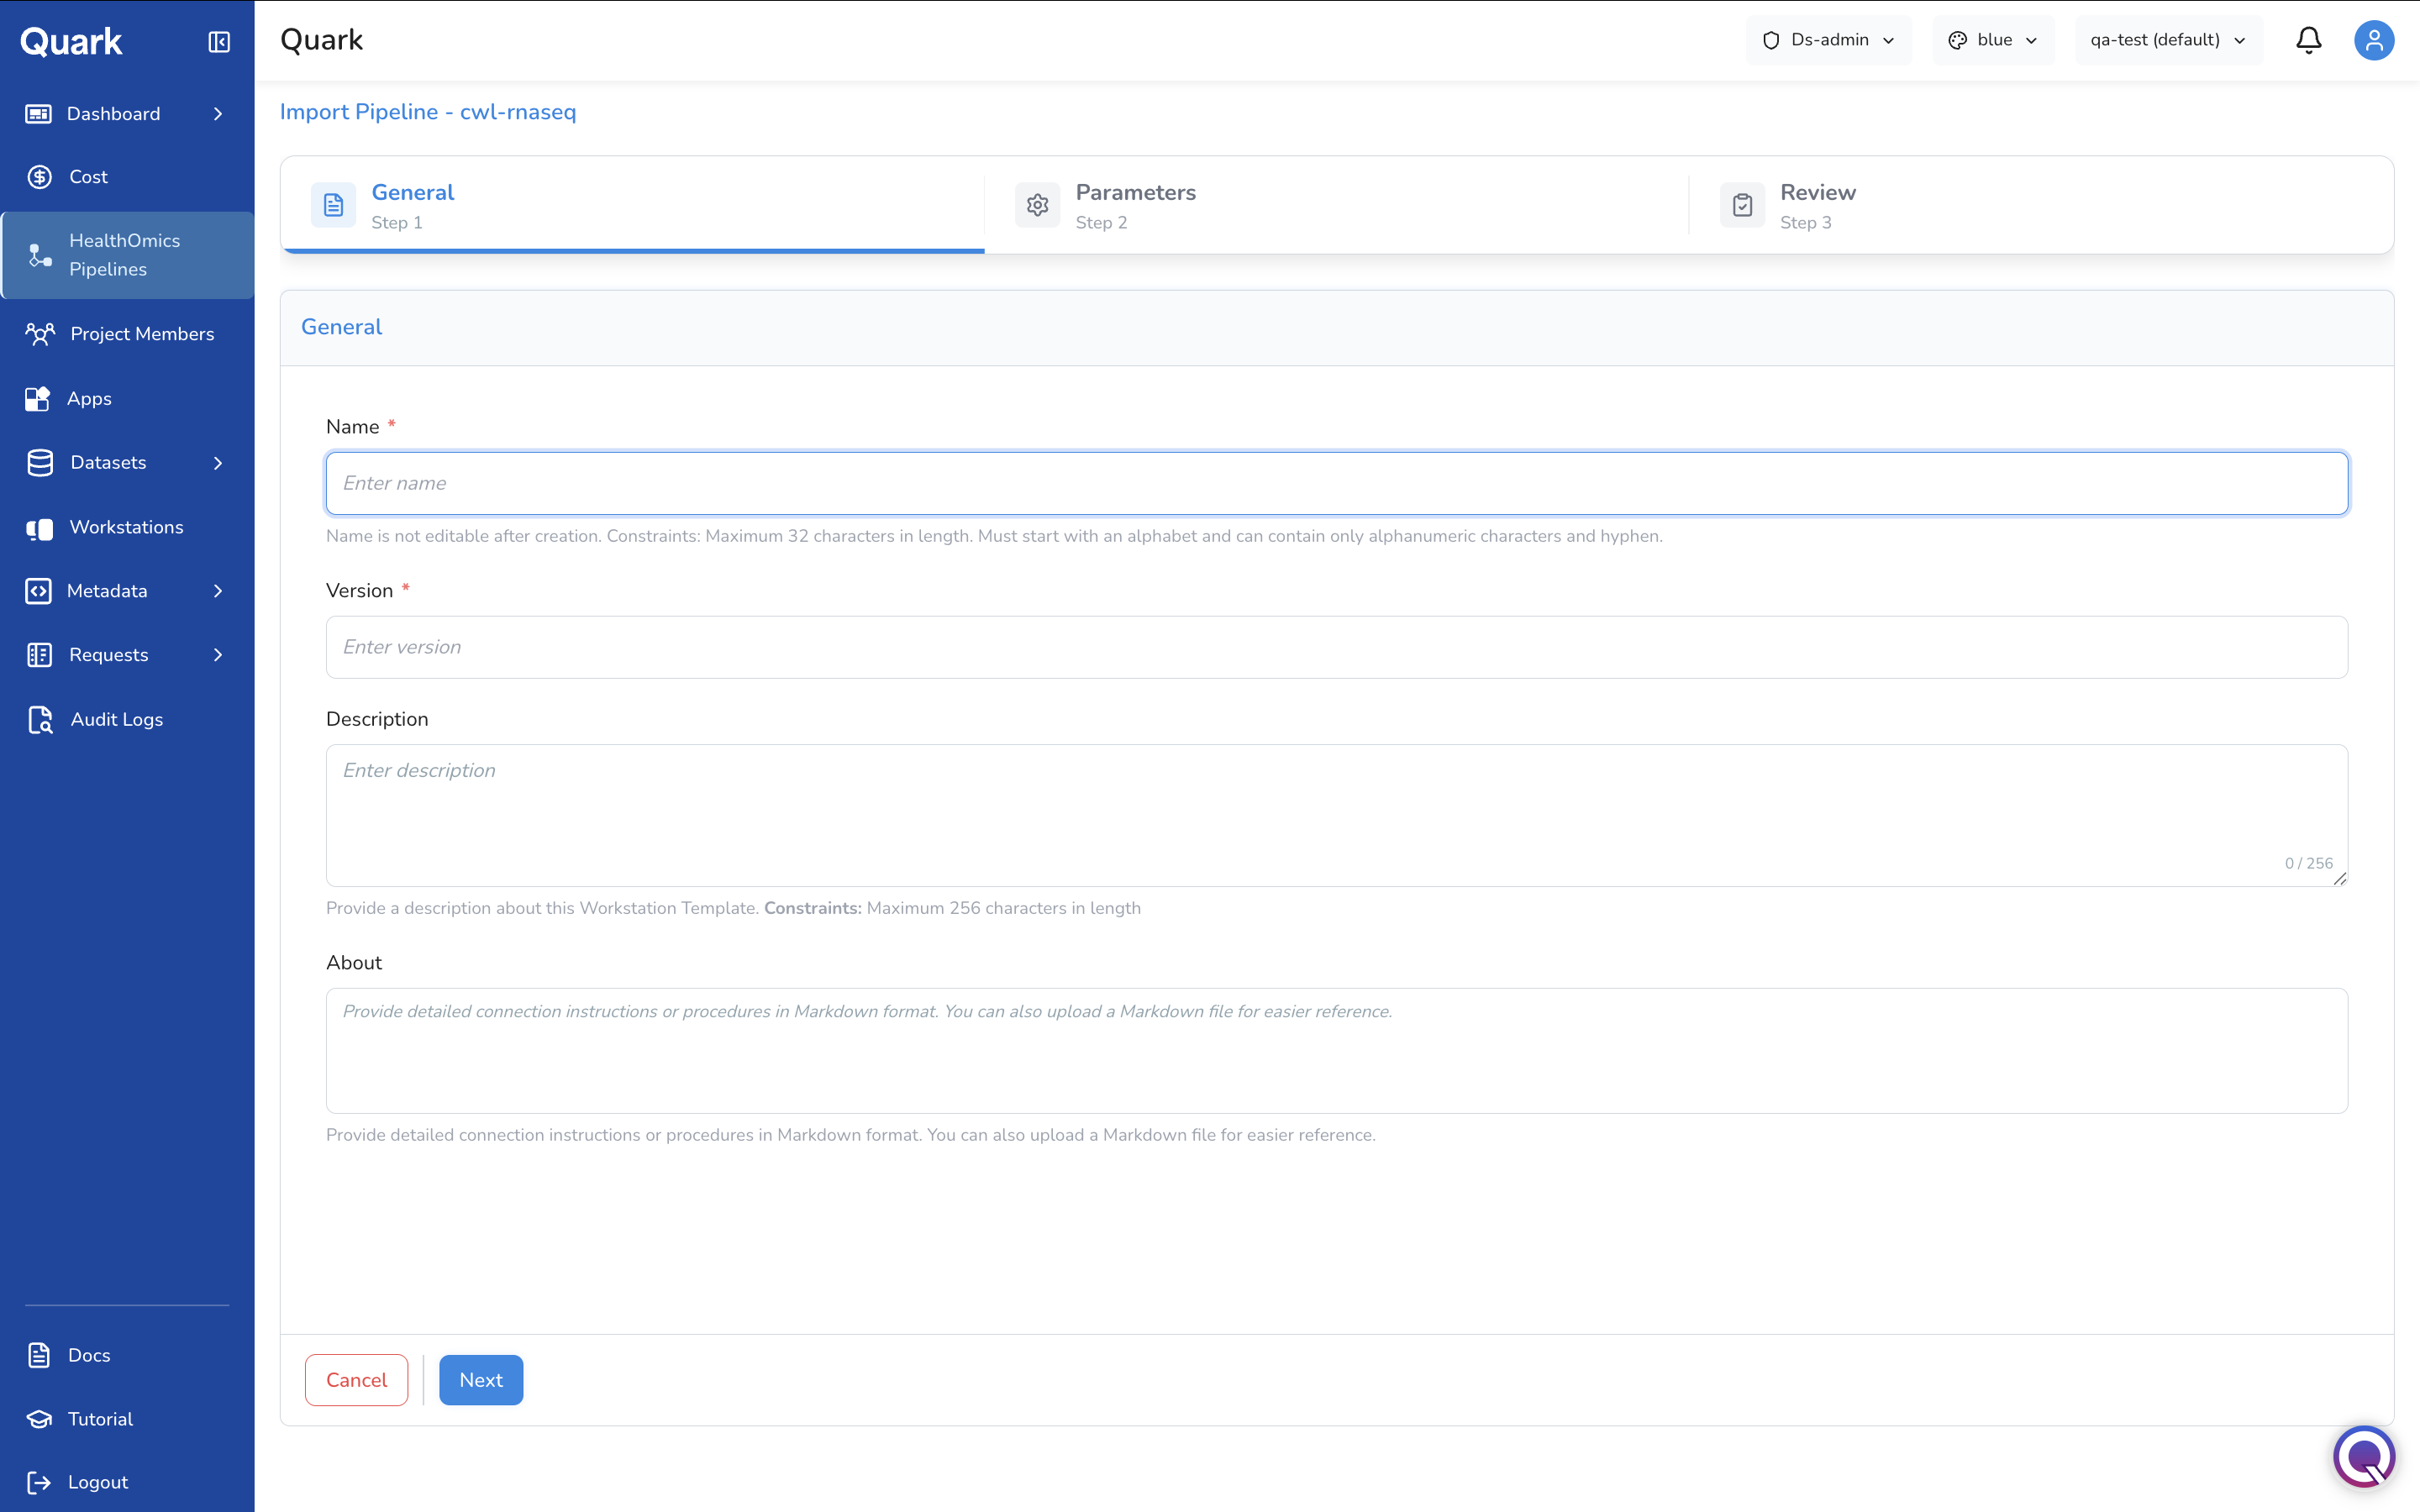
In the above form, fill in the identifying information that users will require when they're browsing for pipelines:
| Field | Description |
|---|---|
| Name | A clear, descriptive name for the pipeline as it will appear in the catalogue (e.g., GATK-WGS-Variant-Calling-v4). |
| Version | The version number of the pipeline. |
| Description | A plain-language summary of what the pipeline does, its intended inputs, and expected outputs. |
| Other identifying details | Any additional fields relevant to your organisation's cataloguing convention. |
Tip: A well-written name and description significantly reduces the support burden — users can self-serve when they understand what a pipeline does and when to use it.
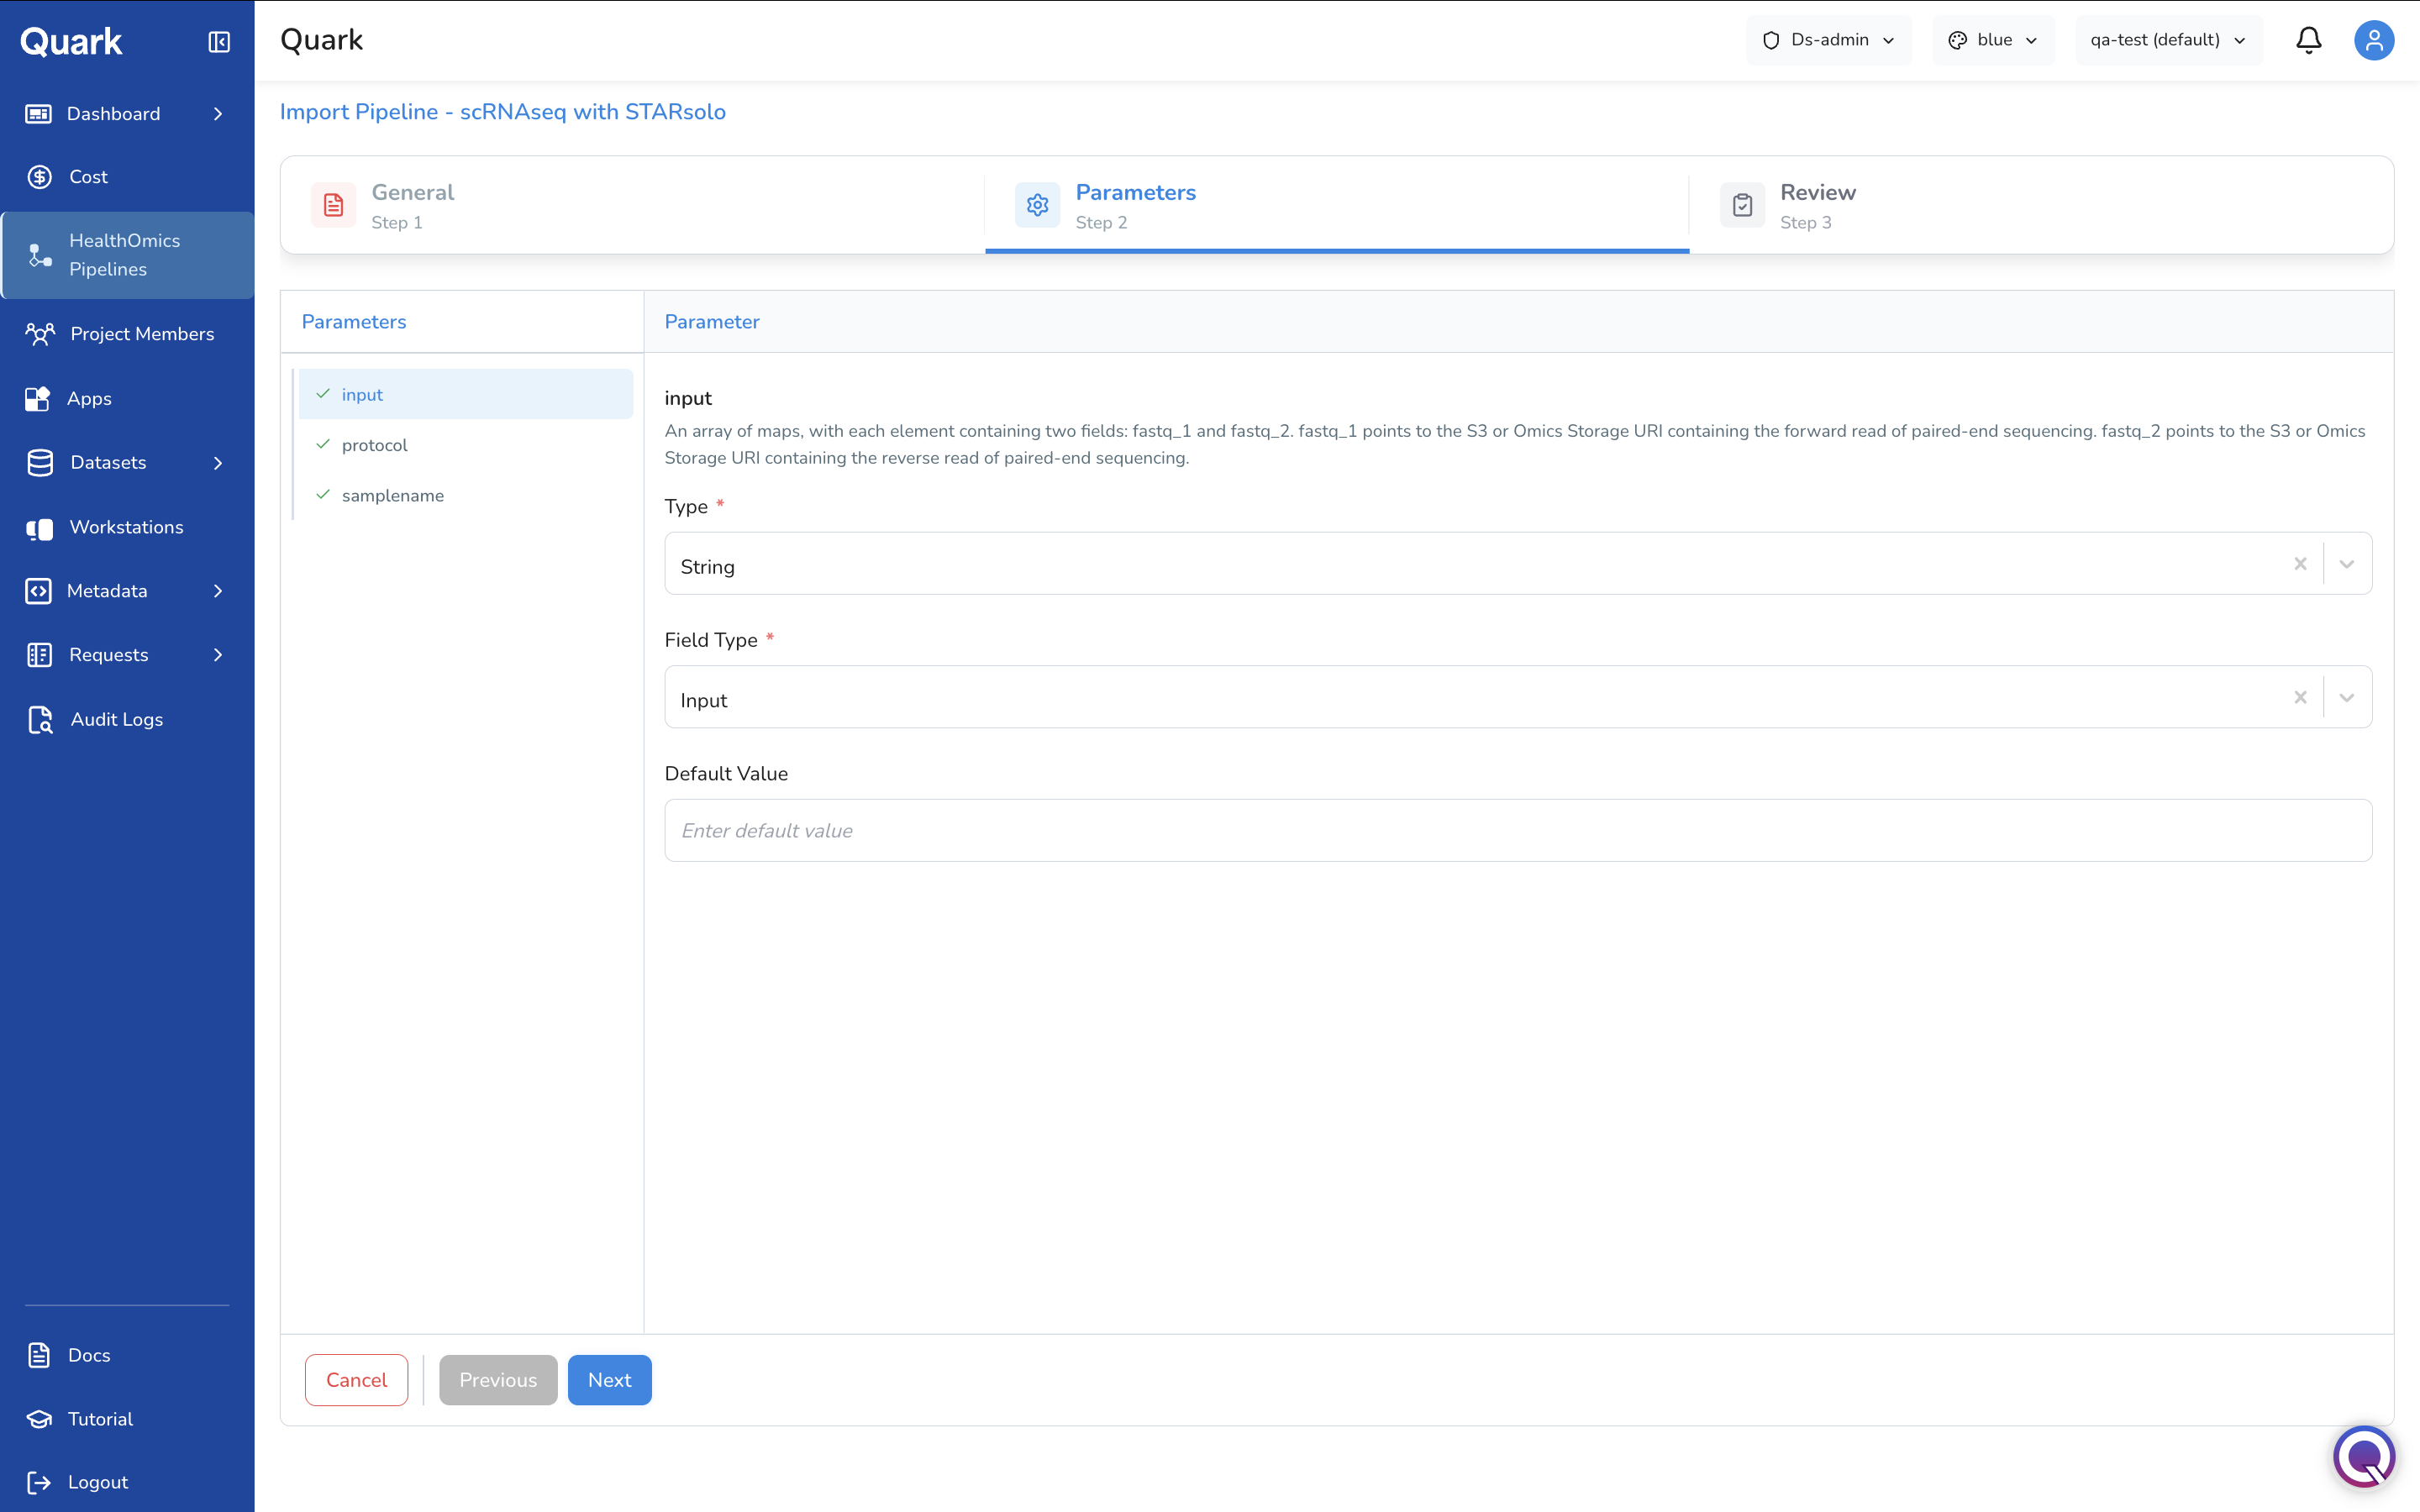
Step 2: Pipeline Parameters
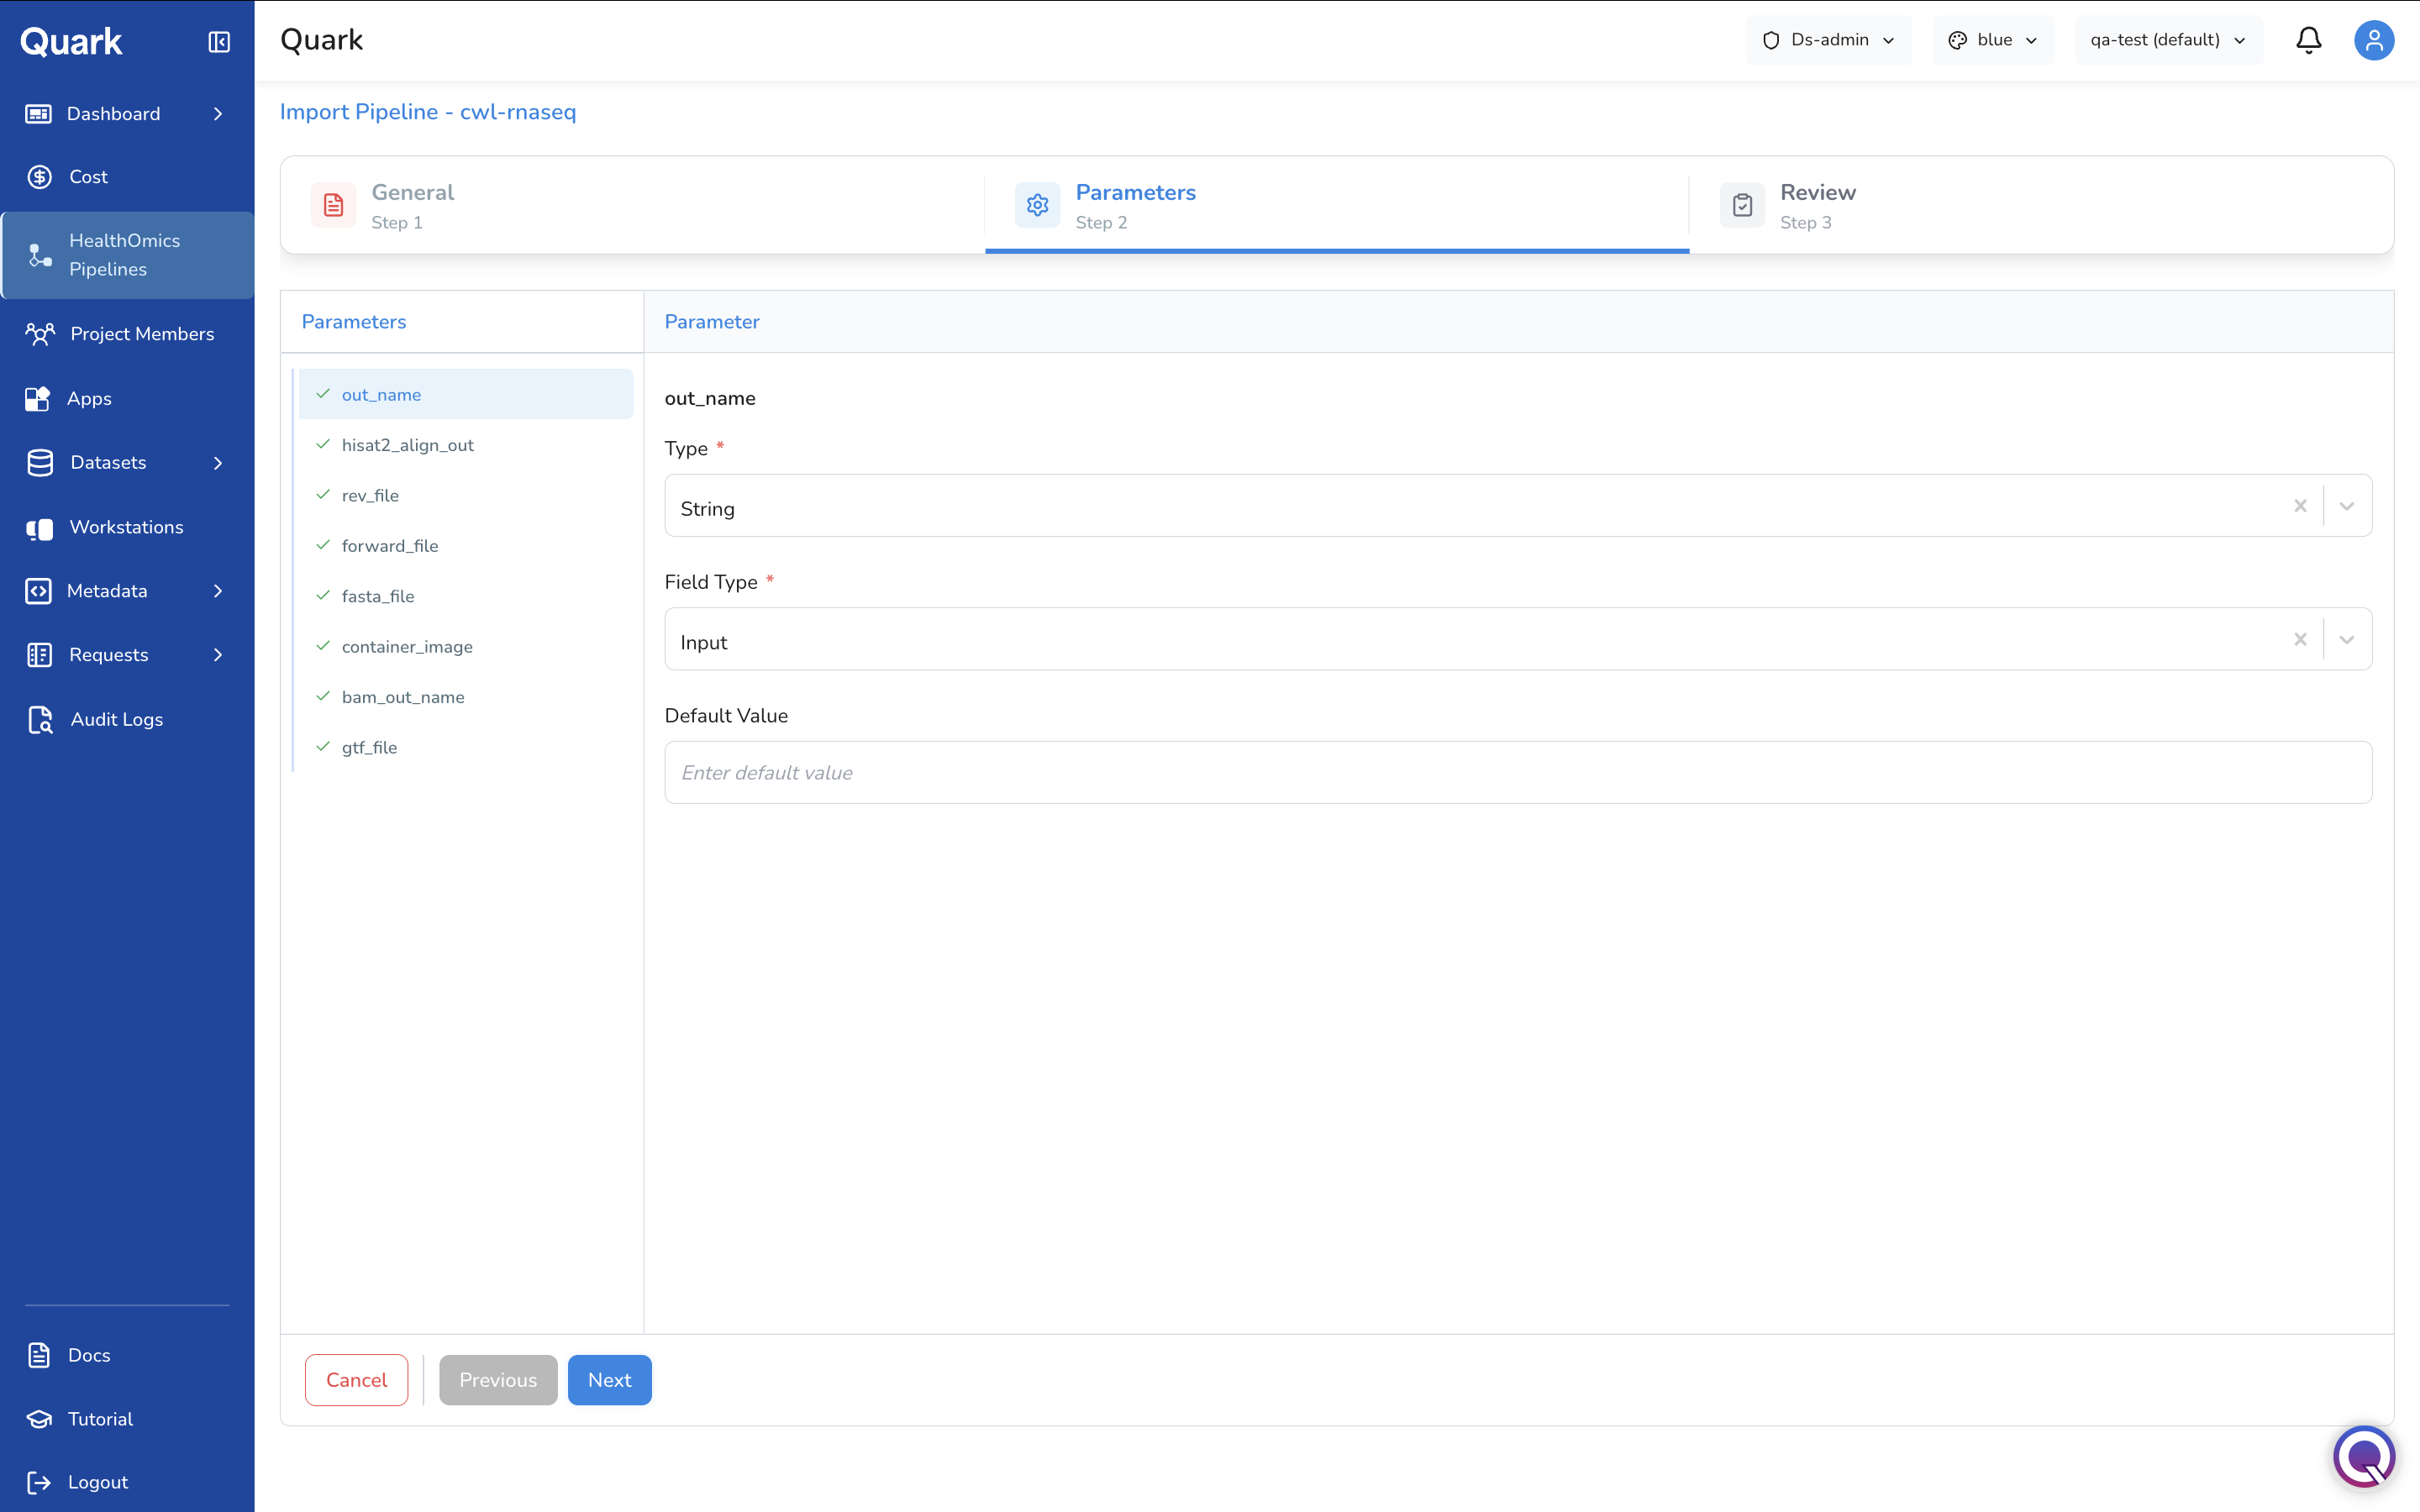
Configure the inputs and parameter definitions that users will interact with when launching the pipeline.
- Upload parameter definitions — provide the parameter schema (e.g., a reference genome as a file input).
- Set data types for each parameter:
string,integer, orBoolean. - Specify file input types where a parameter expects a file (e.g., FASTQ, BAM, VCF).
- Set default values for parameters where a sensible default exists — this reduces friction for users who do not need to customise every setting.
Step 3: Review and Create
Review all pipeline details and parameter configurations before finalising the import.
- Check that names, versions, and descriptions are accurate.
- Confirm that parameter types and defaults are set correctly.
- Click Create to publish the pipeline to the user catalogue.
Once created, the pipeline becomes immediately discoverable by bench scientists and bioinformaticians from their pipeline catalogue.
Importing a Ready2Run Workflow
If you select AWS HealthOmics Ready2Run Workflow, Quark displays the catalogue of AWS-maintained, pre-validated genomics pipelines.
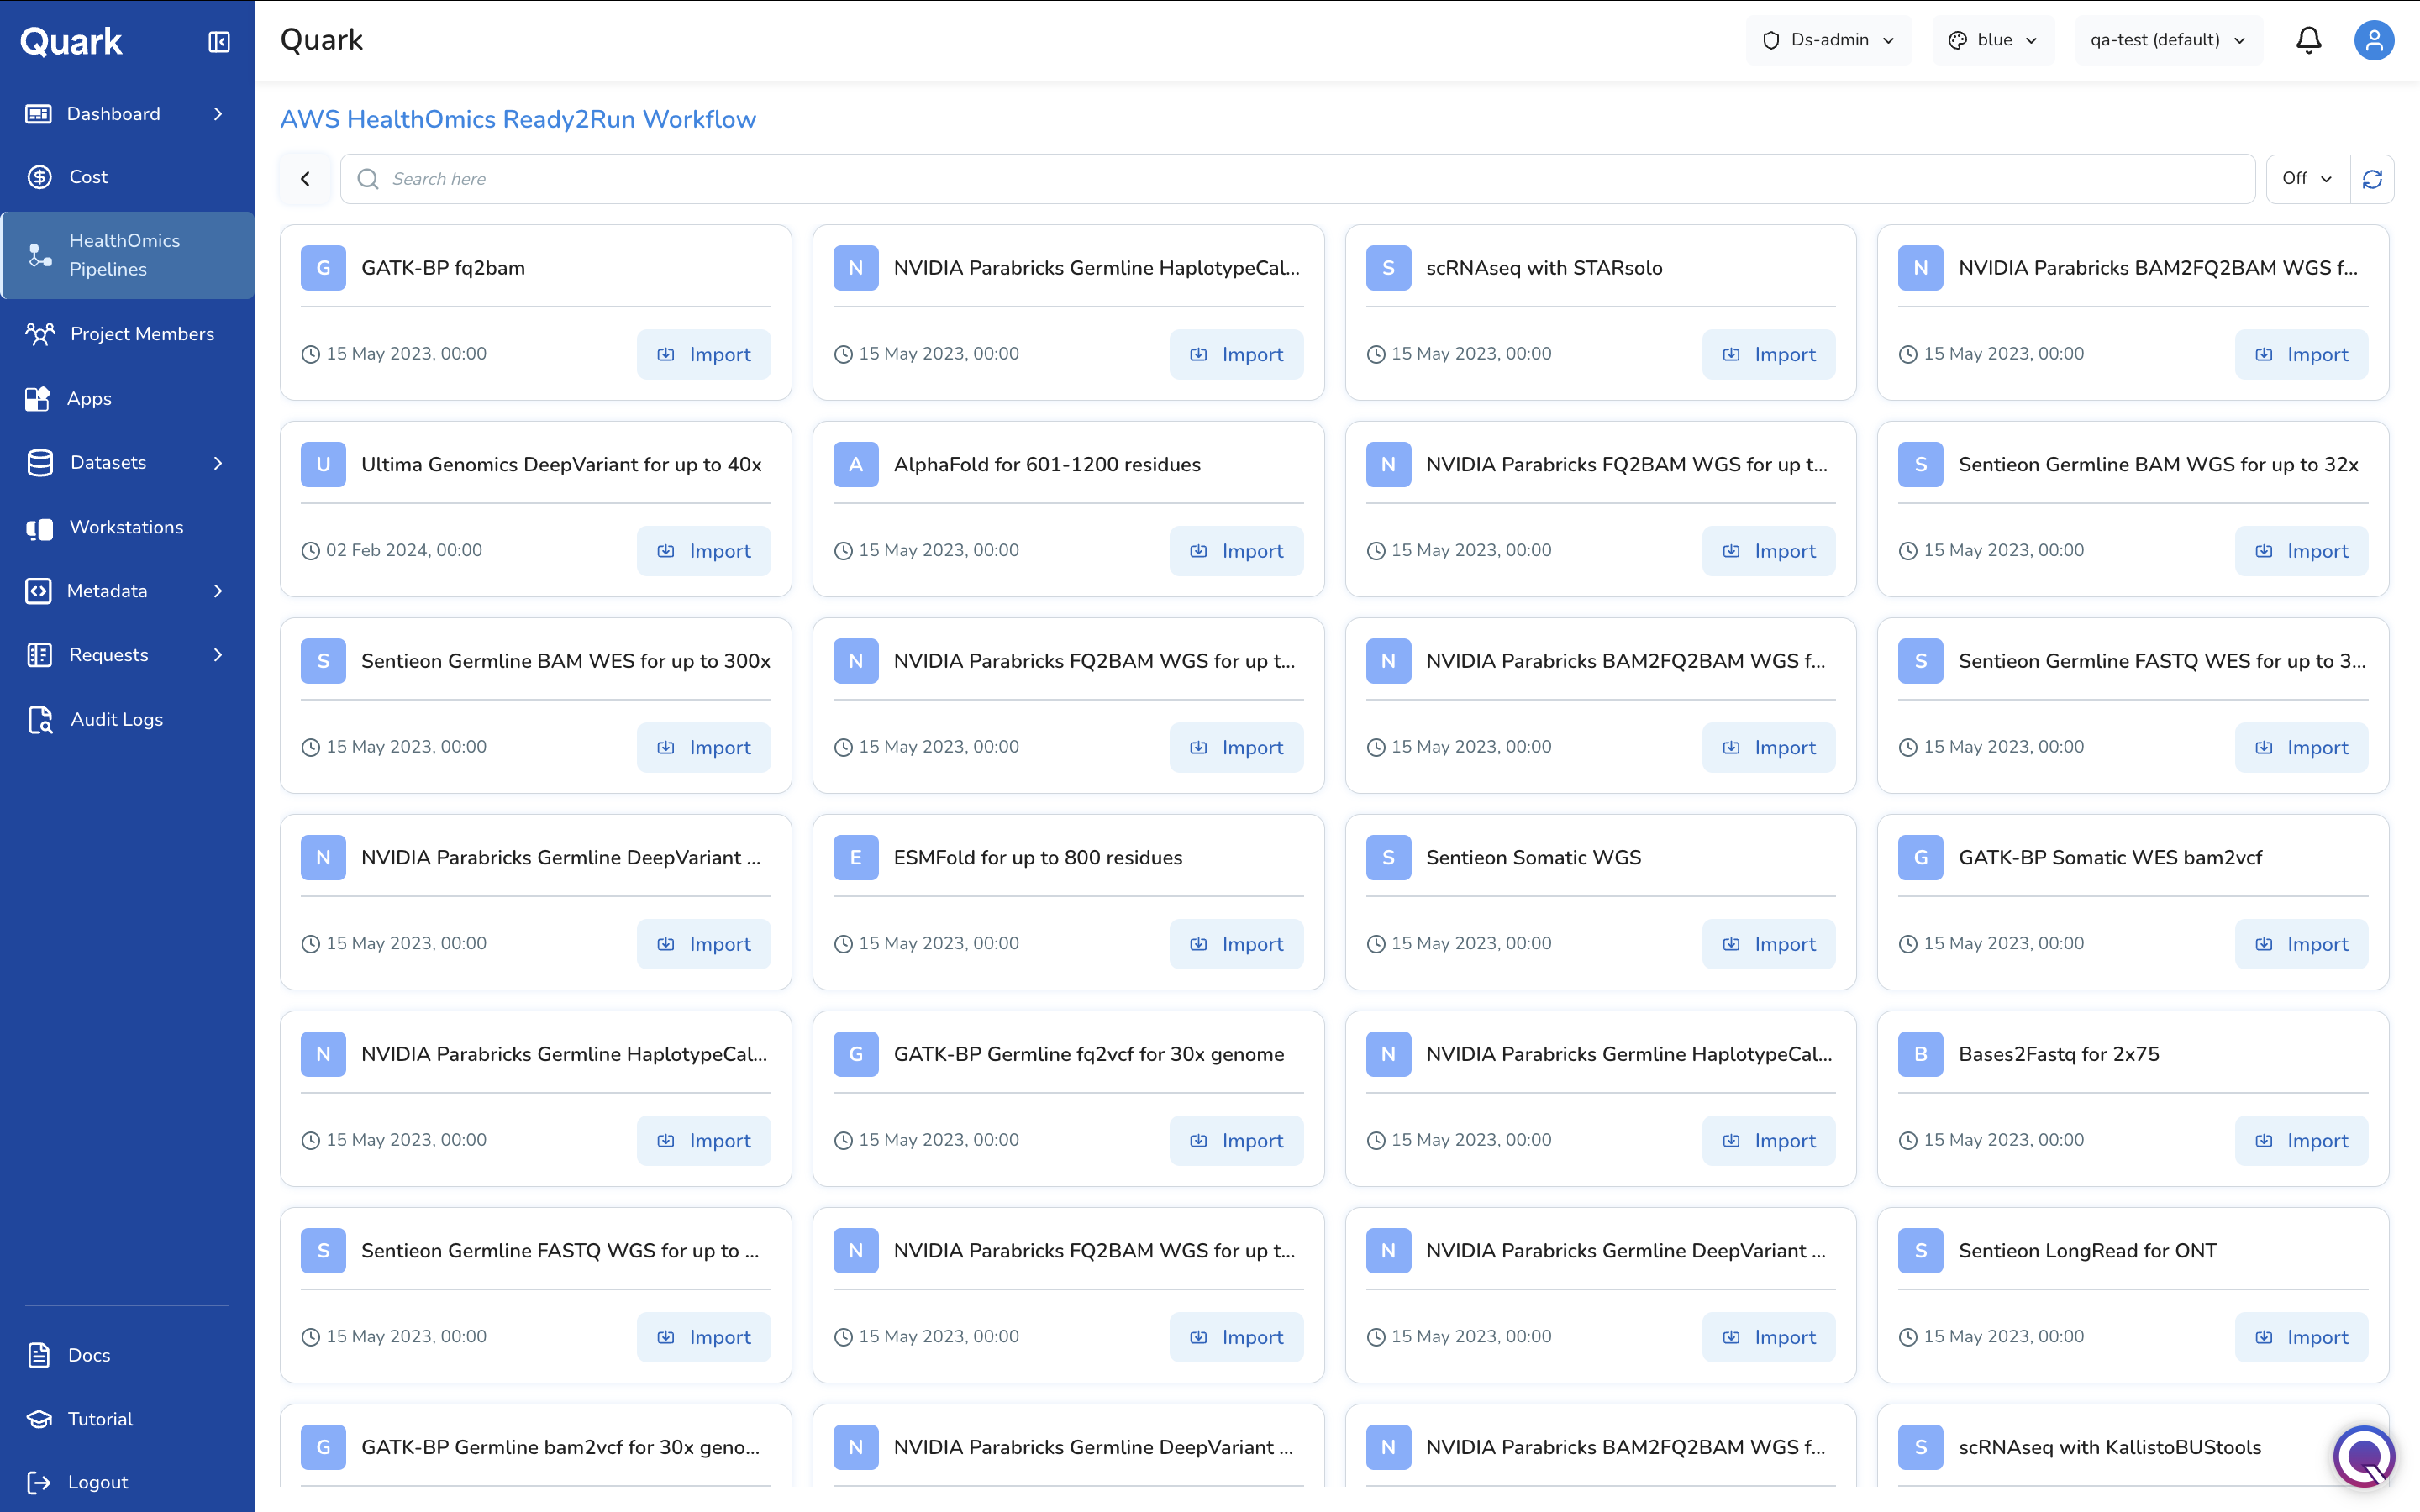
Browse the catalogue, select the appropriate workflow, and follow the same general and parameter configuration steps described above to make it available to your users.
Managing Imported Pipelines
The HealthOmics Pipelines list shows all pipelines you have already imported. From this view you can review their details, update configurations, or remove pipelines that are no longer needed.