Managing Workstation Resources
Overview
Once a workstation is running, you're responsible for keeping its compute size appropriate, its cost in check, and its uptime sensible. This page covers the parts of a workstation's detail view that handle resource management: adjusting compute capacity, monitoring usage, tracking cost, scheduling automatic start/stop times, and reviewing the workstation's event history.
Navigation: Open Workstation Overview, click on a running workstation's name to open its detail view, then select the relevant tab.
Managing a Workstation
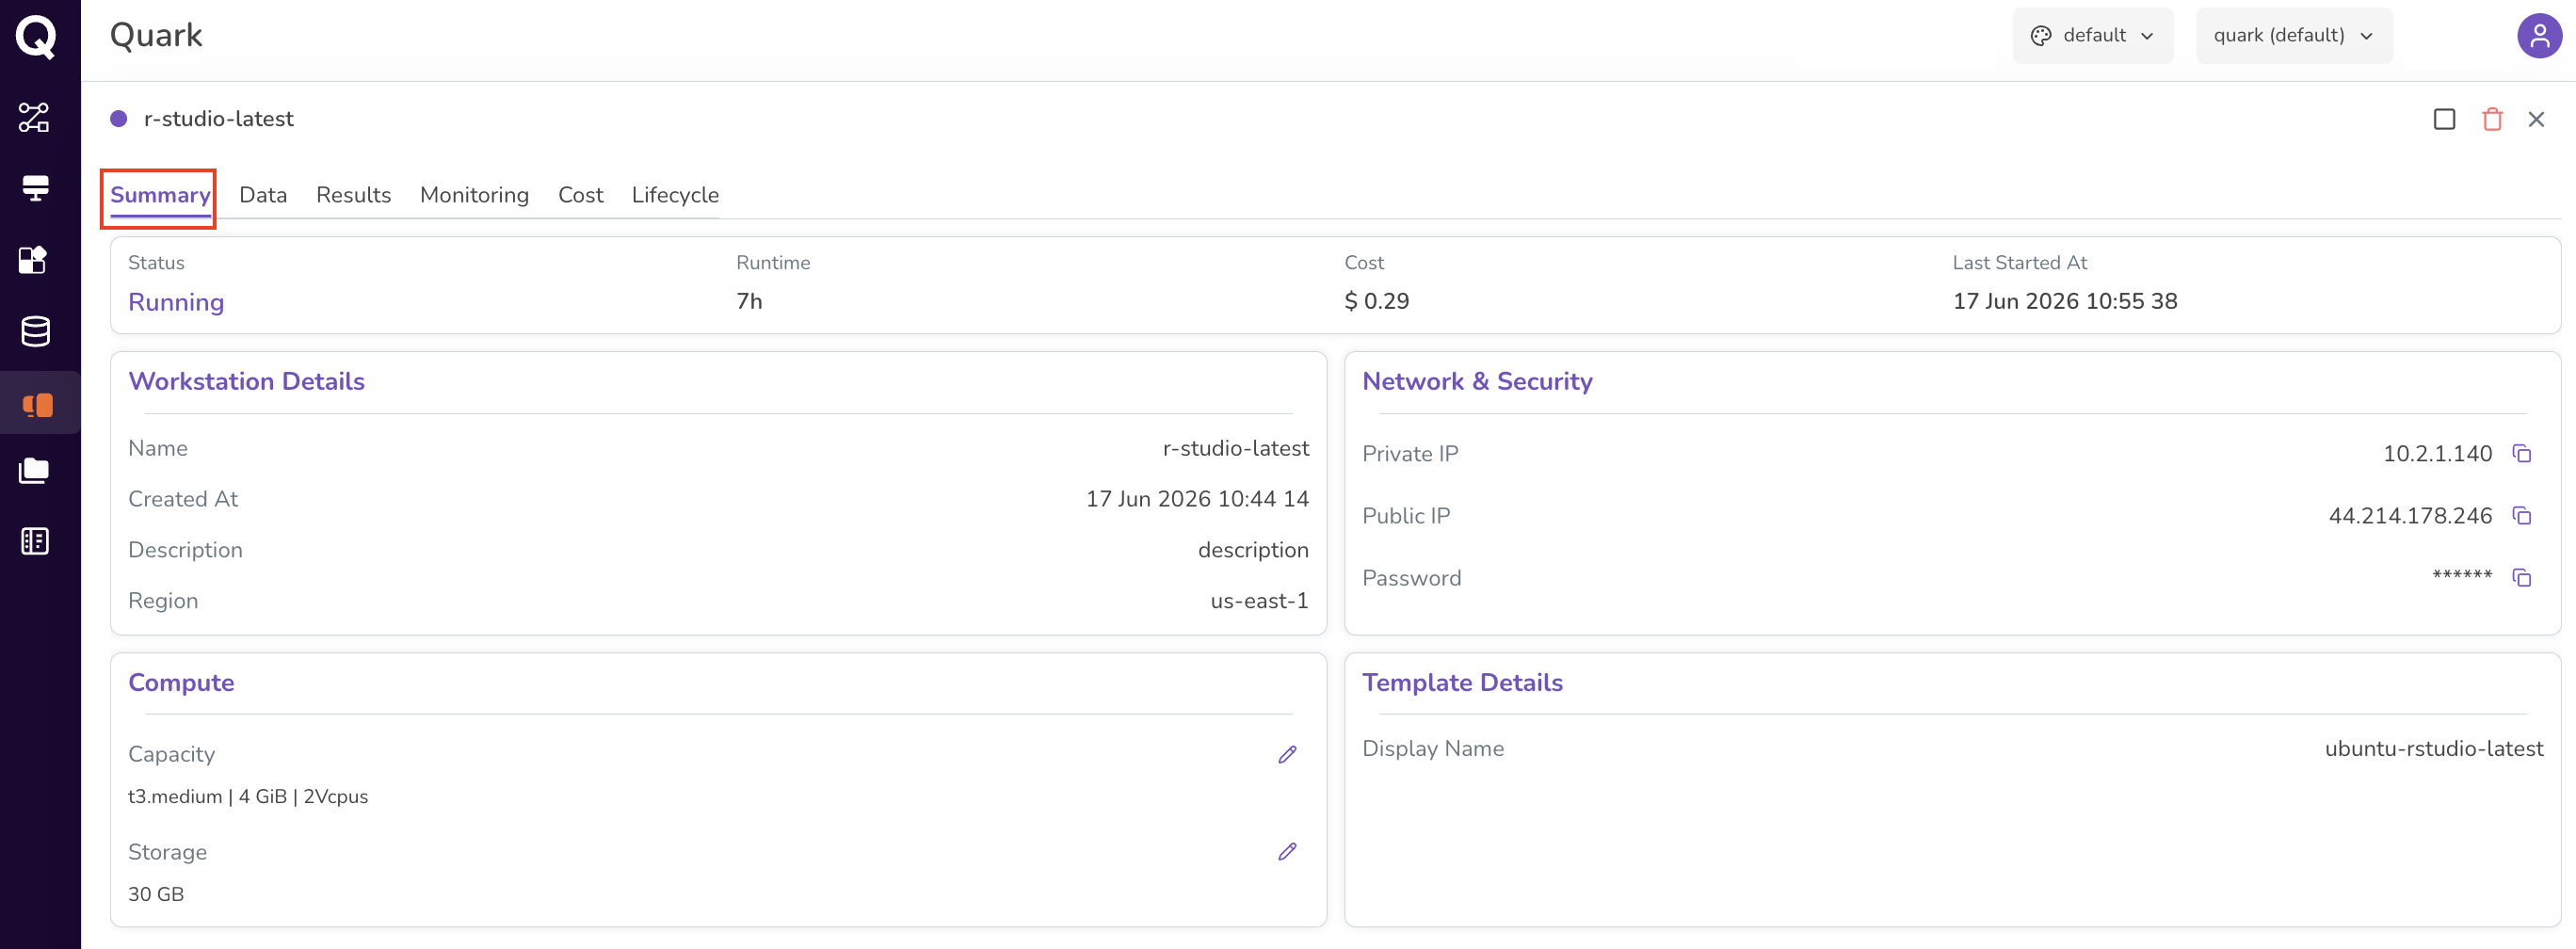
Clicking on a workstation name opens its full detail view, organised across seven tabs: Summary, Data, Results, Monitoring, Cost, Lifecycle, and Events.
The Summary tab provides a snapshot of the workstation's current state and configuration:
| Section | Fields |
|---|---|
| Header | Status, Runtime, Cost (current session), Last Started At. |
| Workstation Details | Name, Created At, Description, Region. |
| Network & Security | Private IP, Public IP, and Password — each with a copy icon. |
| Template Details | The display name of the image the workstation was built from. |
Changing the Instance Type or Storage
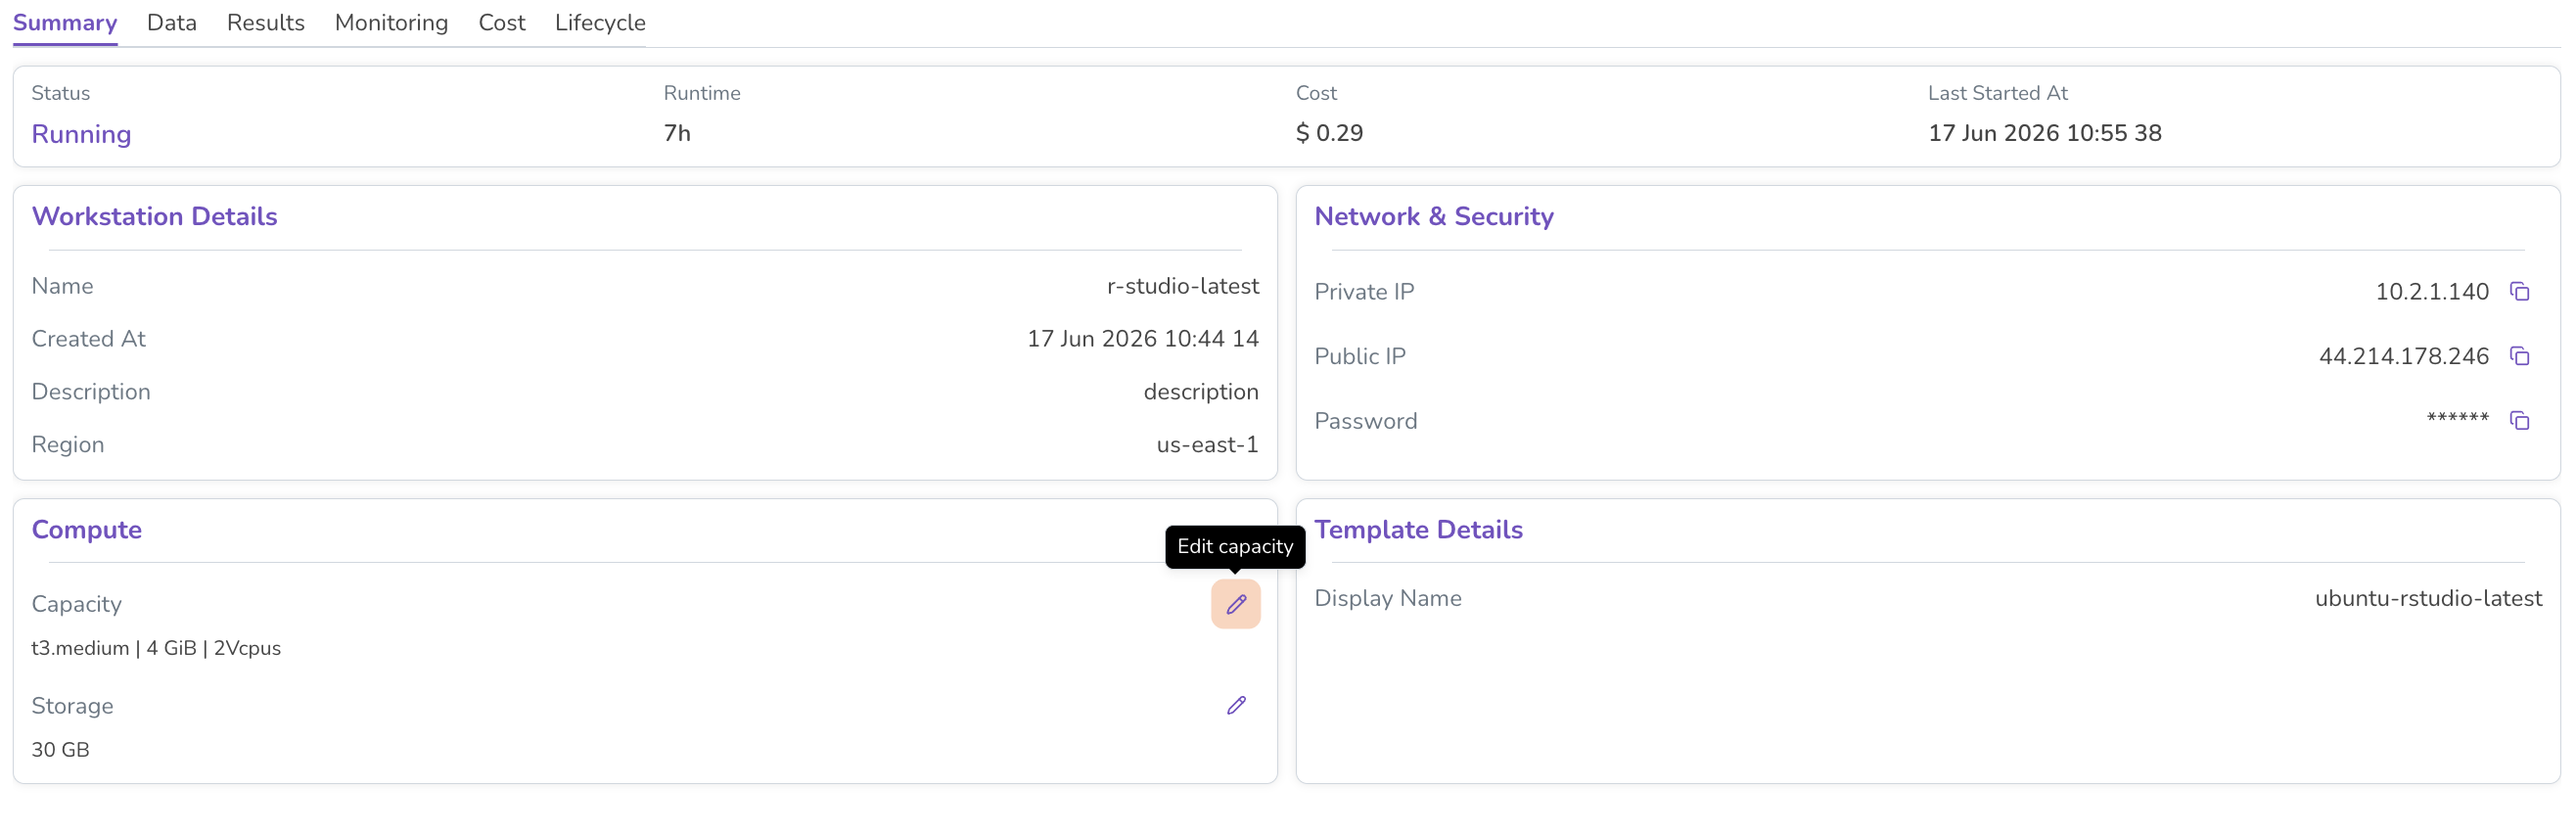
On the Summary tab, the Compute section shows the workstation's current Capacity (instance type, memory, vCPUs) and Storage, each with an edit (pencil) icon.
To adjust compute resources after creation:
-
On the Summary tab, click the edit icon (pencil) next to Capacity or Storage.
-
Select a new instance type from the available options, or enter a new storage value.
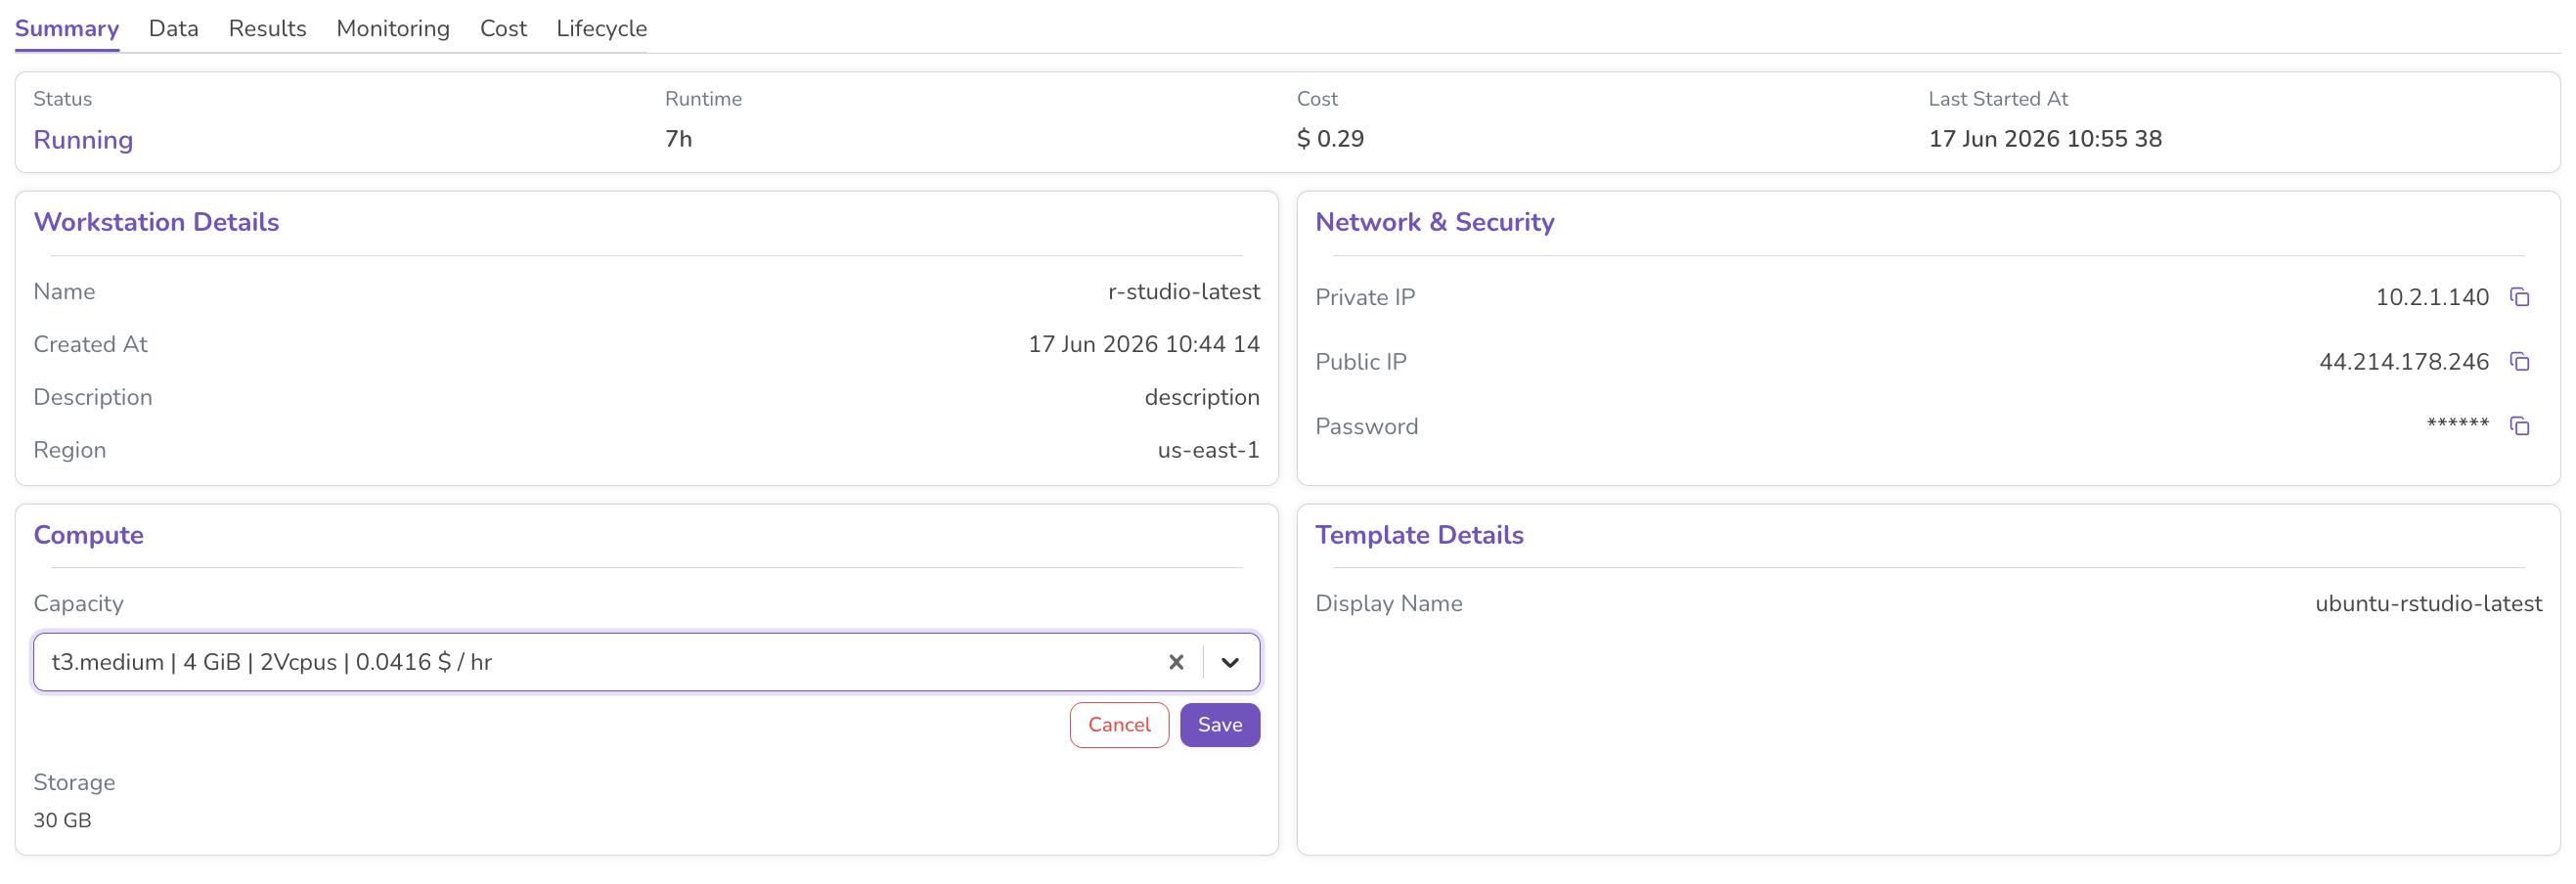
Note: Changing capacity or storage may require the workstation to restart.
Monitoring Tab
The Monitoring tab provides real-time performance metrics for the running workstation, including:
- CPU usage
- Memory consumption
- Disk space utilisation
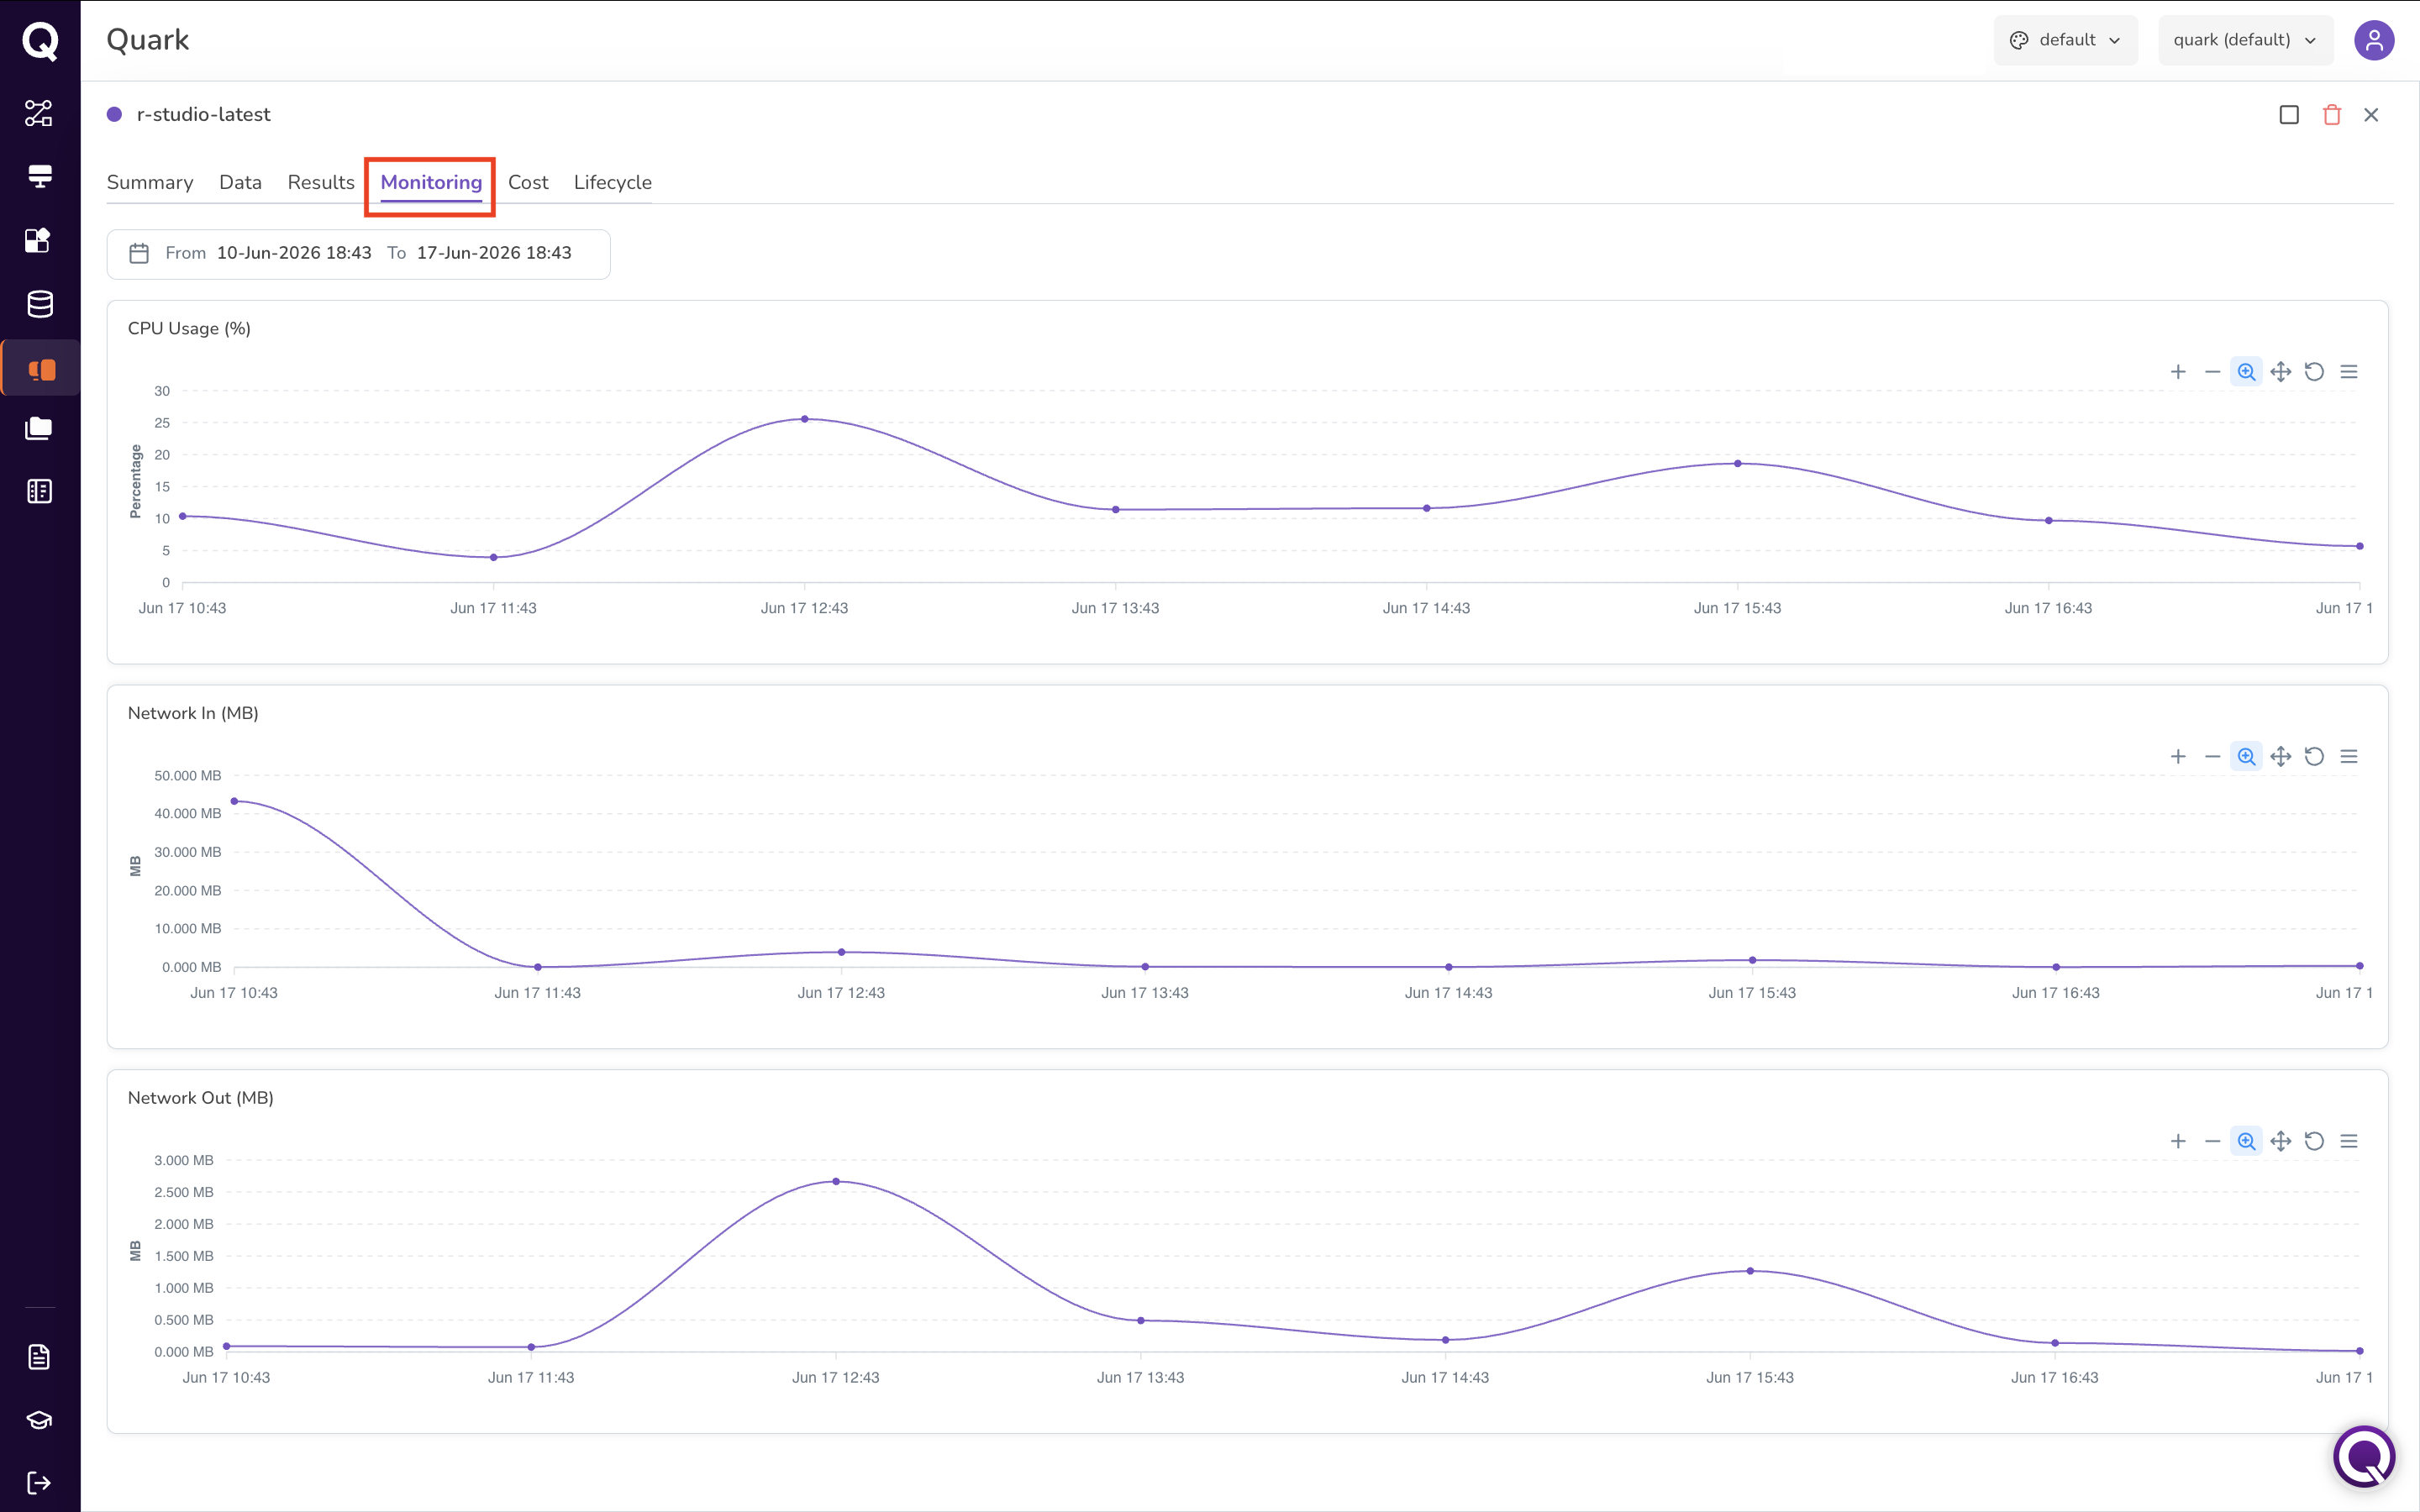
Use these metrics to identify resource bottlenecks and determine whether the current instance type is appropriate for your workload.
Cost Tab
The Cost tab shows the cost breakdown for the workstation, with daily, weekly, and monthly views based on actual resource consumption.
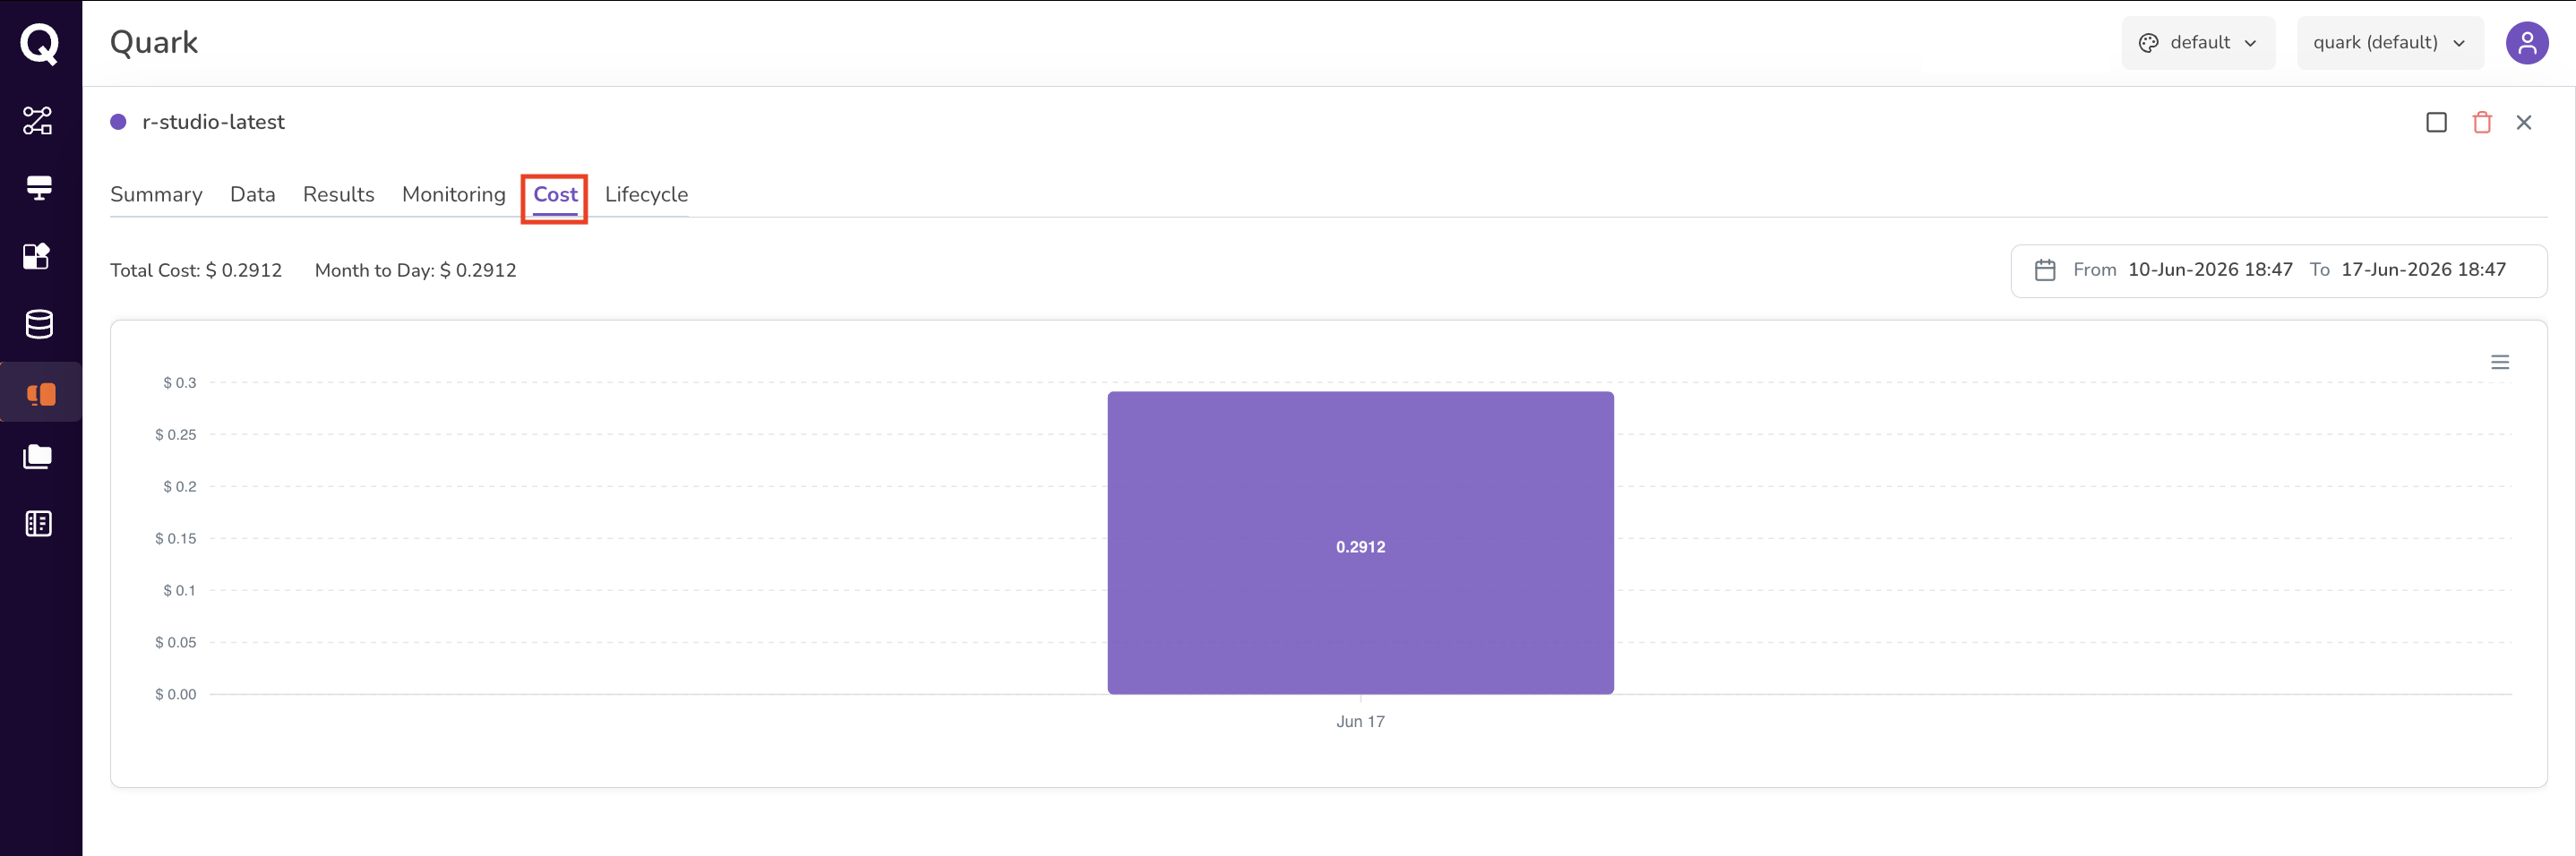
Use this to track spending against your project's budget allocation.
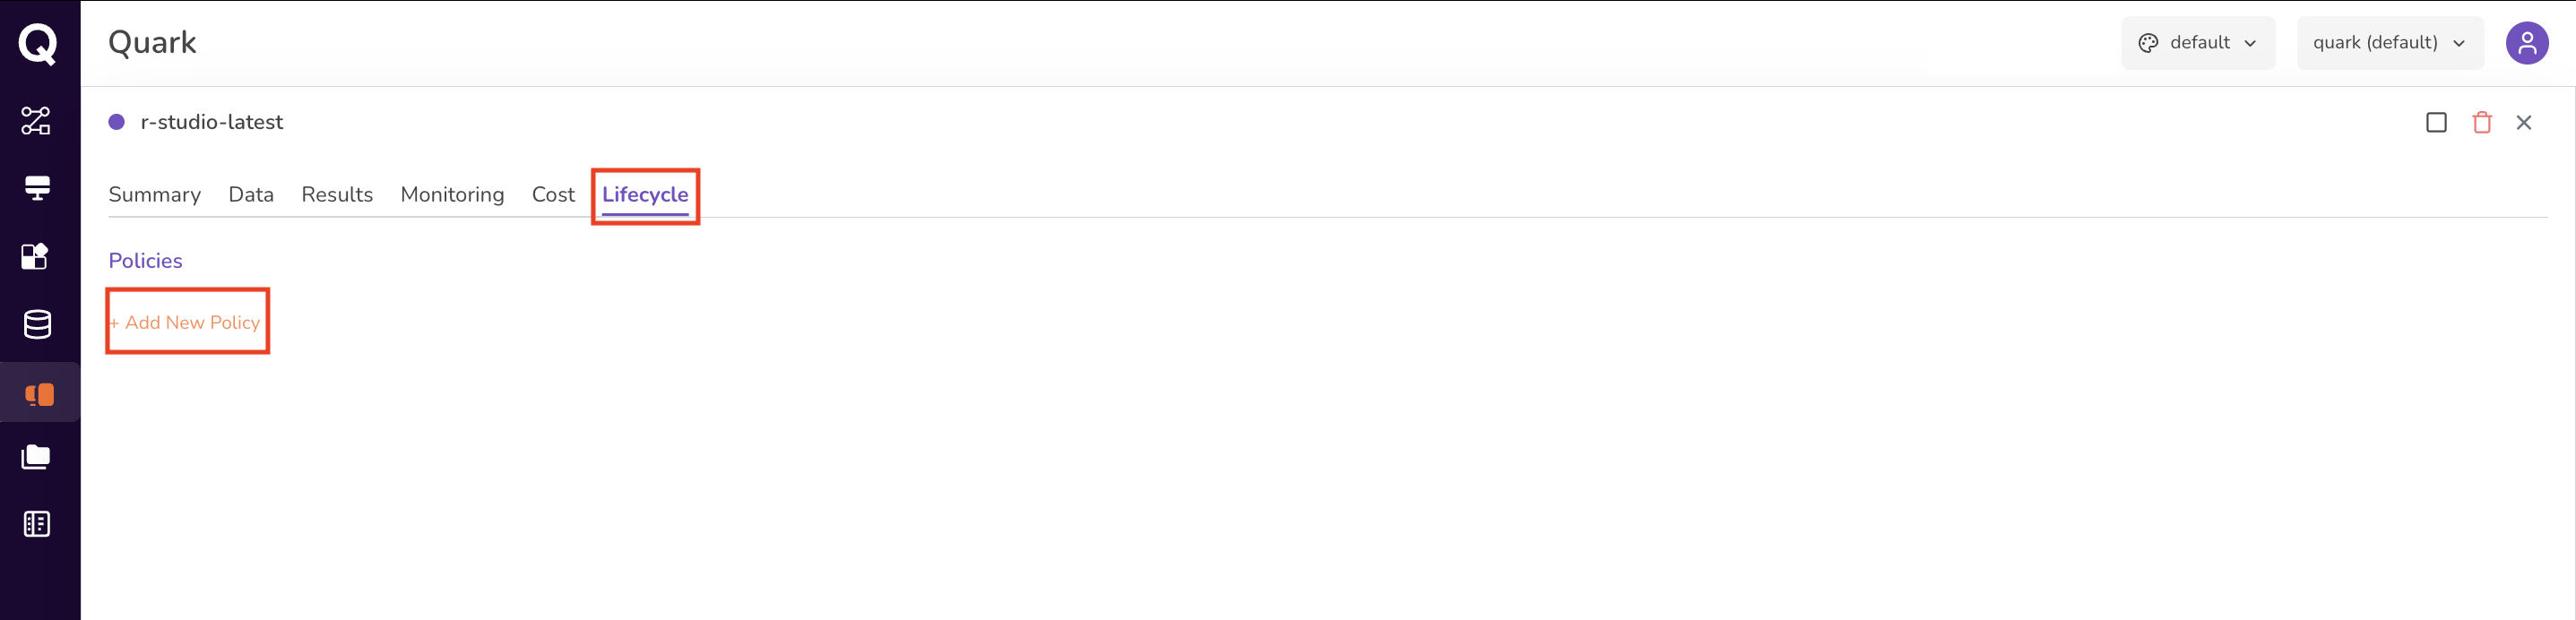
Lifecycle Tab
The Lifecycle tab enables you to define automated start and stop schedules — ensuring the workstation is not left running outside of active research hours.
To add a lifecycle policy:
- Navigate to the Lifecycle tab.
-
Click Add New Policy.
-
Define a schedule (e.g., start at 9:00 AM, stop at 6:00 PM on weekdays).
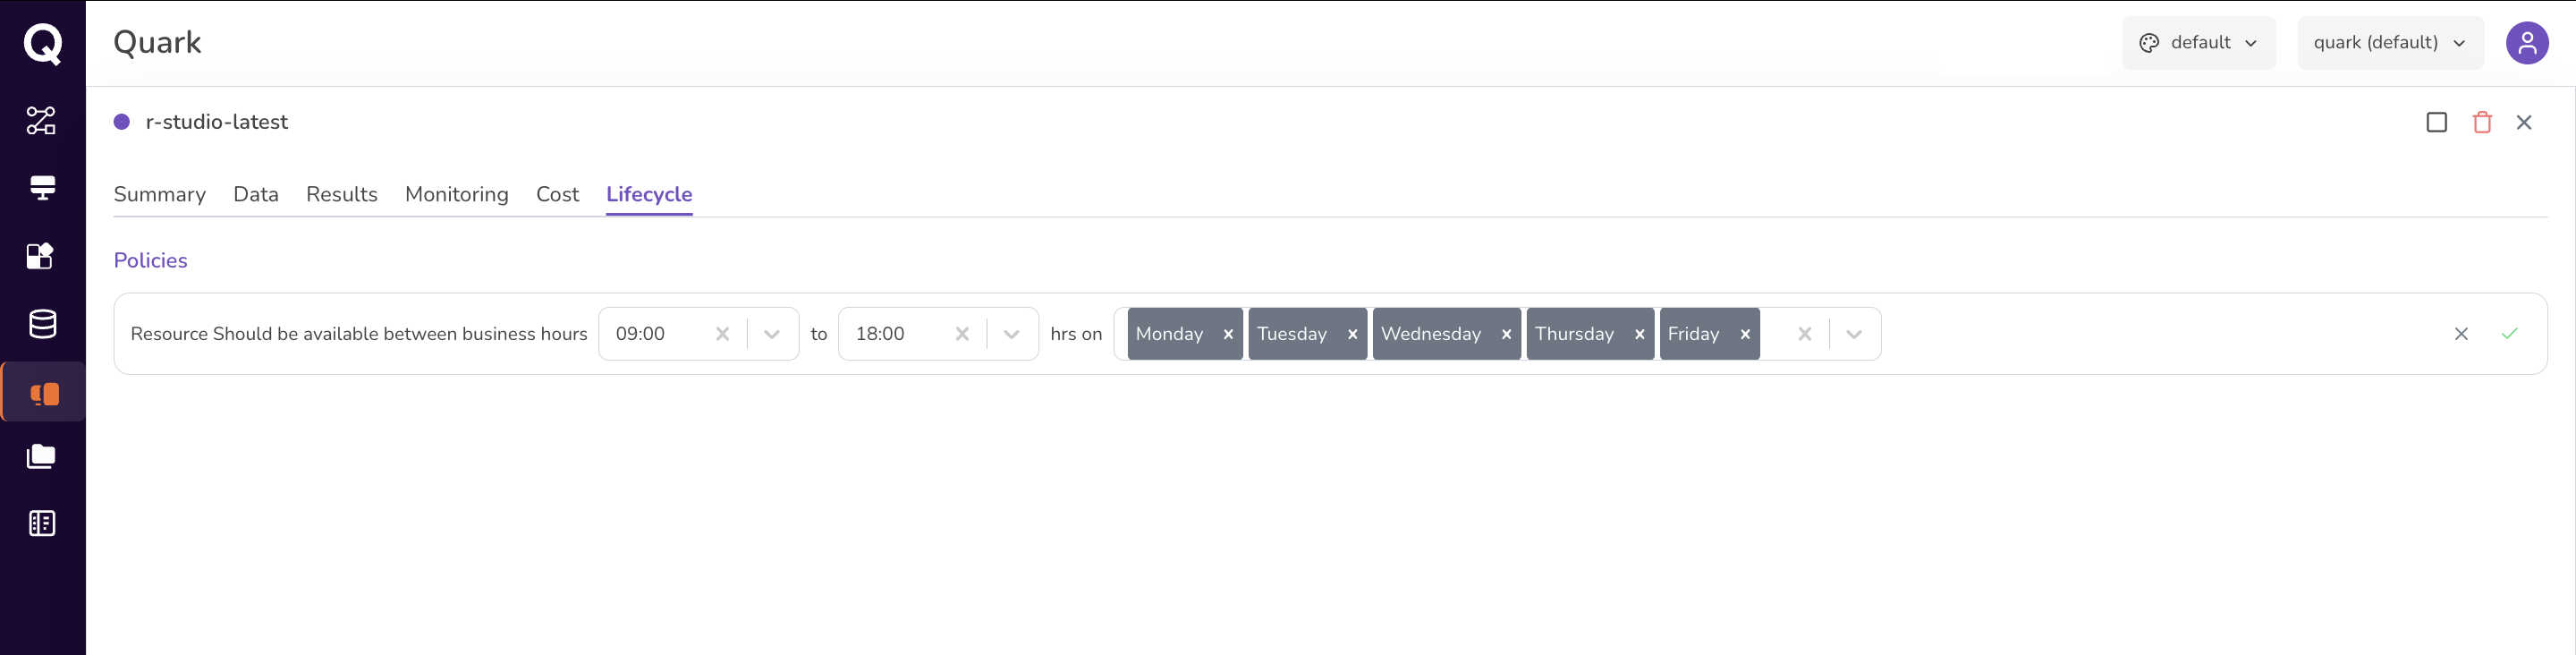
The workstation automatically starts and stops according to the defined schedule.
What's Next
- Workstation Overview — back to launching, connecting to, and starting or stopping a workstation.
- Downloading Analysis Results — upload inputs and request downloads for the same workstation.
- My Requests — track any pending capacity-change or resource requests.