Projects
Overview
The Projects section is where you create and manage the organisational units that structure all activity on the platform. Every pipeline run, workstation, dataset, and user access grant in the TRE exists within a project.
Navigation: Select Projects from the left-hand navigation pane.
The Projects List
When you open Projects, the dashboard displays all projects currently on the platform:
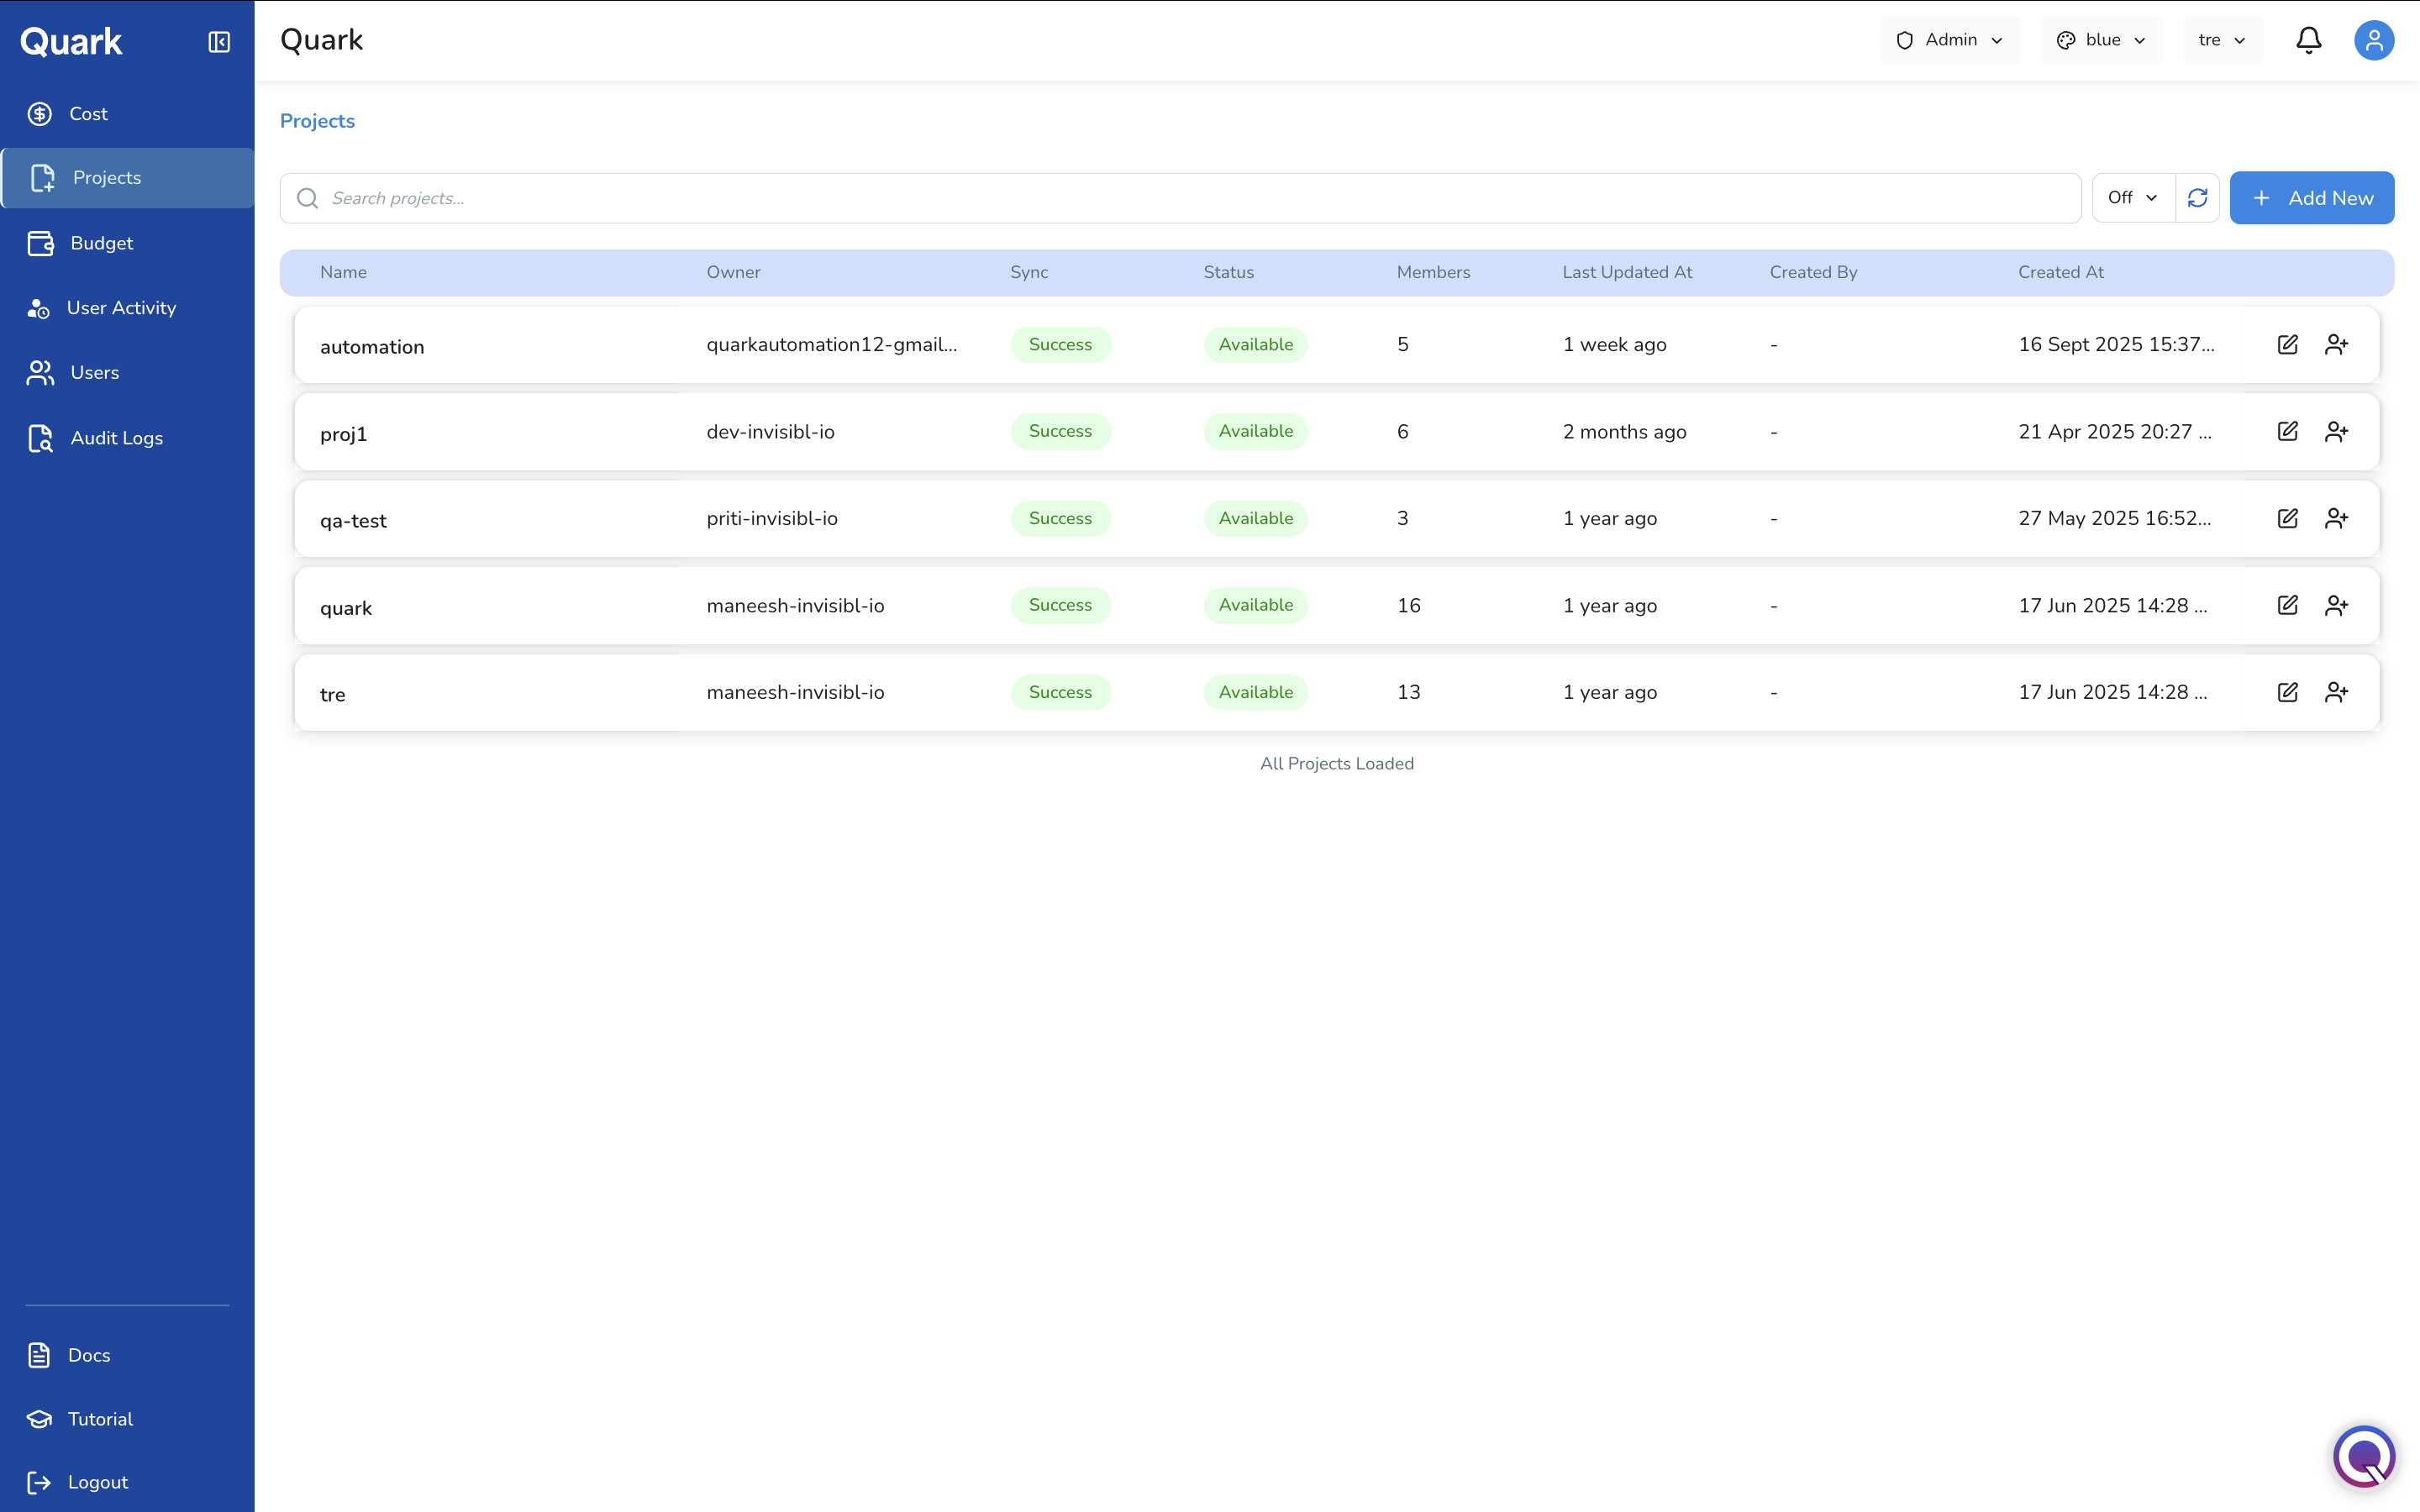
| Column | Description |
|---|---|
| Name | The project's unique identifier as set at creation. |
| Owner | The user account that owns the project. |
| Status | The current availability state of the project (e.g., Available). |
| Members | The number of users currently assigned to the project. |
| Last Updated At | When the project was most recently modified. |
| Created By | The user who created the project, if recorded. |
| Created At | The date and time the project was created. |
Search
Use the search bar at the top of the list to find a project by name. Results filter in real time as you type.
Row Actions
Each project row has two action icons: Edit (pencil) opens the project's configuration, and Add Member (person+) adds a user to the project directly from the list view without opening the full configuration. Not all fields are editable after creation — see the Name field constraint below.
Creating a New Project
To create a project:
- Click + Add New in the top-right corner of the Projects screen.
- Work through the four-step Create Project wizard: General, Organisation Hierarchy, Configuration, and Review.
Step 1: General

| Field | Description | Constraints |
|---|---|---|
| Name * | The unique identifier for the project as it will appear across the platform. | Maximum 32 characters. Must start with a letter. Lowercase alphanumeric characters and hyphens only. Not editable after creation. |
| Description | A plain-language summary of the project's purpose, scope, or team. | Maximum 256 characters. |
| Type | The category of project, used to organise and filter projects by their intended purpose. | Select from: All, Developer, DataScience. |
| Parent Project | If this project sits beneath another in a hierarchy, select the parent here. | Optional. |
| Owners | The user or users who will own and be responsible for this project. | Select one or more platform users. |
| Labels | Key-value metadata tags for filtering, reporting, or integrating with external systems. | Optional. |
Important: The project Name cannot be changed after creation. Choose a clear, stable name that will remain meaningful as the project grows — for example,
genomics-cohort-2026rather thannew-project.
Step 2: Organisation Hierarchy
Assign the project to the correct position in your organisation's team structure. This determines how the project's costs and activity are attributed in Platform Cost and User Activity.
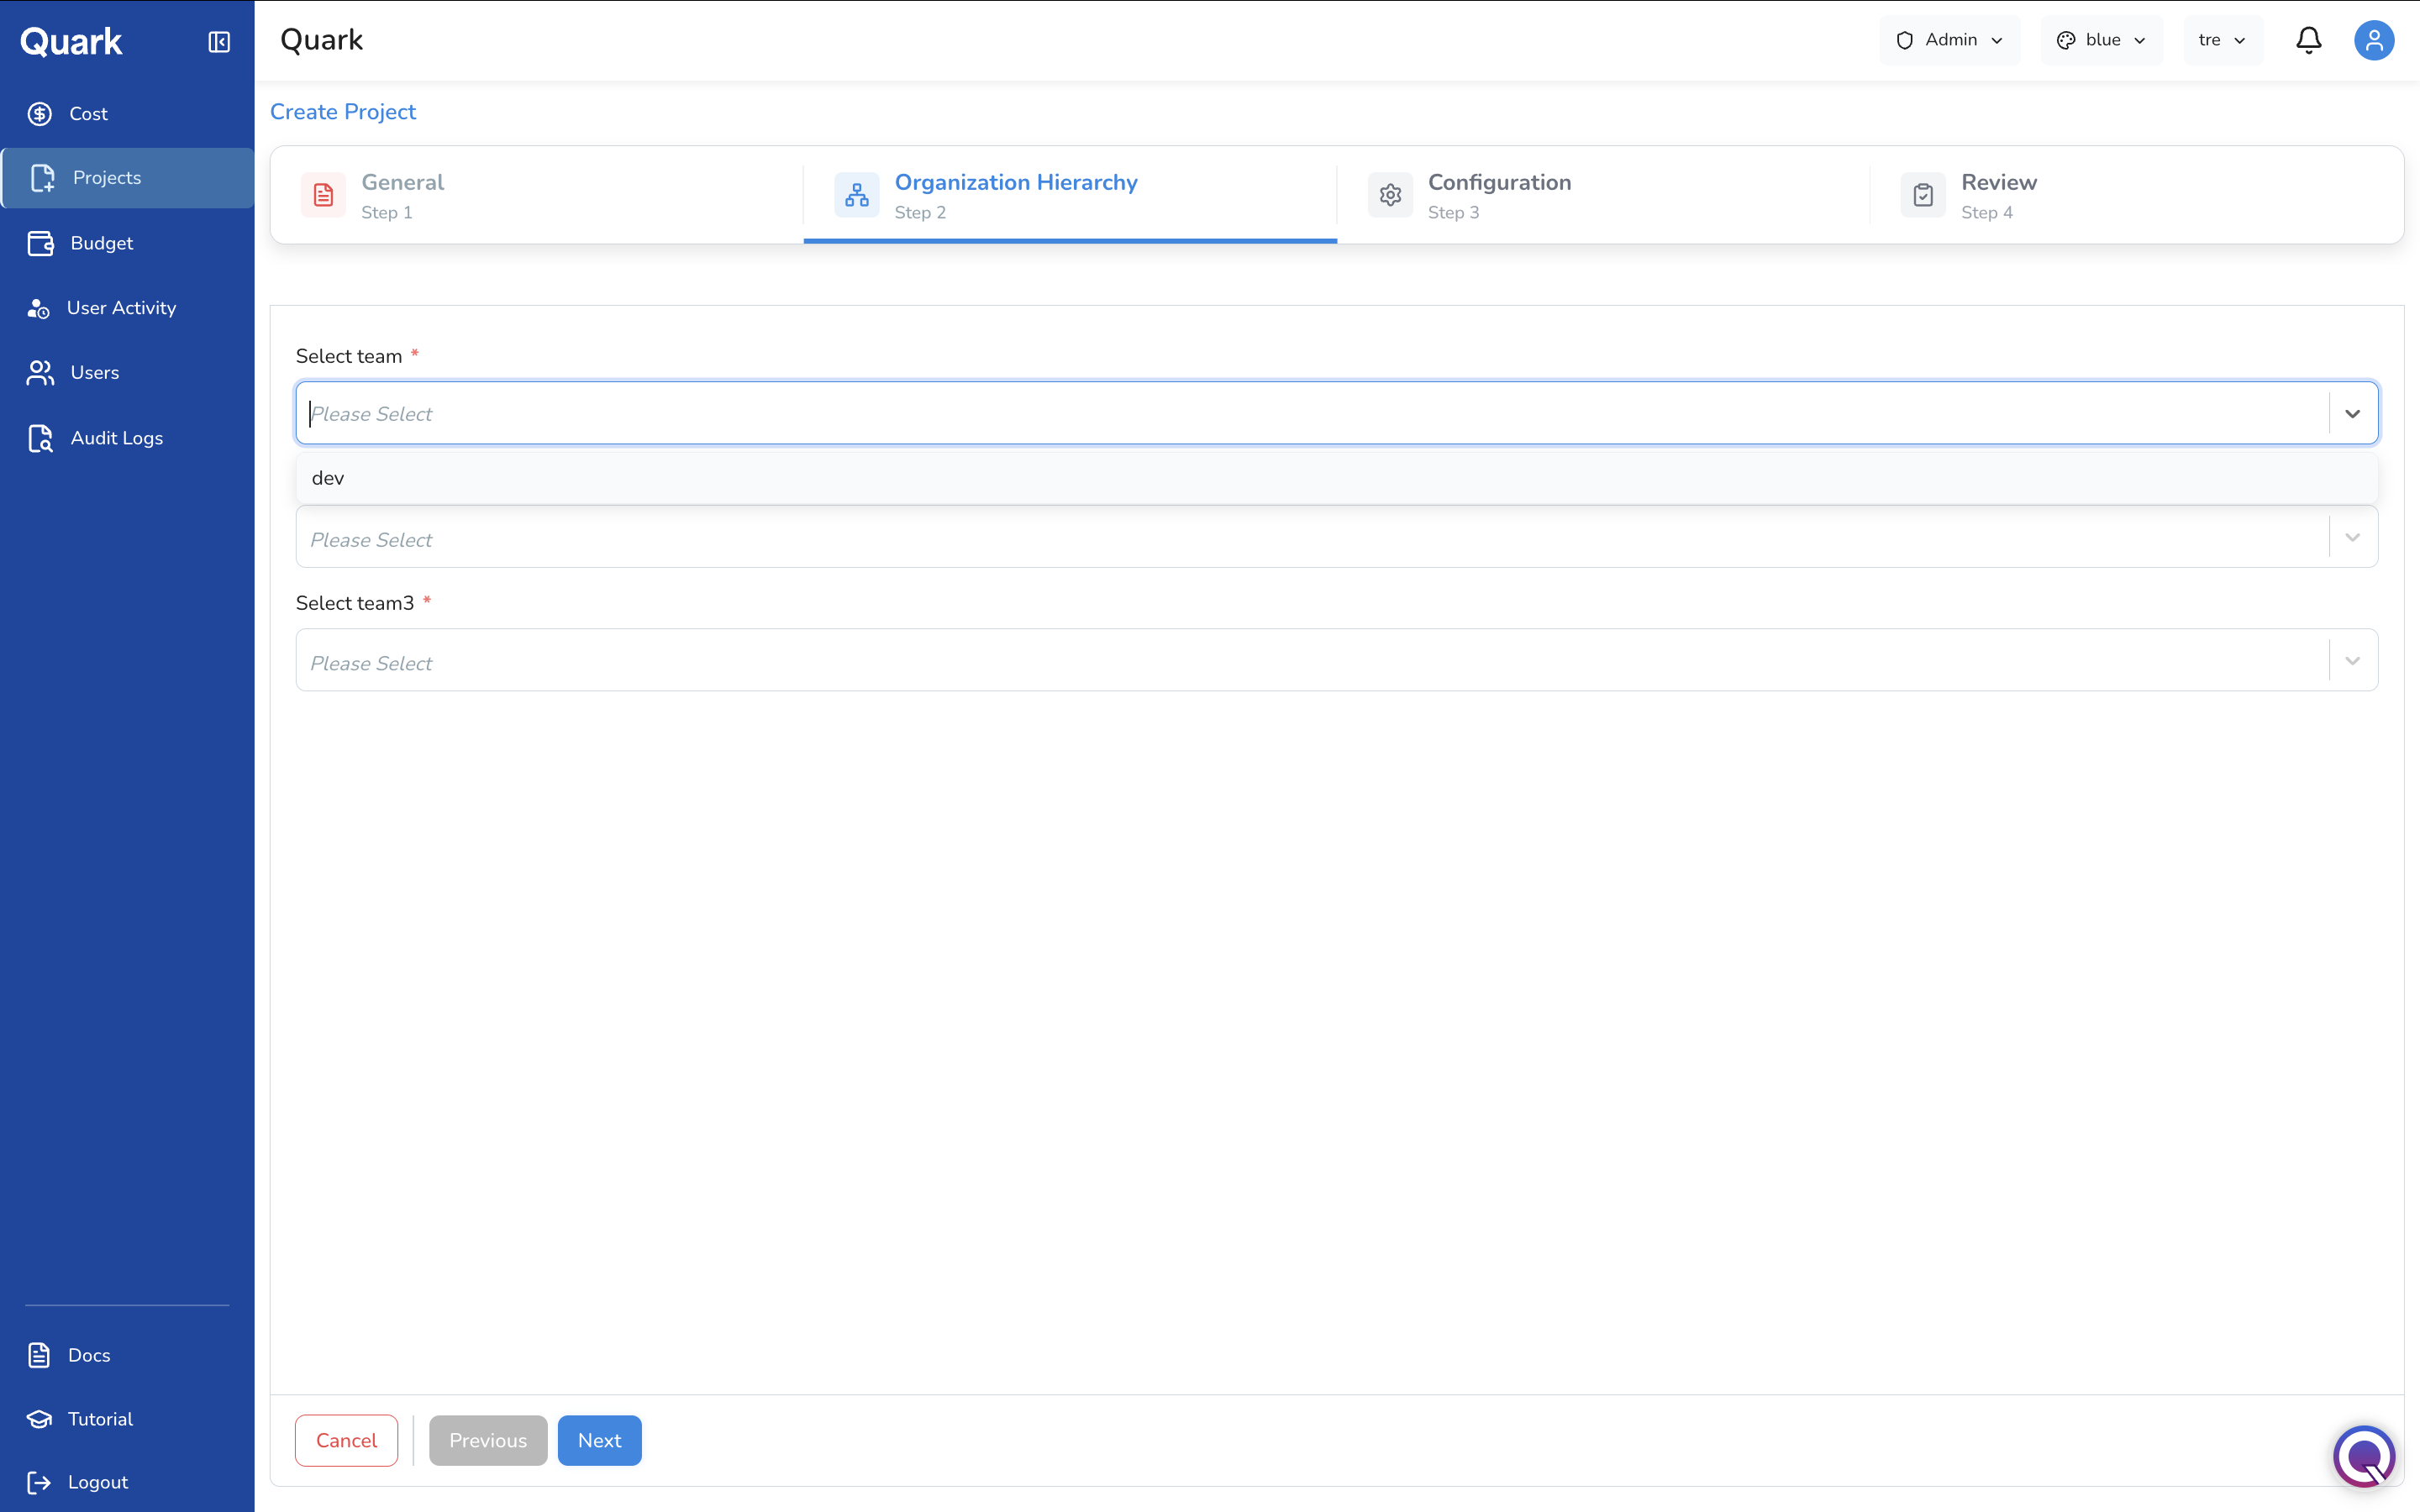
| Field | Description |
|---|---|
| Team * | The top-level team this project belongs to (e.g., a division or department). Required. |
| Team2 | The second-level team within the selected top-level team. |
| Team3 * | The third-level team, the most granular organisational unit. Required. |
Step 3: Configuration
Configure the networking, domain, and authentication settings for the project.
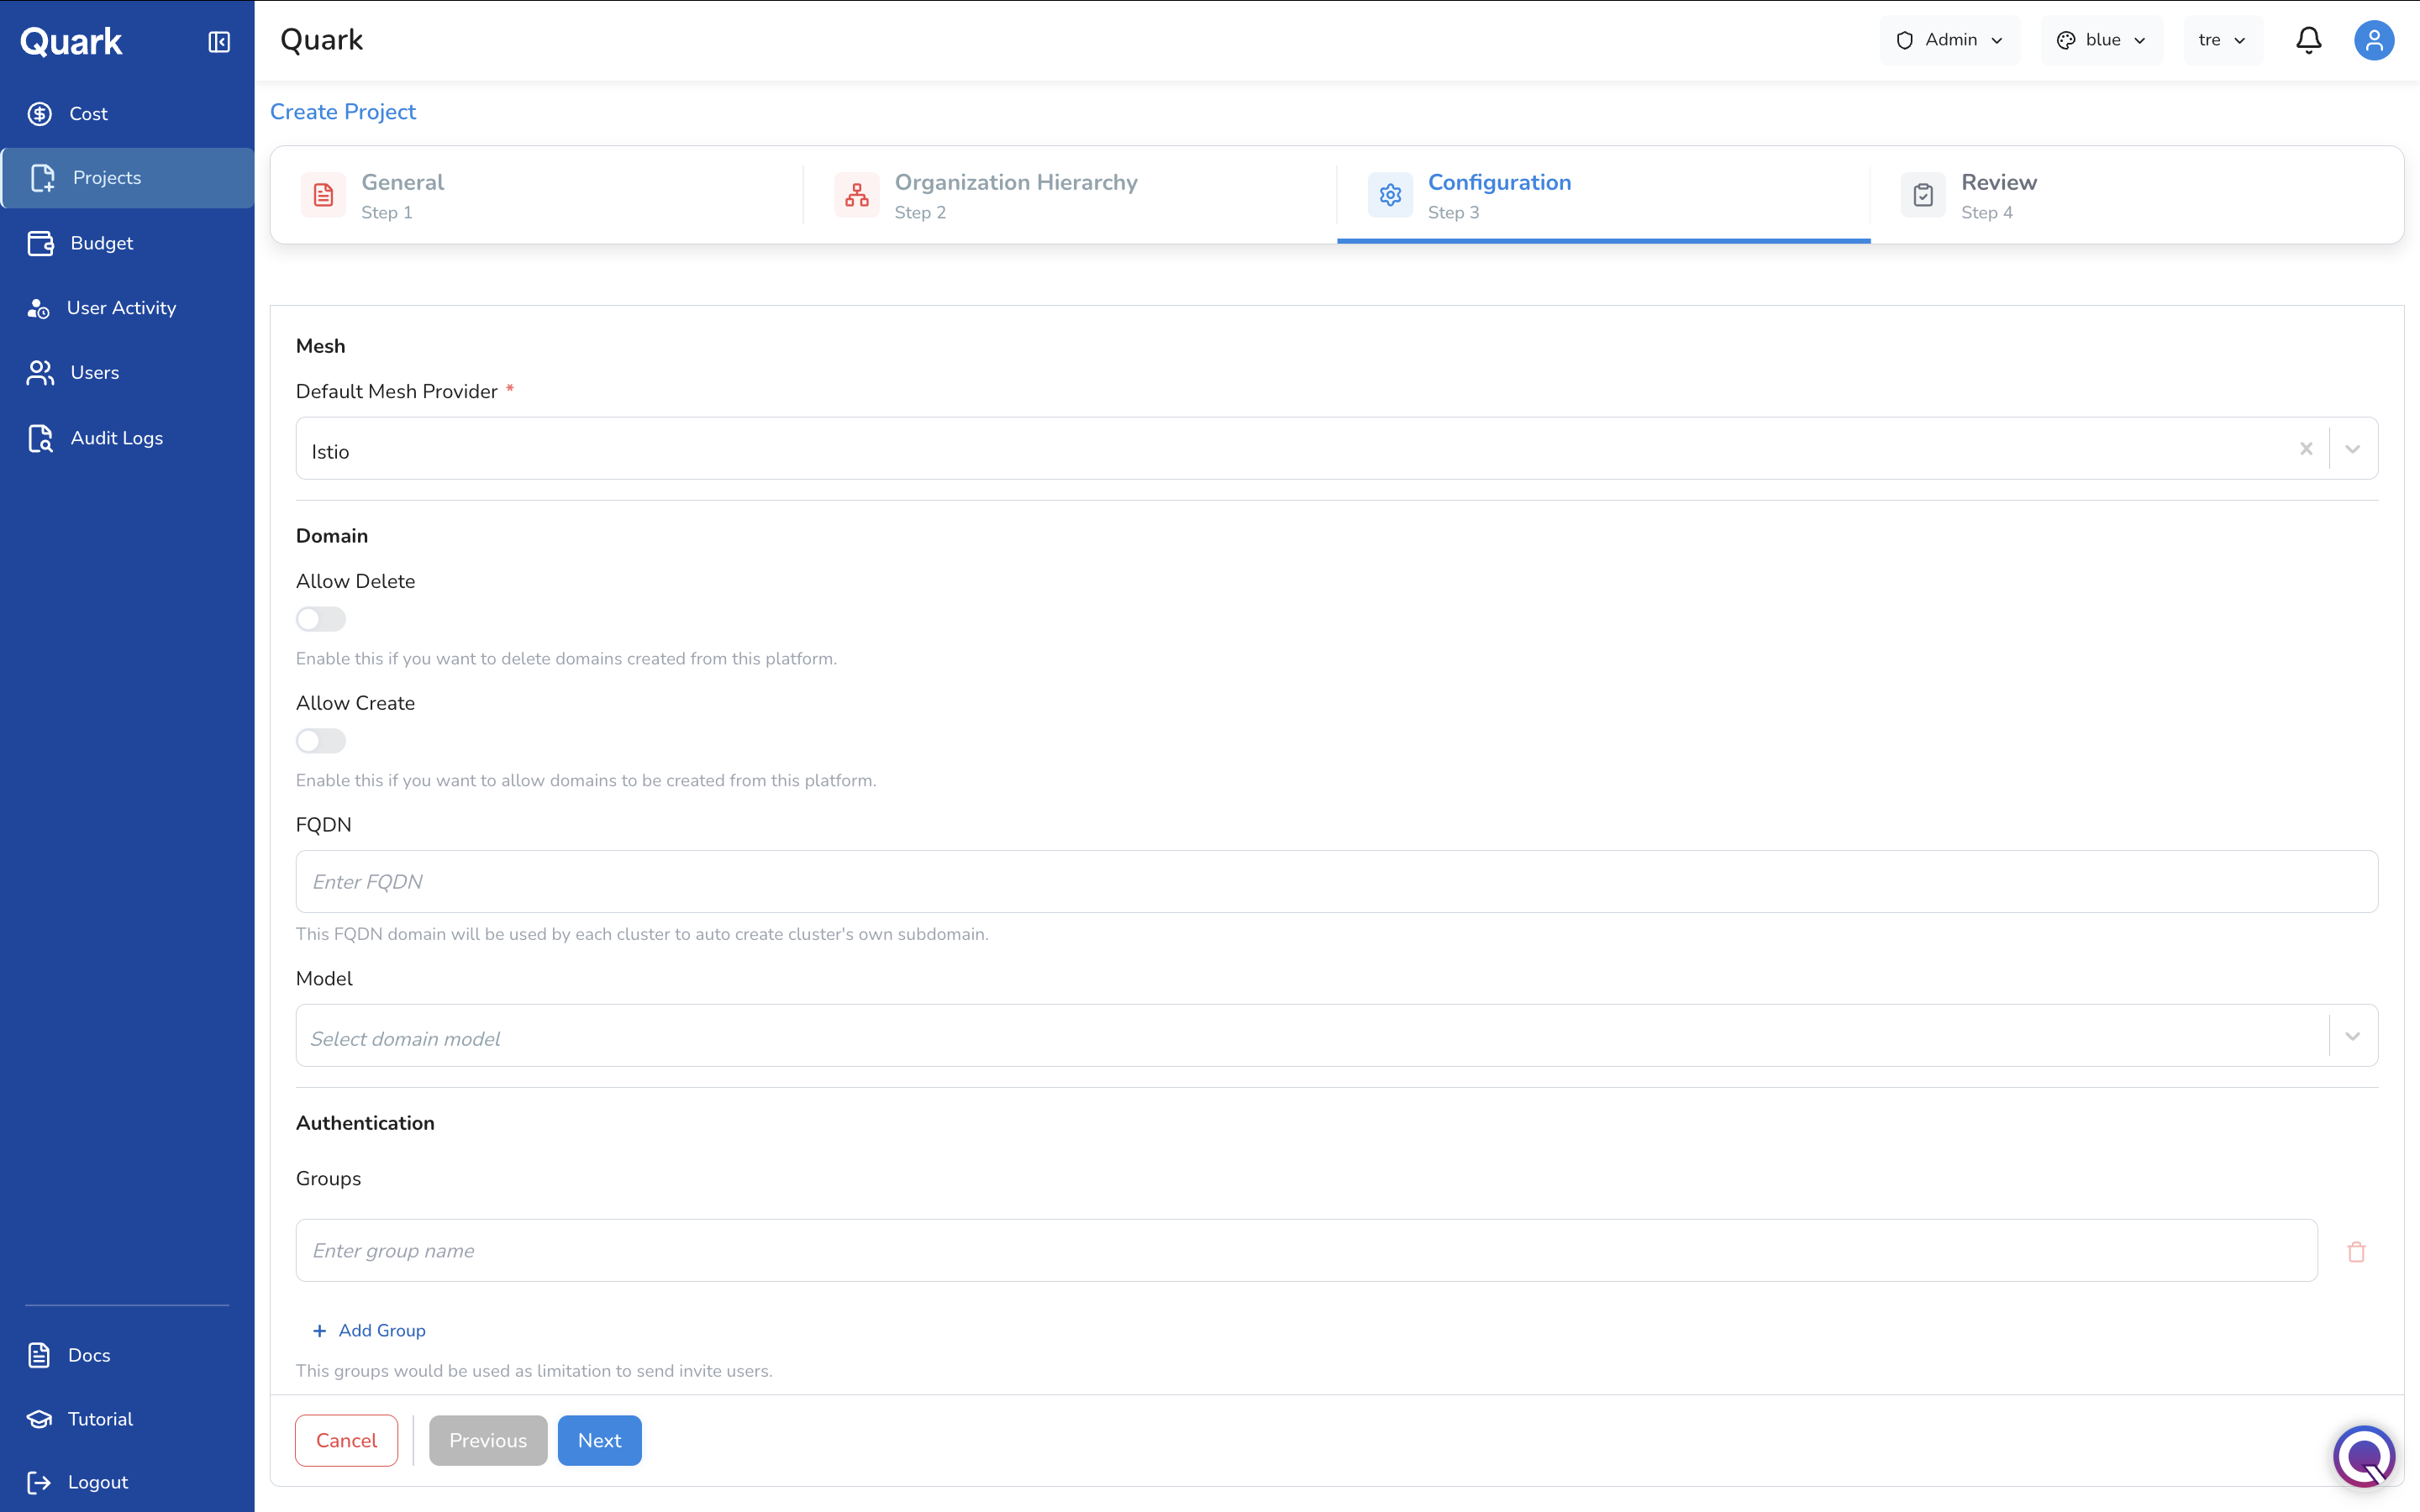
- Mesh — Default Mesh Provider (mandatory): the service mesh used for this project's network traffic management. Defaults to Istio.
- Domain — toggles for Allow Delete and Allow Create (both disabled by default), the project's FQDN (mandatory), and a Model selector. Each cluster in the project uses this FQDN to auto-create its own subdomain. These are managed alongside your platform's broader domain configuration.
- Authentication — Groups: one or more authentication group names that restrict which users can be invited to this project. Leave blank if you don't want to restrict invitations by group membership.
Step 4: Review
Review the full configuration summary before creating the project. Check that the name, team hierarchy, and configuration settings are correct — the project name cannot be changed after this point. Click Create to finalise and publish the project. It immediately appears in the Projects list and becomes available for ds-admins to assign pipelines, workstations, and members to.
What's Next
- Budget — once a project is created, allocate a budget to it so ds-admins and researchers can operate within a defined spend limit.
- Users — invite users to the platform and assign them to projects.
- Platform Cost — monitor spend attributed to the project once activity begins.
- Platform Audit Logs — all project creation and configuration changes are captured in the audit log.