Workspaces
Workspaces in Quark V3 provide bioinformaticians with a fully configurable, cloud-based compute environment — an interactive development environment (IDE) for writing, testing, and running analysis code directly within the platform.
Audience: Bioinformaticians
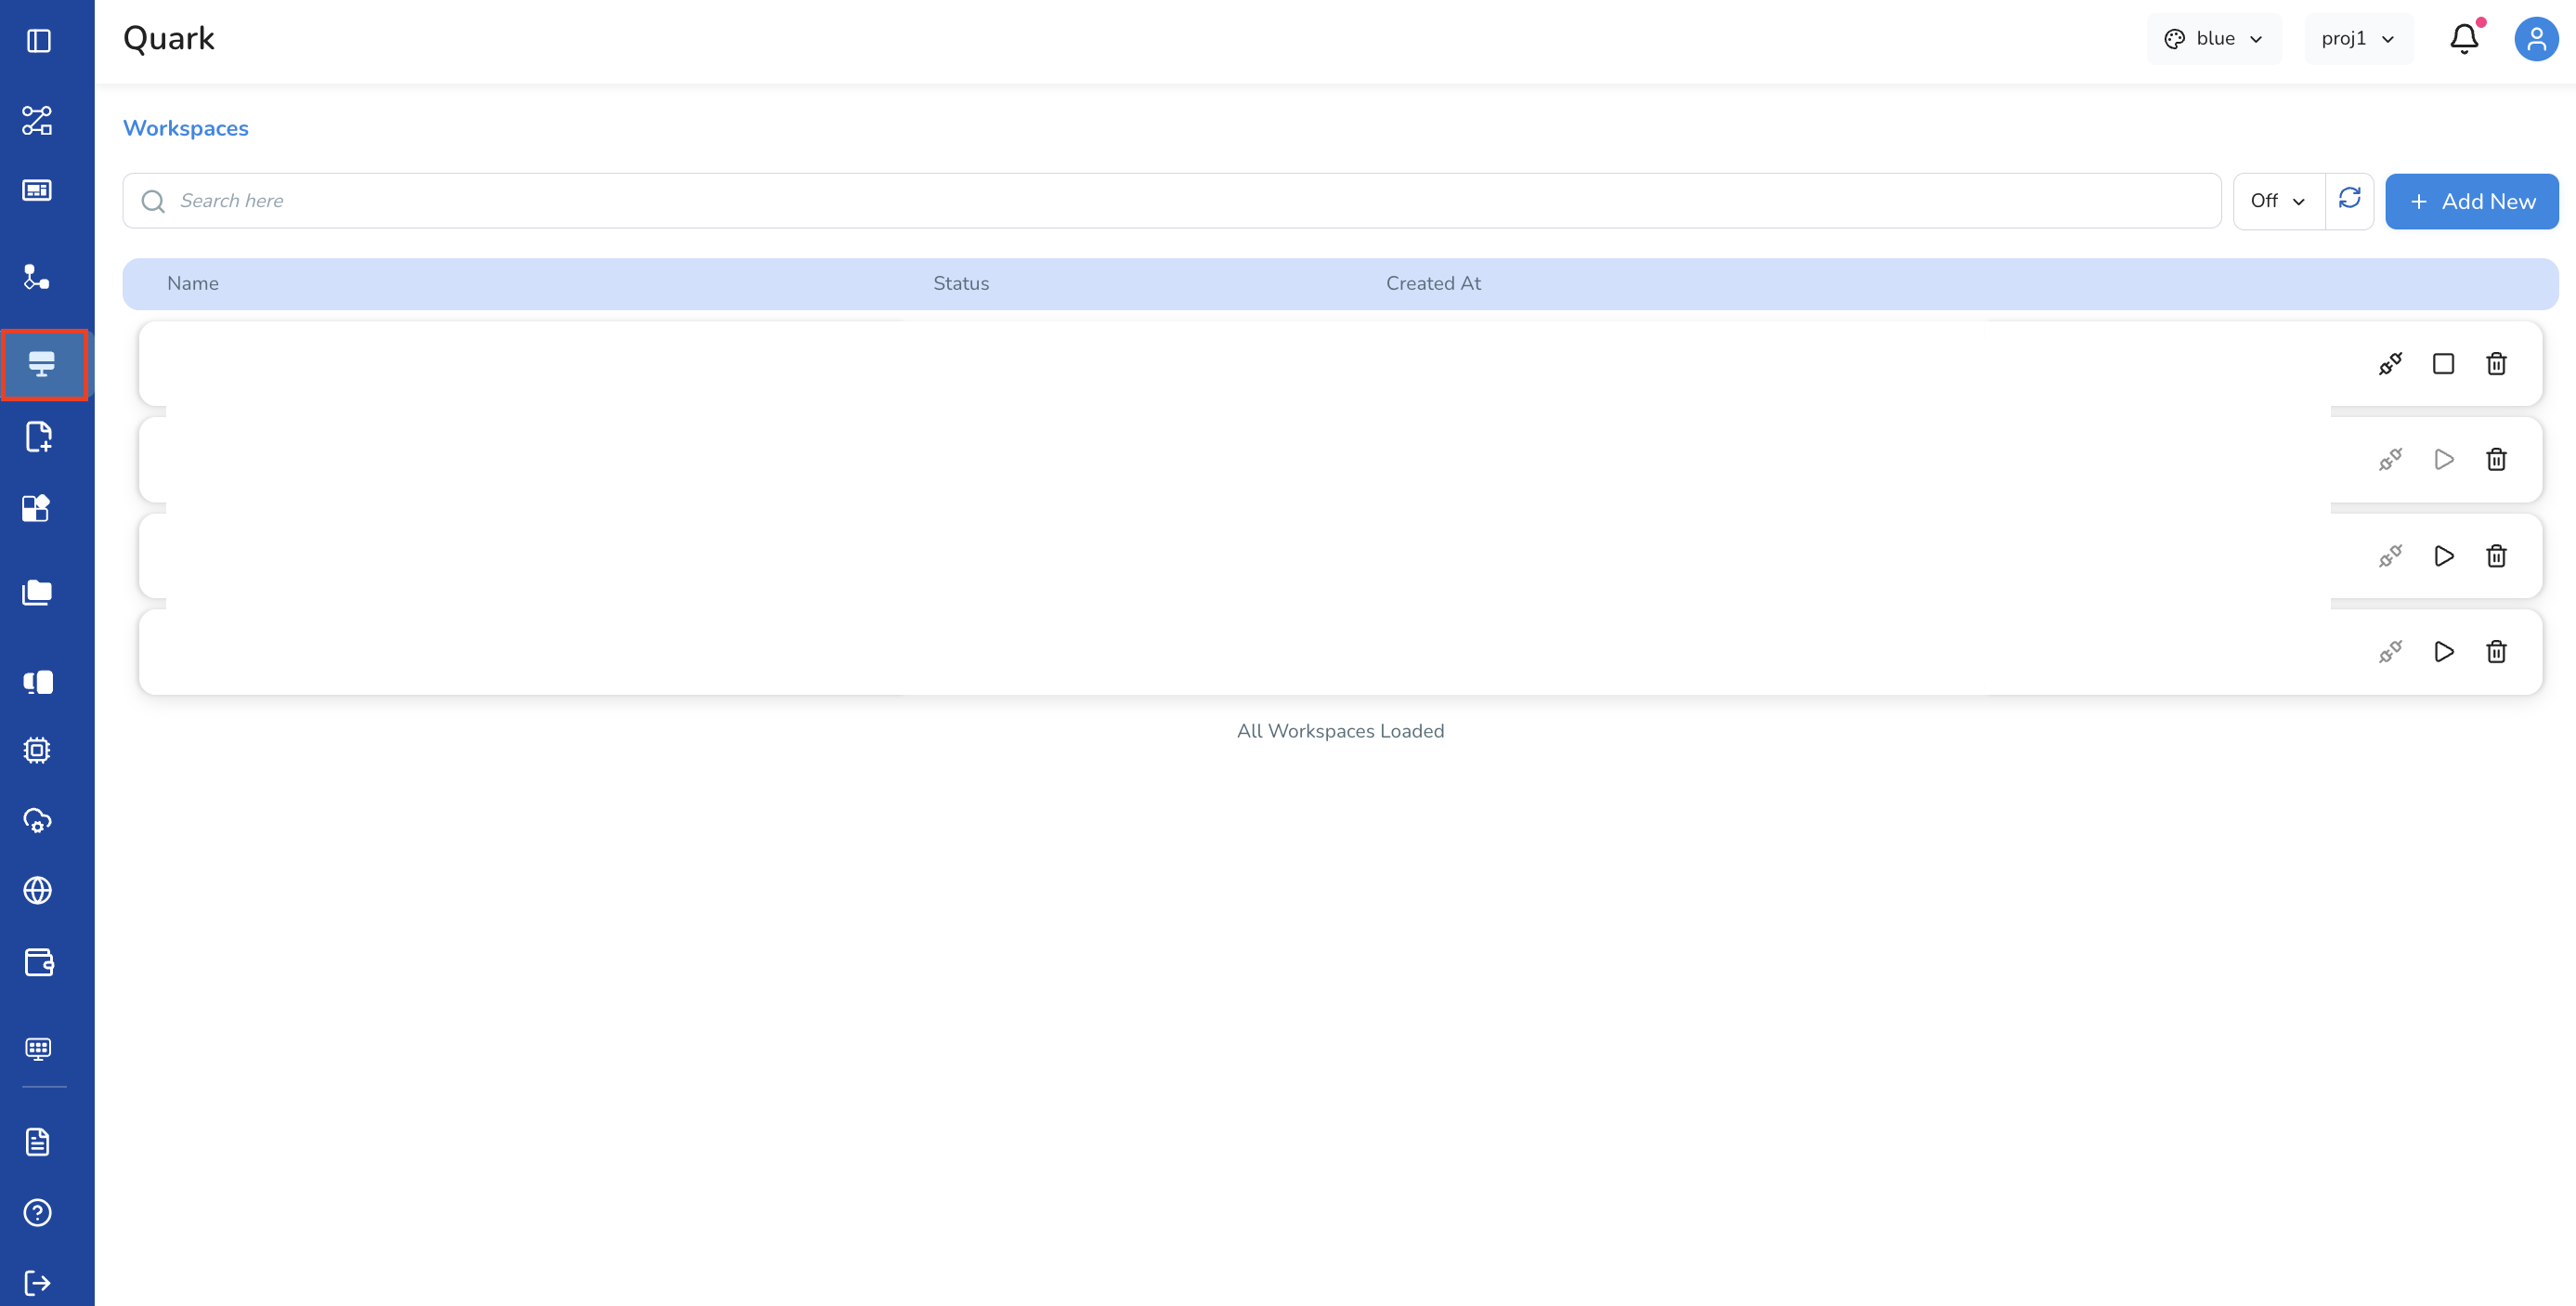
Access: Select Workspaces from the left navigation pane
Overview
Each workspace is an isolated environment with its own:
- Operating system and language stack (via environment presets)
- Compute allocation (CPU, memory, optional GPU and Spot)
- Custom packages installed at launch
- Environment variables available at runtime
Workspaces go through the following lifecycle states:[Created] → Connect → [Connecting] → Run → [Running] → Stop → [Stopped]
A workspace can also be deleted at any time from the workspace configuration screen.
Step 1: Create a New Workspace
- Select Workspaces from the left navigation pane
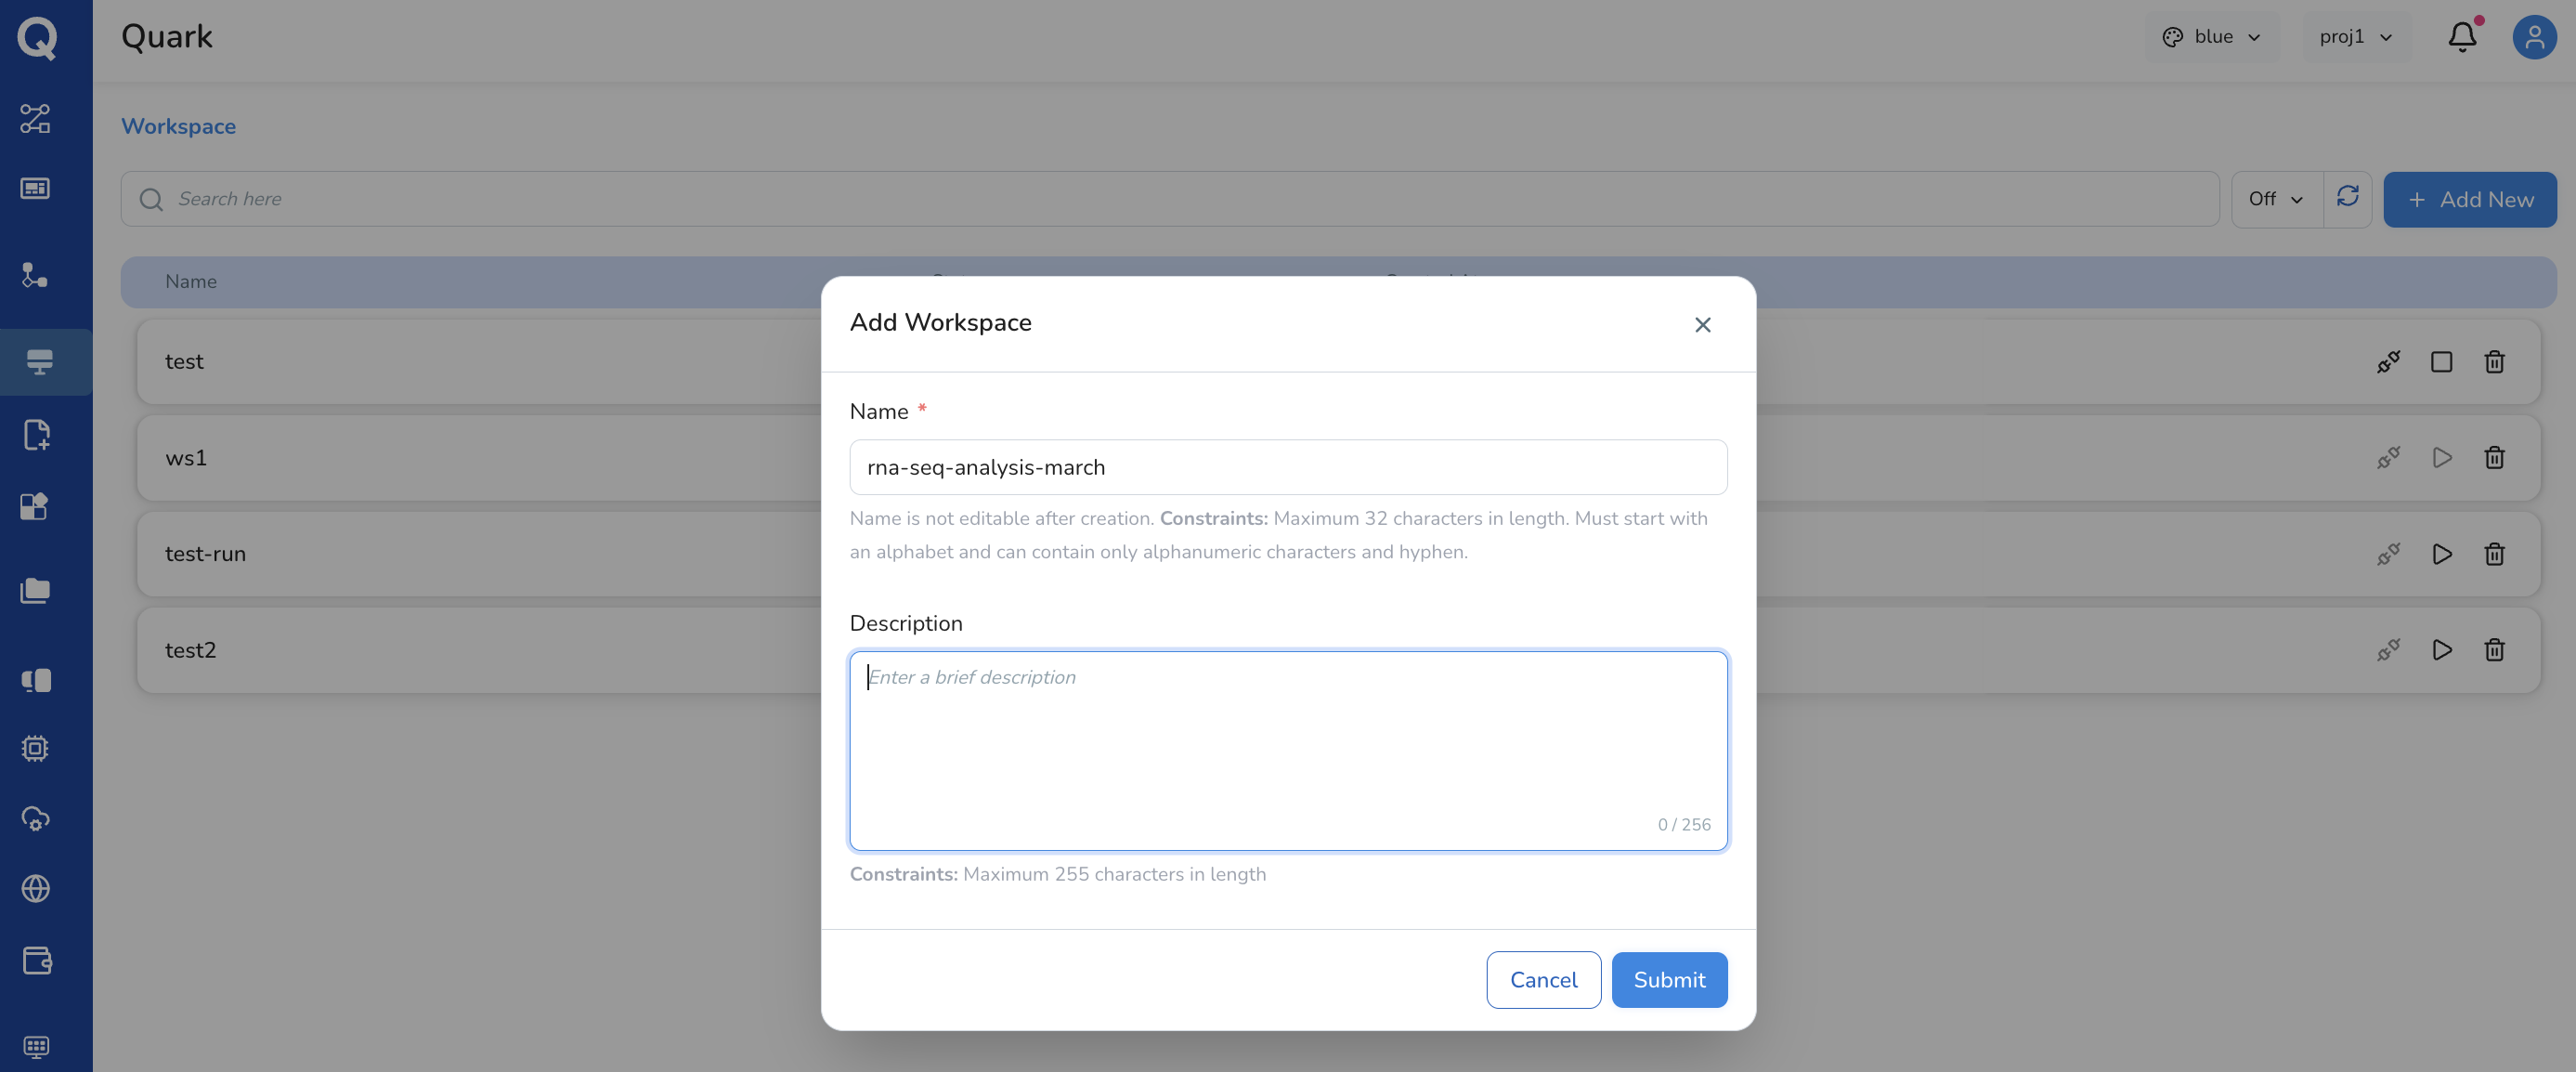
- Click the Add New button in the top right corner of the display screen
- In the dialog that appears, provide:
- Name — a short, descriptive name for the workspace
(e.g.
rna-seq-analysis-march) - Description (optional) — a brief note on the workspace's purpose
- Name — a short, descriptive name for the workspace
(e.g.
- Click Submit
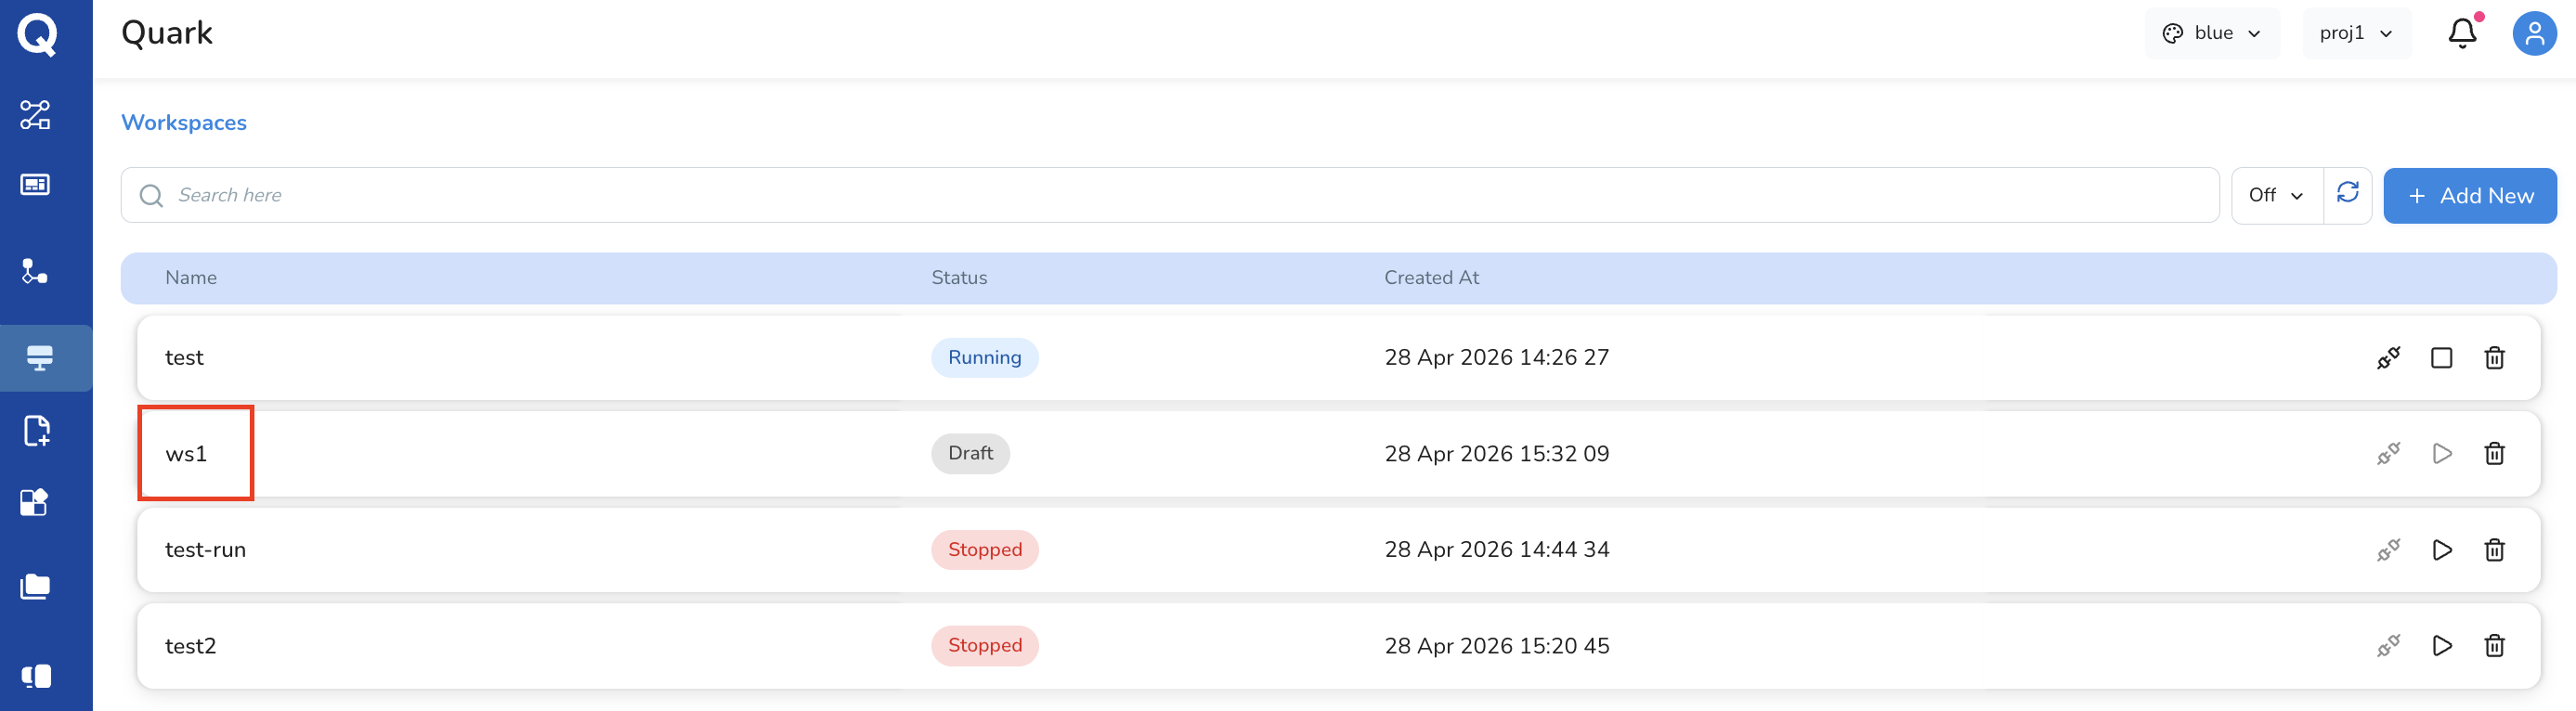
The new workspace will appear in the Workspaces list once approved.
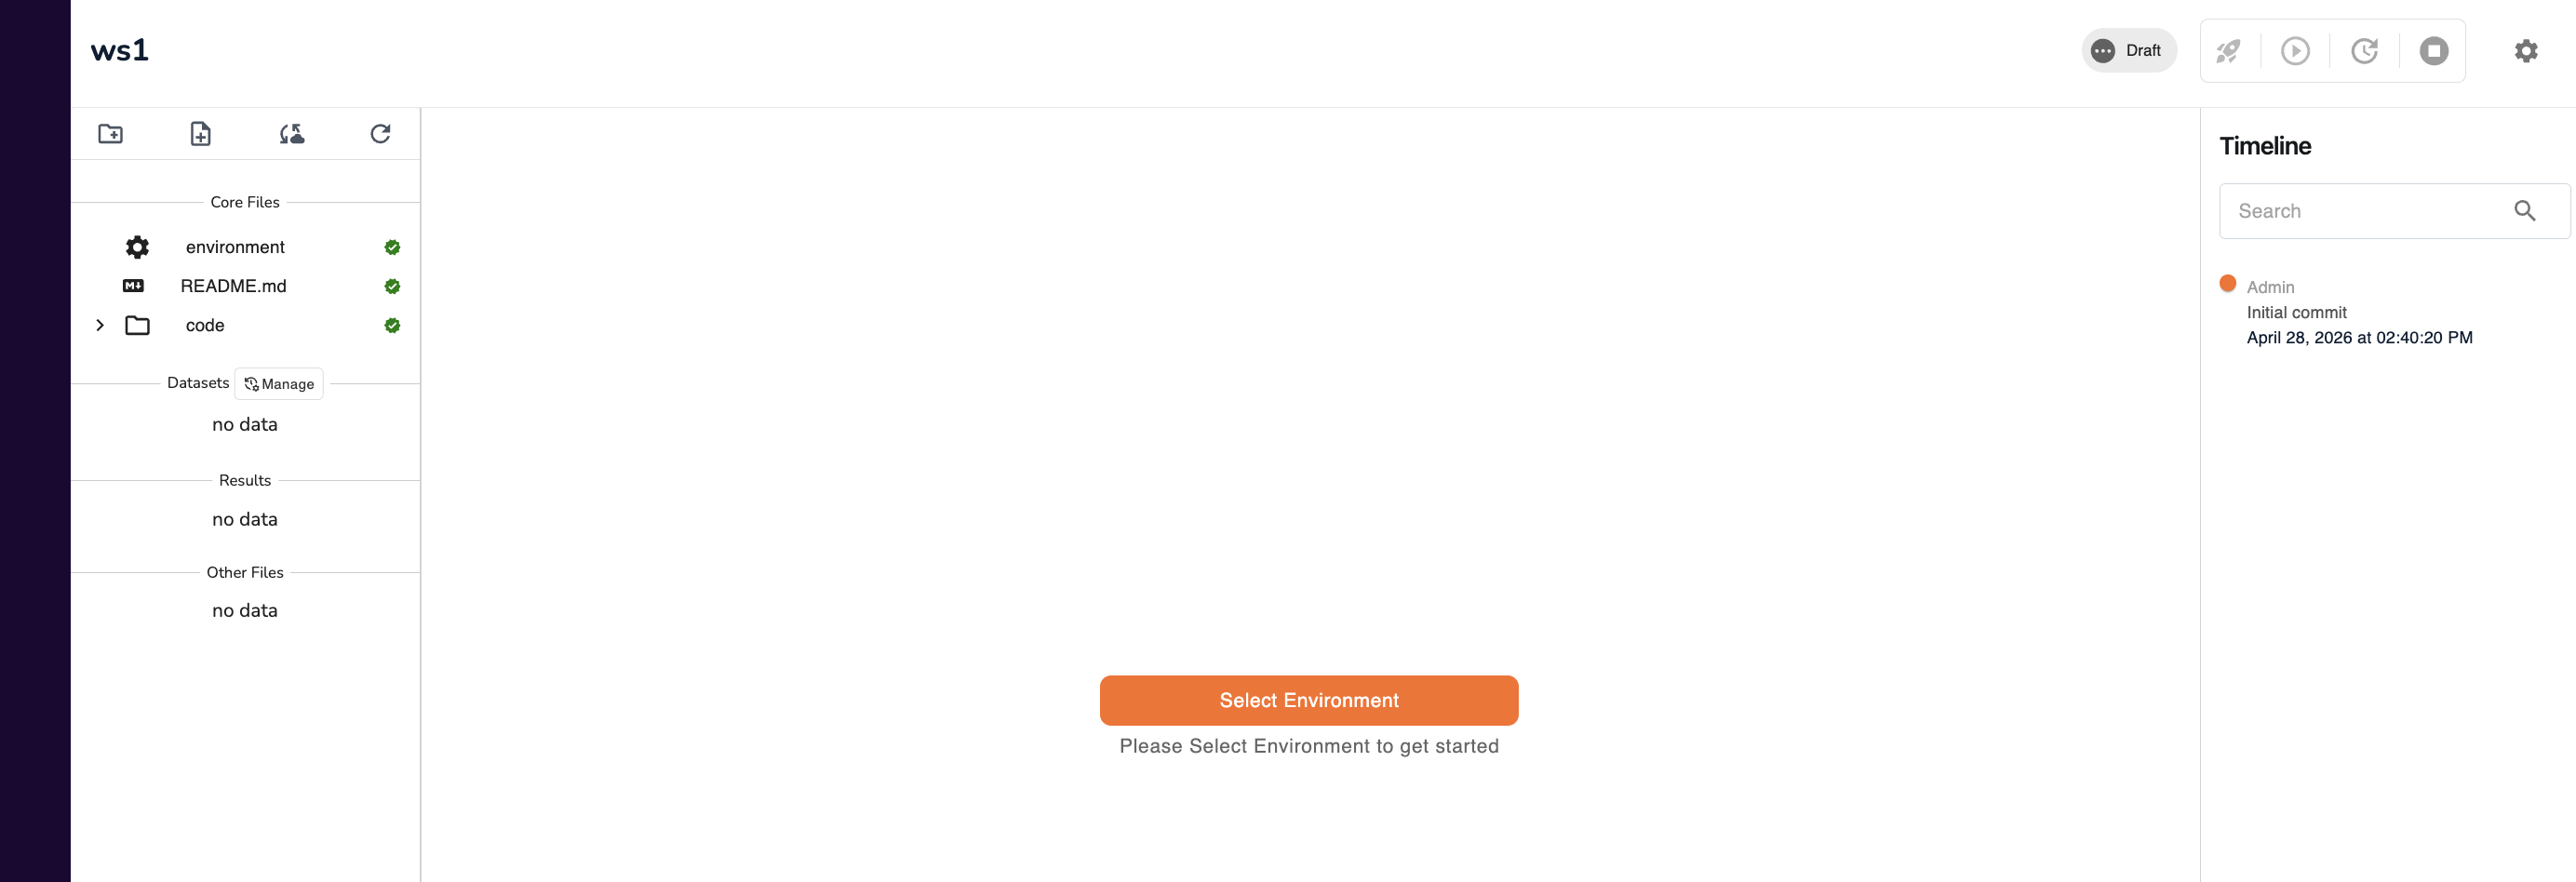
Step 2: Configure the Workspace
Click on a workspace in the list to open its configuration screen. This is where you define the compute environment before launching the IDE.
Select an Environment Preset
Choose from the following pre-built environments. Each preset defines the base operating system, Python version, and any additional tooling:
| Environment | Ubuntu | Python | JupyterLab | Extras |
|---|---|---|---|---|
| Boltzgen-JupyterLab | 22.04 | 3.12.3 | 4.5.5 | Boltzgen 0.3.0, CUDA 13.1.1 |
| Basic JupyterLab | 20.04 | 3.11 | 4.0.3 | — |
| Basic JupyterLab with GPU | 20.04 | 3.11 | 4.0.3 | CUDA 11.6 |
| Admin Terminal | 22.04 | — | — | Admin terminal access only |
| Ubuntu Terminal | 22.04 | — | — | Ubuntu terminal access only |
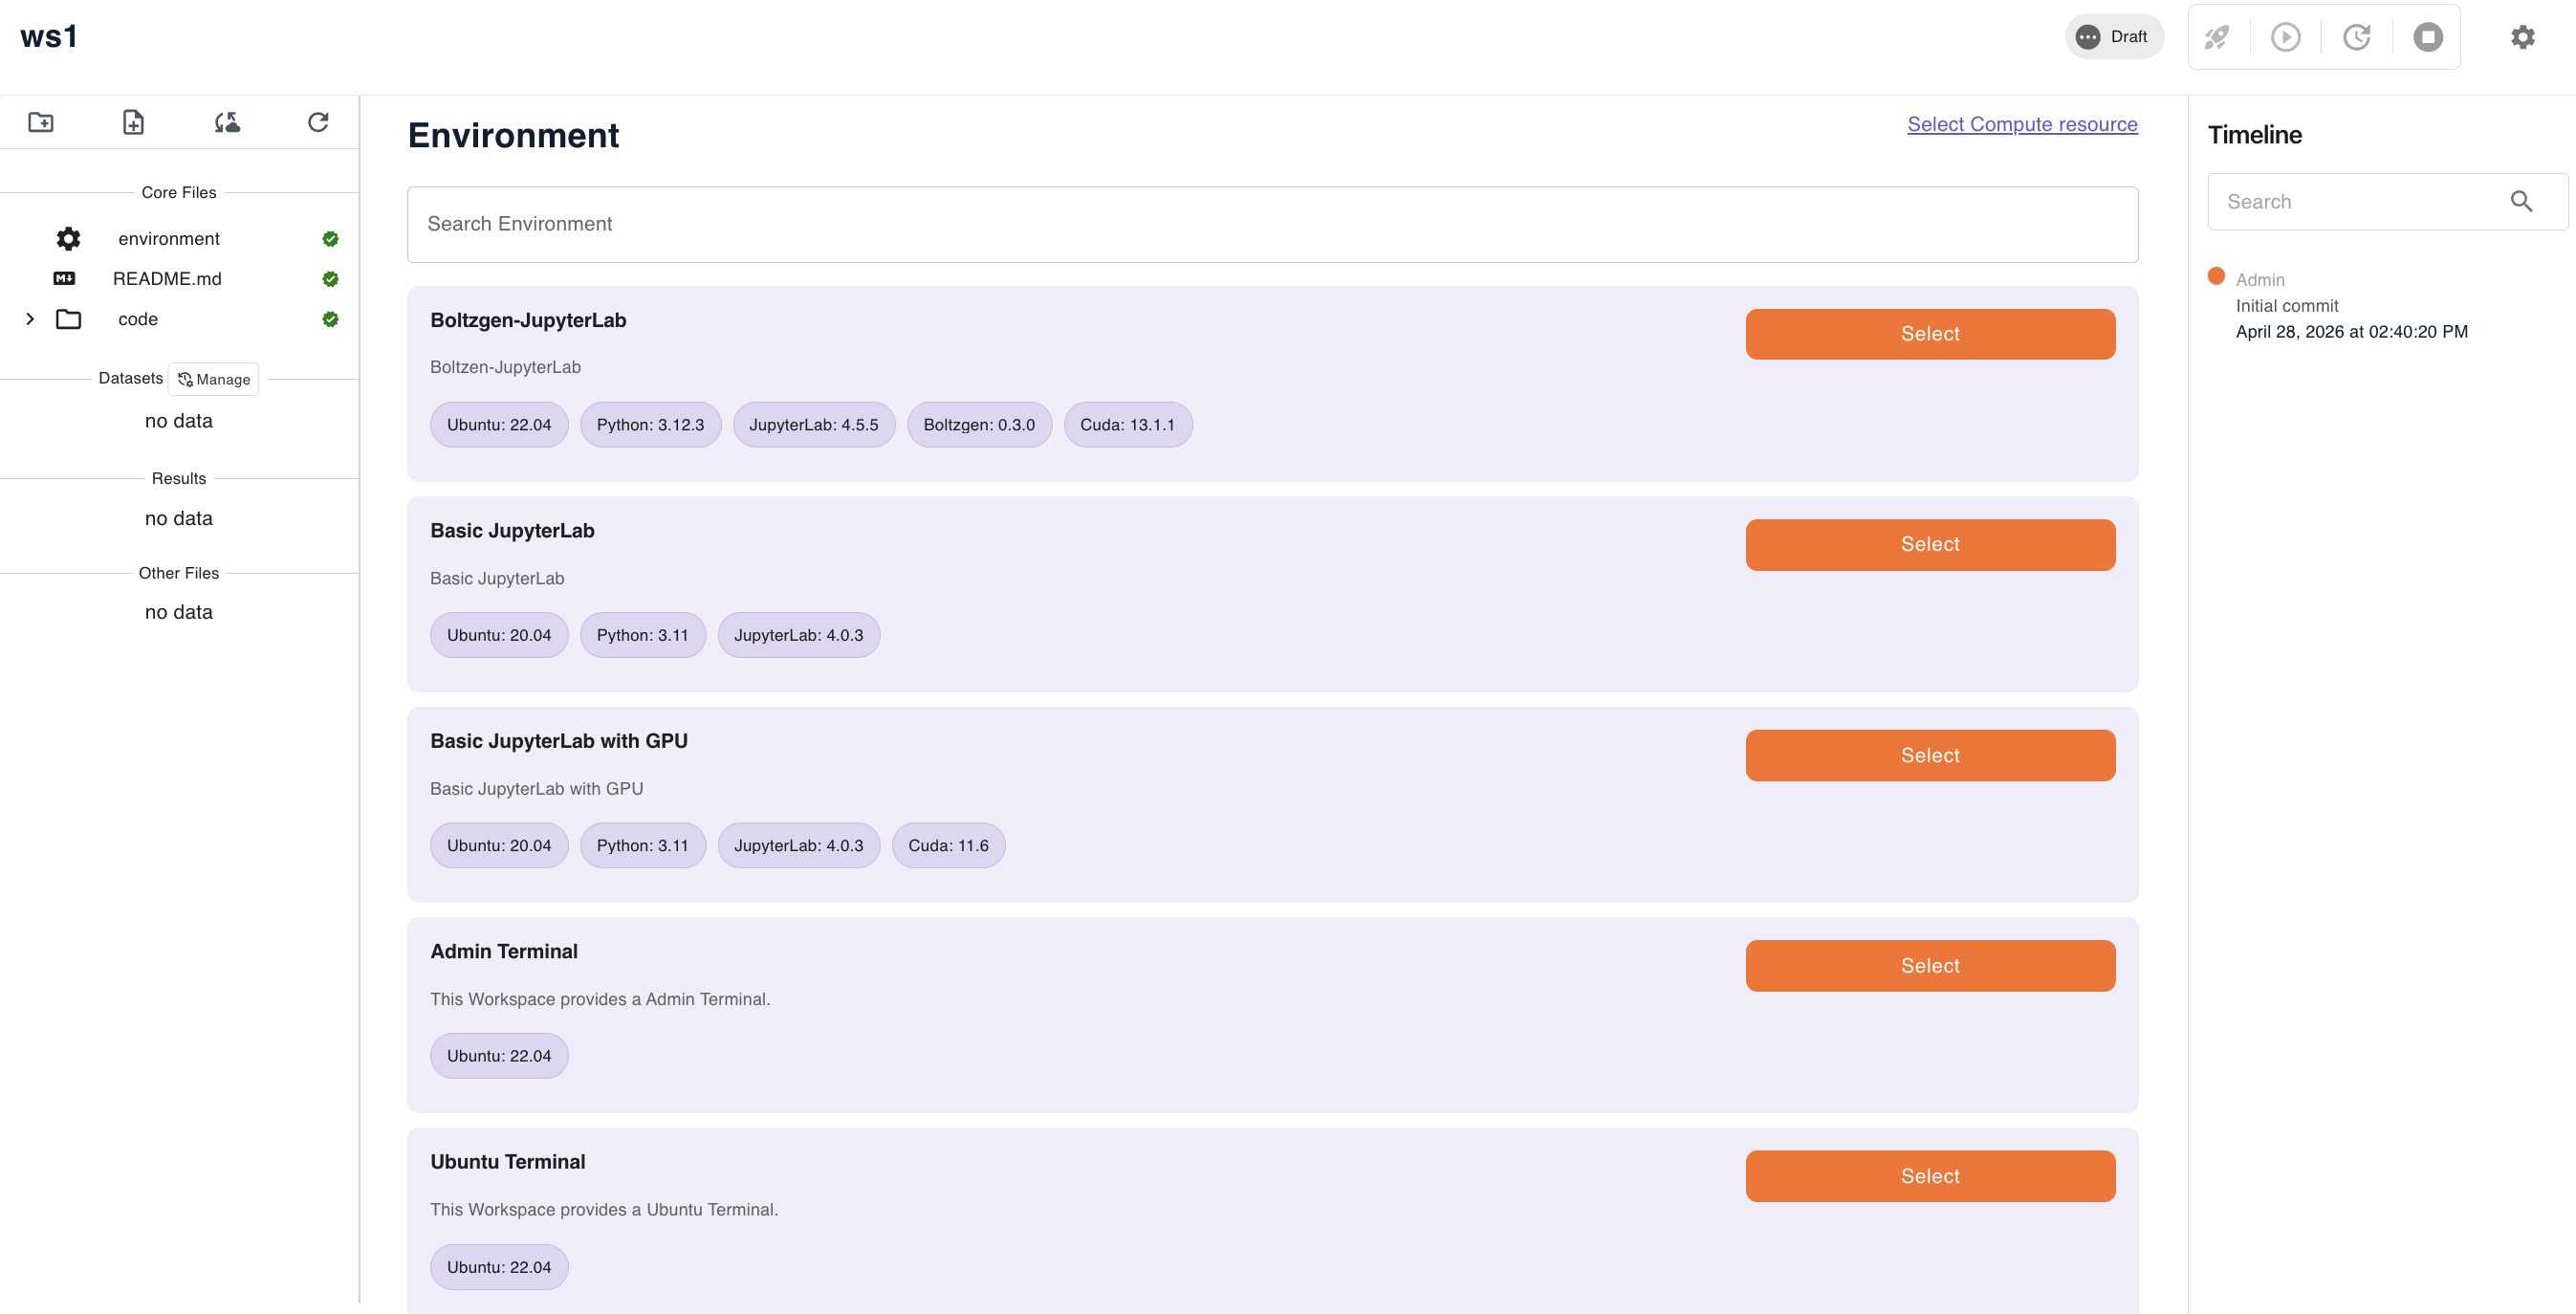
Choosing a preset: - Use Basic JupyterLab for standard Python-based analysis work - Use Basic JupyterLab with GPU for ML/DL workloads requiring GPU acceleration with CUDA 11.6 - Use Boltzgen-JupyterLab for protein structure and peptide binder design workflows using the Boltzgen framework (requires CUDA 13.1.1) - Use Admin Terminal or Ubuntu Terminal for command-line access without a JupyterLab interface
Configure Compute Resources
Specify the compute resources to allocate to this workspace:
| Setting | Description |
|---|---|
| CPU | Number of CPU cores to allocate (enter a raw value, e.g. 4) |
| Memory | Amount of RAM in GB (enter a raw value, e.g. 16) |
| GPU | Toggle on if your workload requires GPU acceleration |
| Spot | Toggle on to use Spot instance pricing for lower cost (note: Spot instances may be interrupted if cloud capacity is reclaimed) |

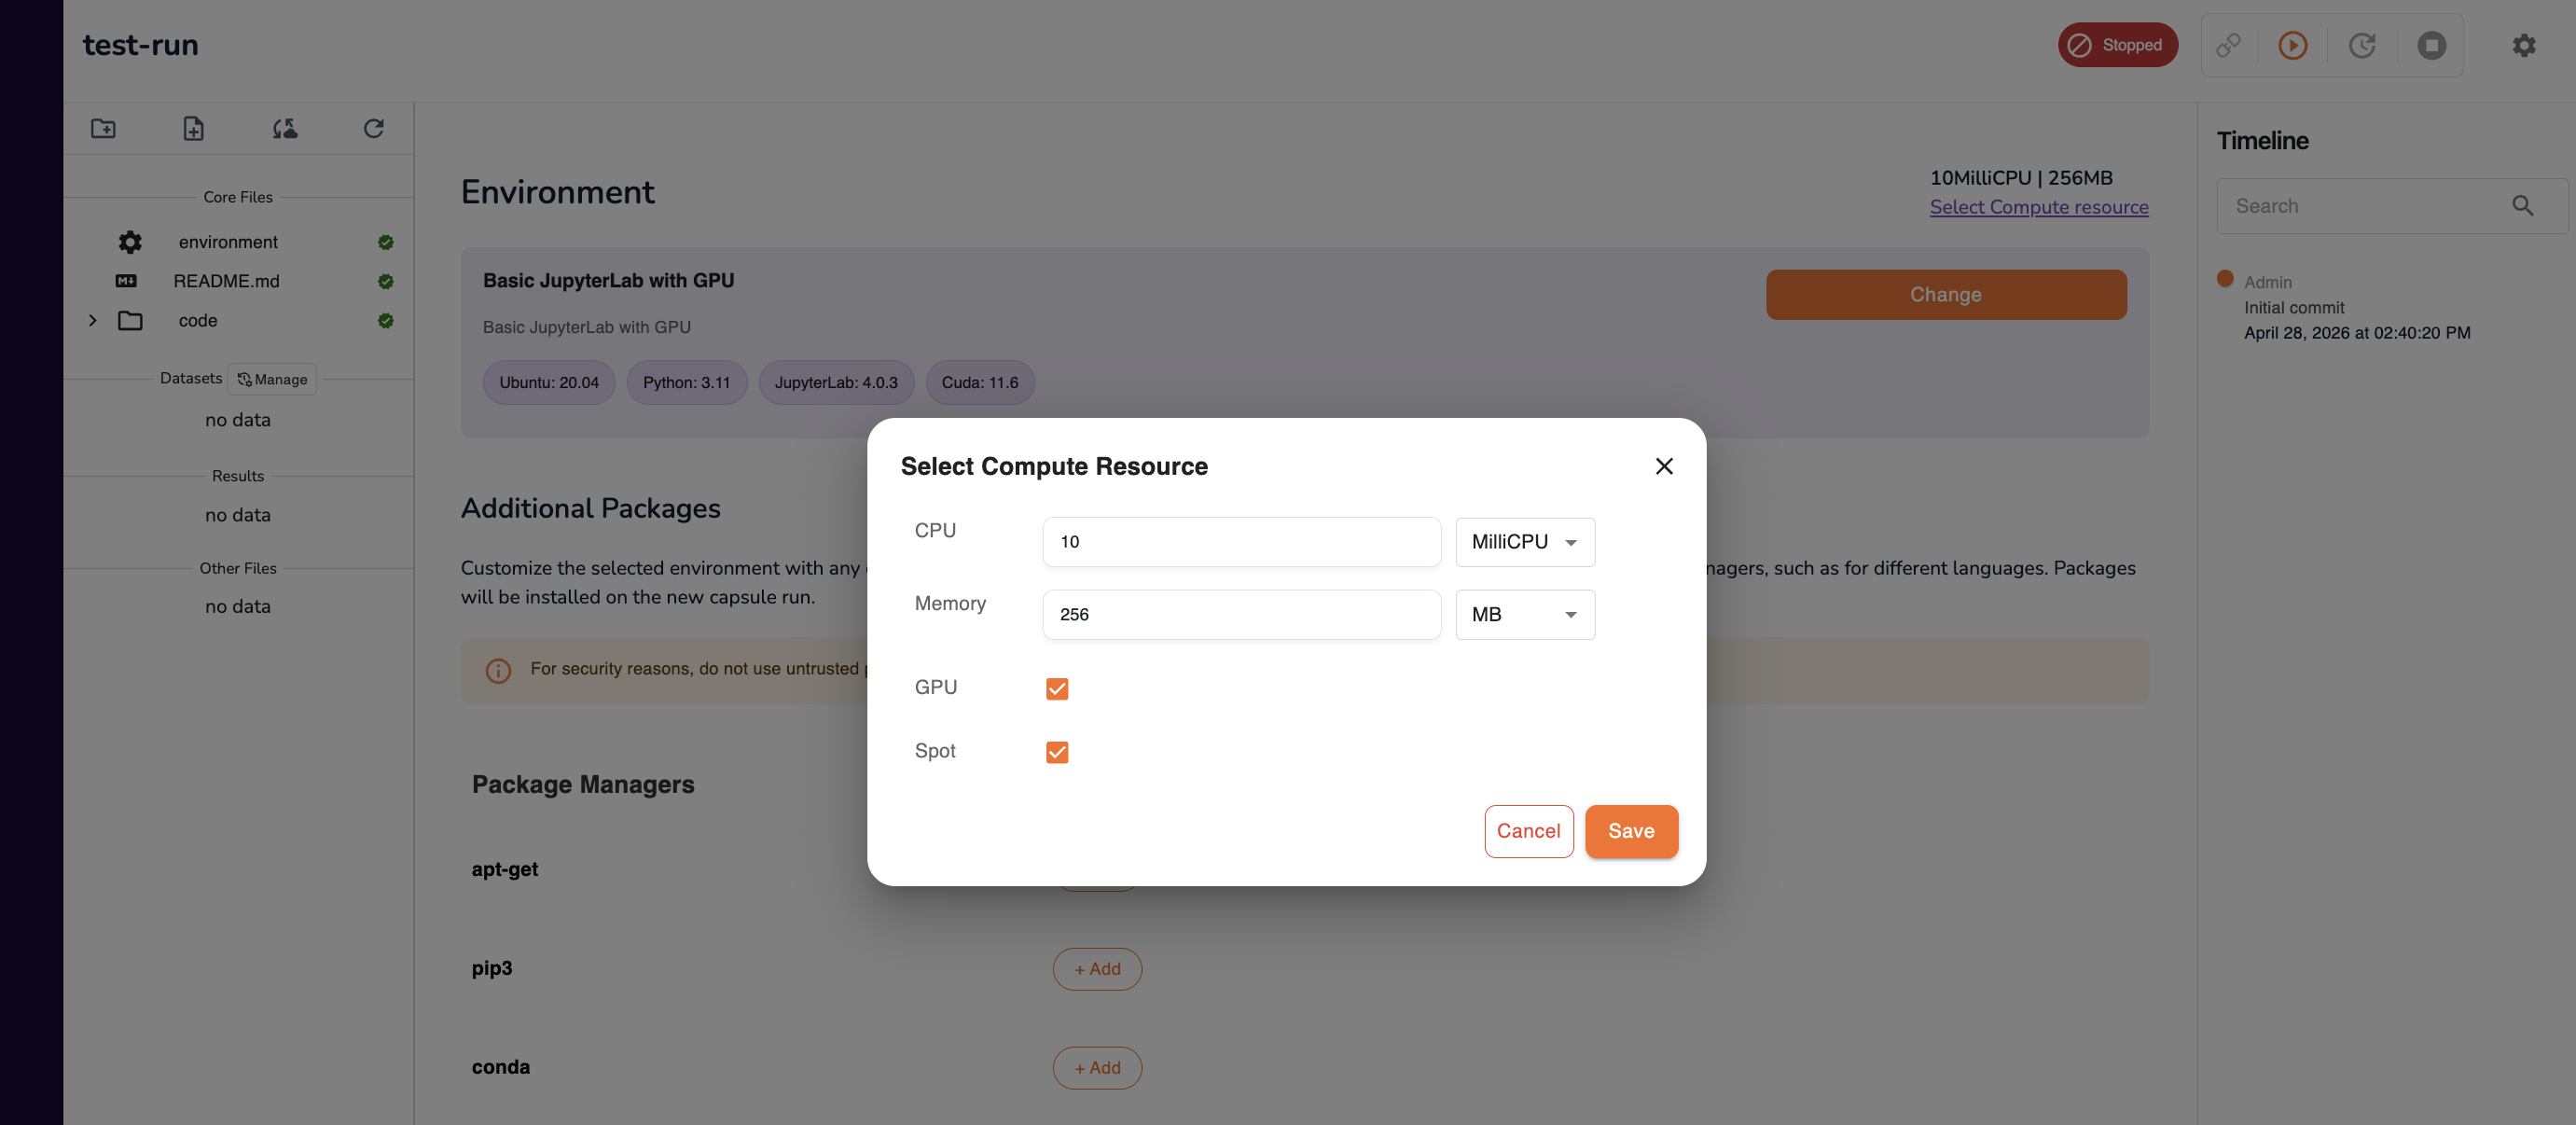
Tip: If you are unsure how much compute to allocate, start conservatively (e.g. 4 CPU / 16 GB RAM) and create a new workspace with more resources if your workload requires it.
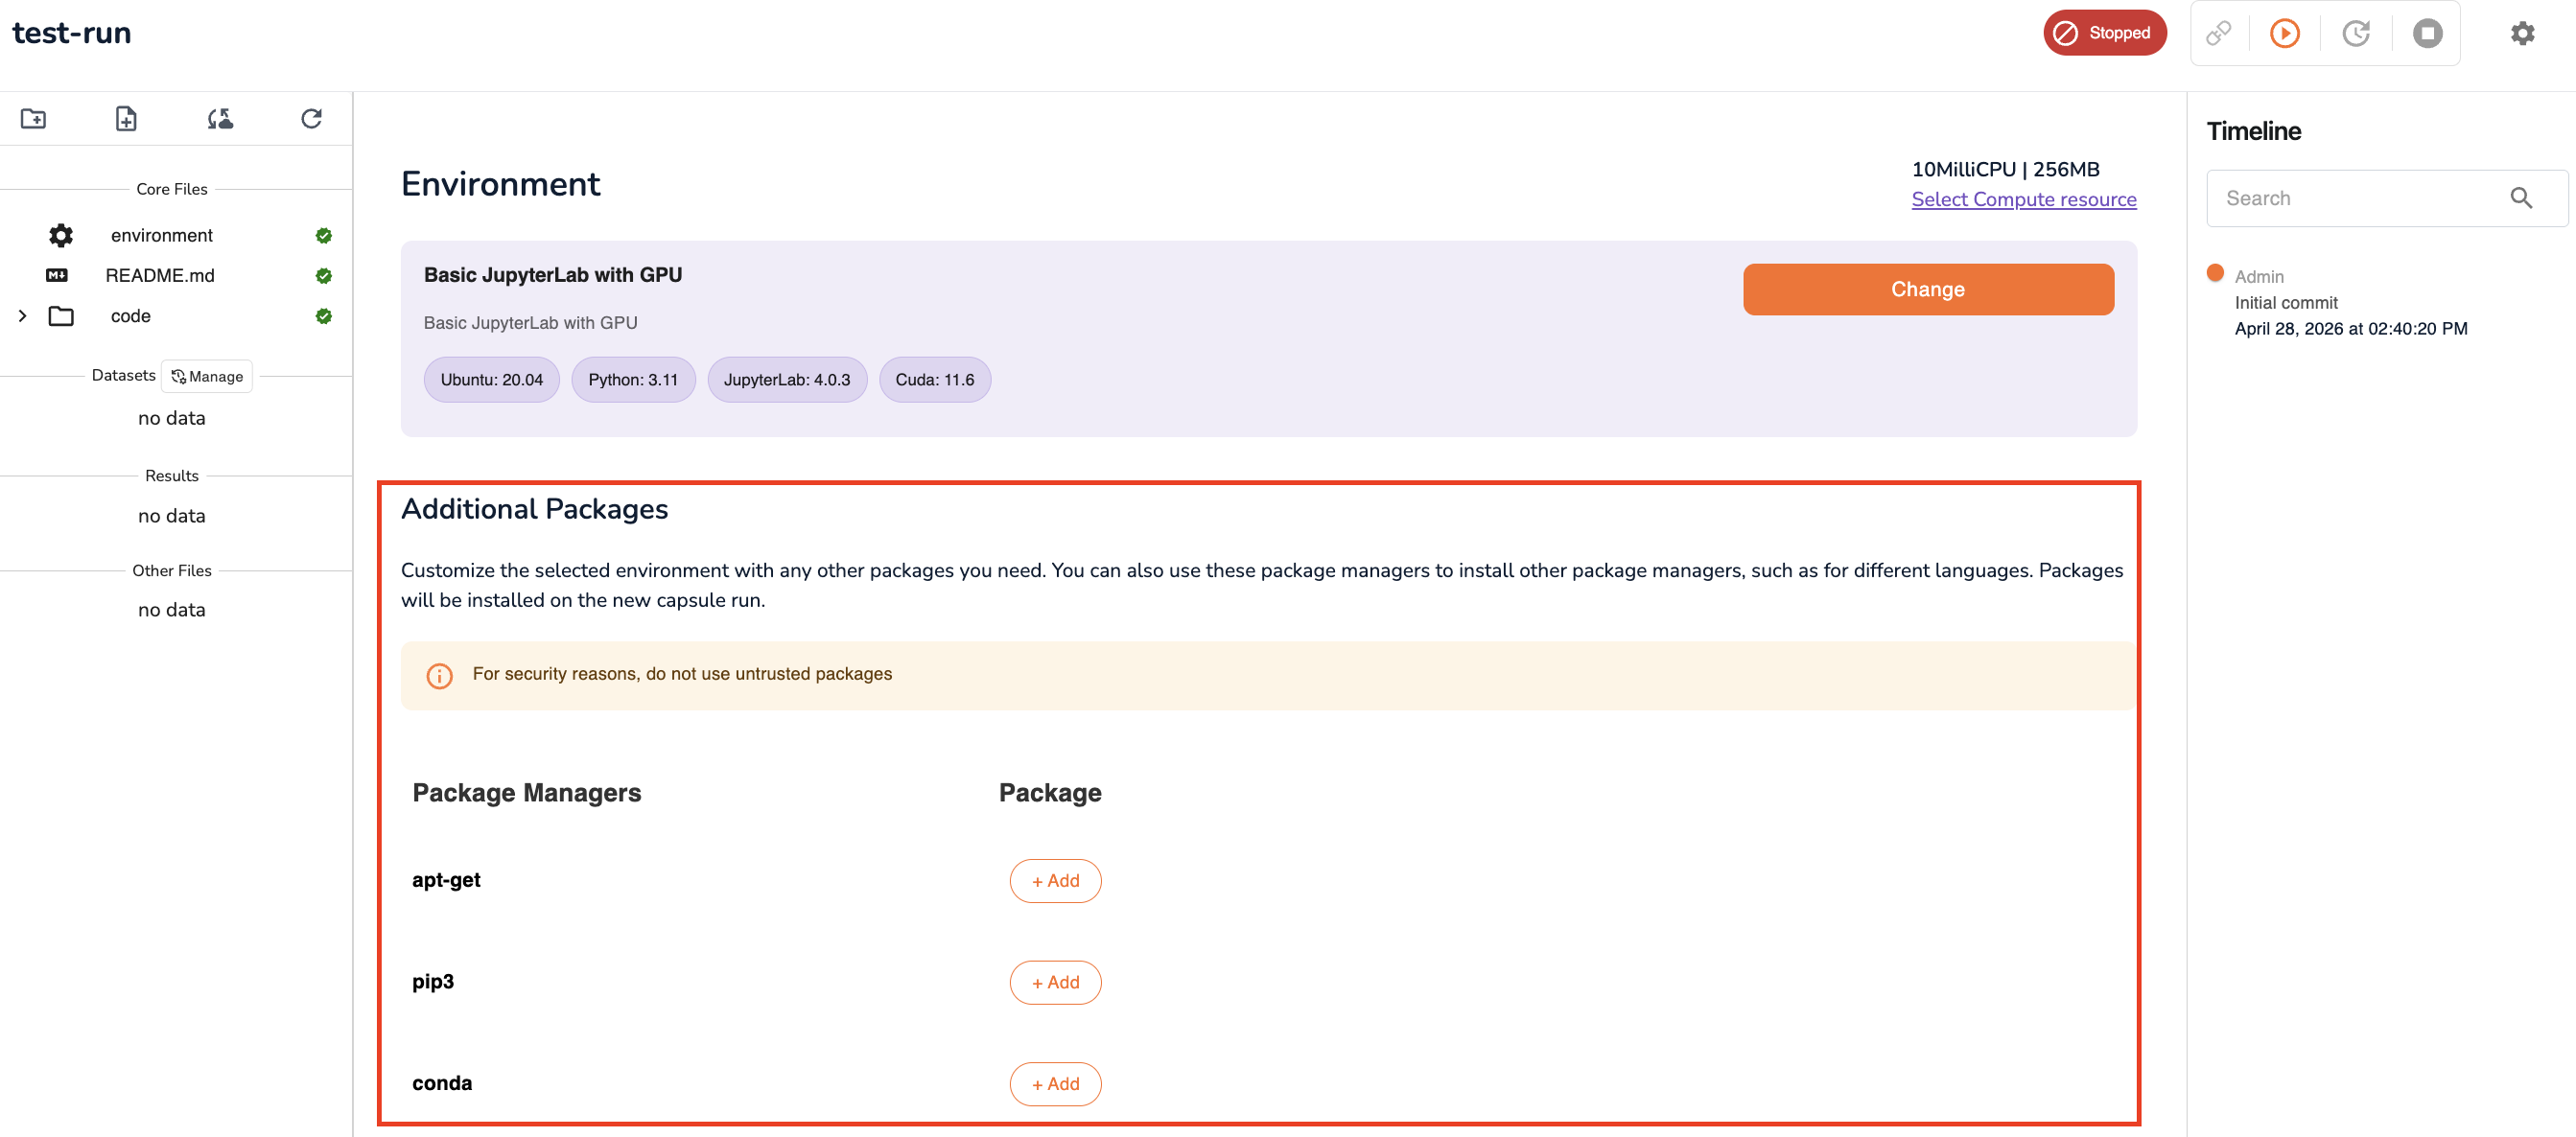
Add Packages
If your analysis requires Python libraries, system packages, or conda environments not included in the base preset, add them here:
| Package manager | Use for |
|---|---|
pip3 |
Python packages (e.g. pandas, scanpy, biopython) |
apt-get |
Ubuntu system-level packages |
conda |
Conda-managed environments and packages |
Add each package or install command as a new entry in the relevant package manager section.
Add Environment Variables
Under Environment Variables, select Add New. Define key-value pairs that will be available as environment variables within the workspace at runtime. This is useful for storing configuration values such as API endpoints, file paths, or token names.

Step 3: Launch the Workspace
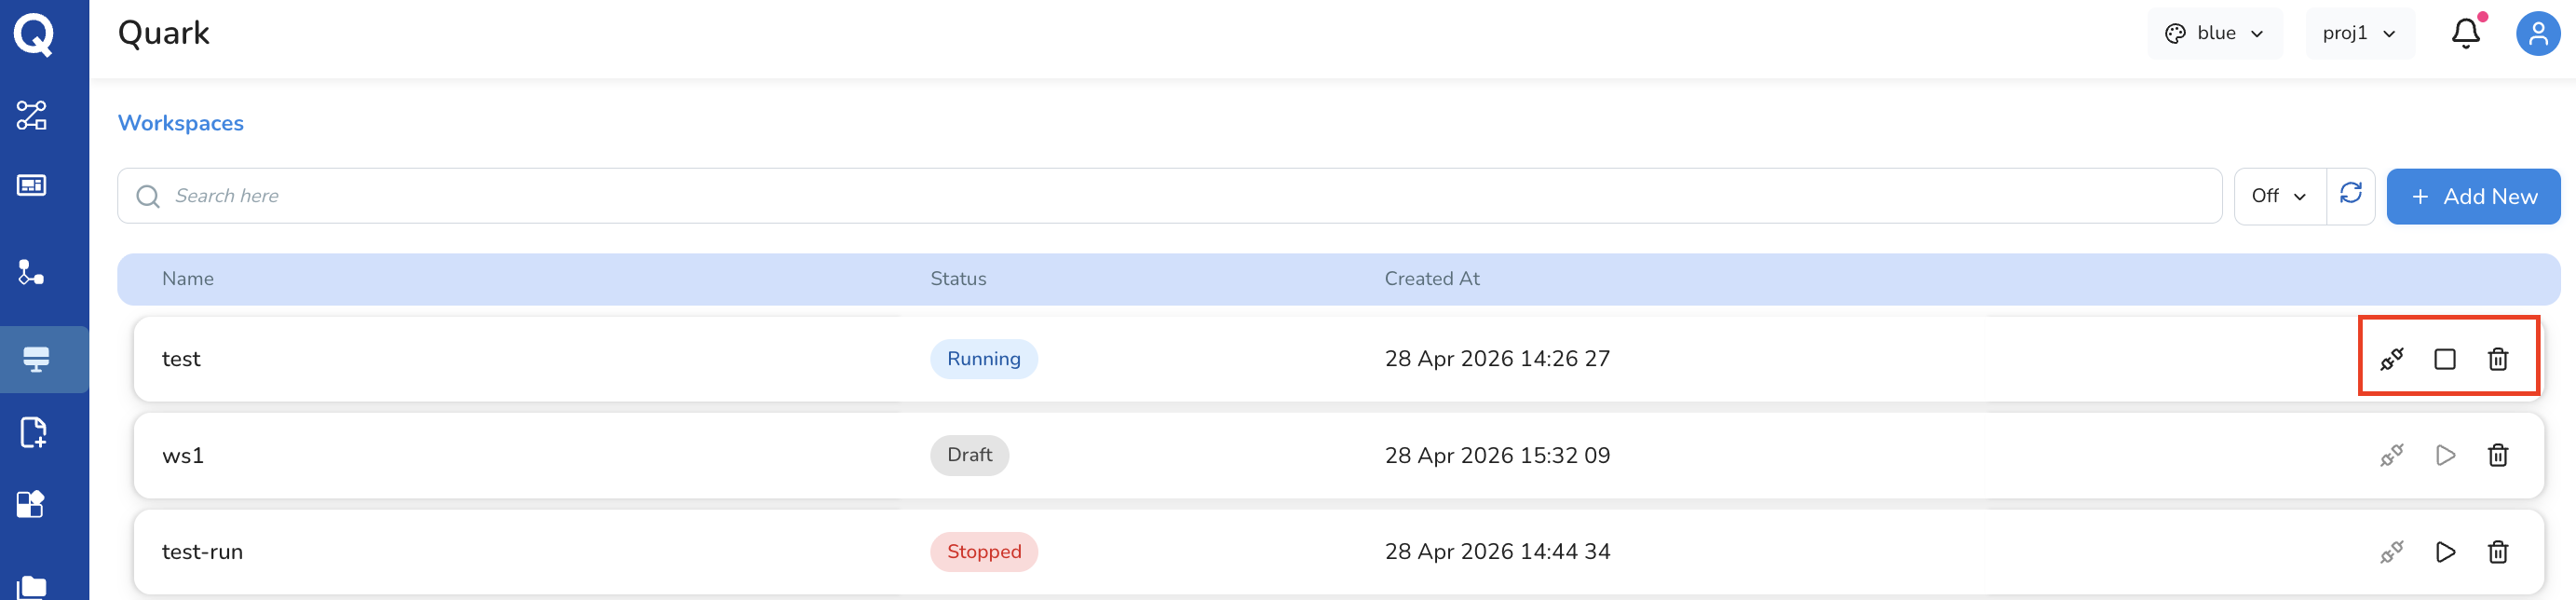
Once configuration is complete, use the three action icons at the top of the configuration screen to manage the workspace lifecycle:
| Icon | Action | Description |
|---|---|---|
| Connect | Initialise the workspace | Starts the process of provisioning your configured environment. The icon changes to Run once the workspace is ready. |
| Run | Open JupyterLab | Launches the JupyterLab IDE in a new browser window. Available after the workspace has connected. |
| Stop | Suspend the workspace | Stops the running workspace and releases compute resources. Your workspace configuration is preserved. |
| Delete | Remove the workspace | Permanently deletes the workspace and its configuration. This action cannot be undone. |
Typical workflow:
- Click Connect — wait for provisioning to complete
- Click Run — JupyterLab opens in a new browser window
- Conduct your analysis within JupyterLab
- When finished, return to Quark and click Stop to release compute resources

Important: Always click Stop when you have finished working. Running workspaces continue consuming compute (and incurring cost) until explicitly stopped.
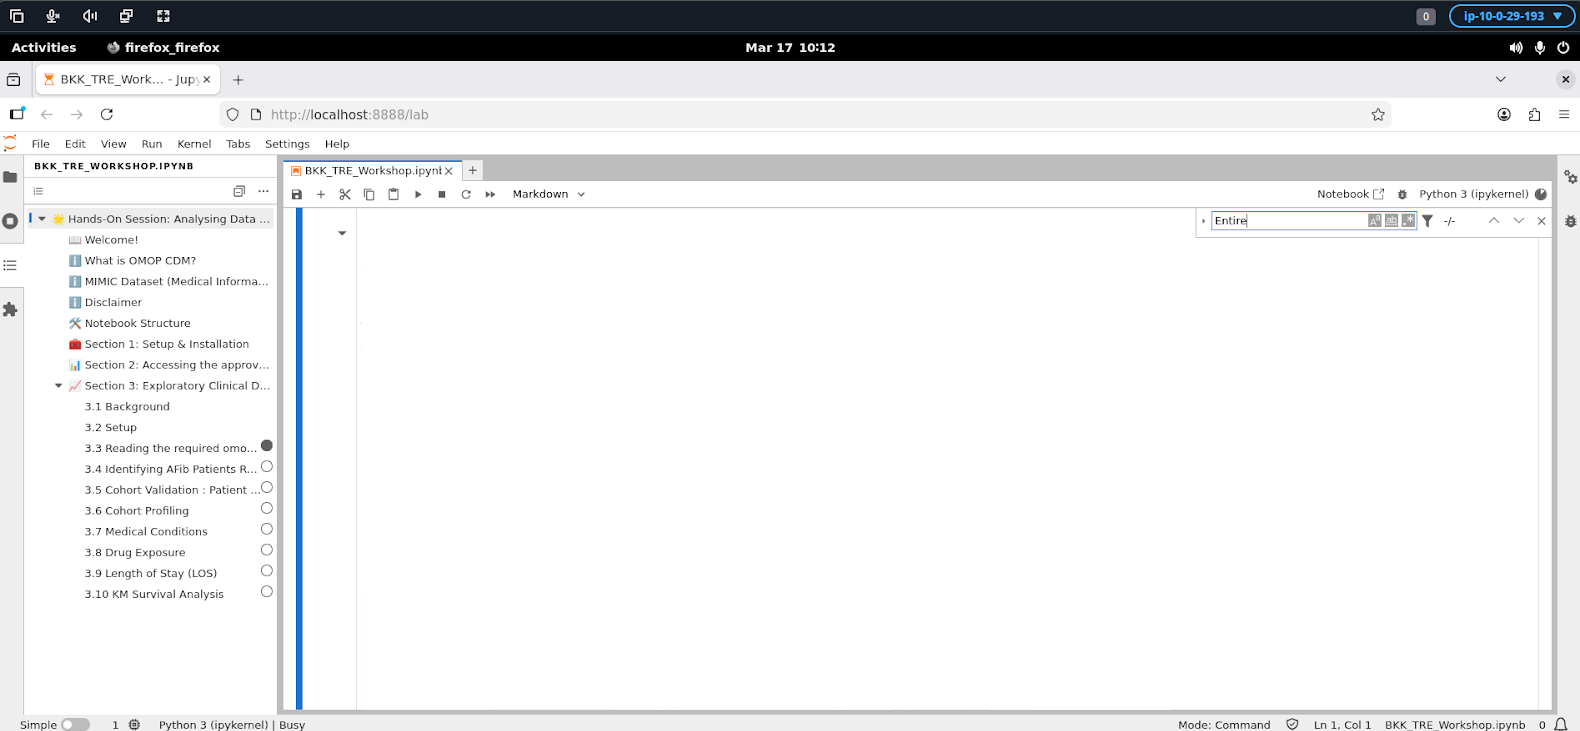
Working in JupyterLab
Once launched, JupyterLab provides a full interactive notebook environment. You can:
- Create and run Jupyter notebooks (
.ipynb) - Open a terminal for command-line operations
- Browse and access files within the workspace filesystem
- Install additional packages at runtime via notebook cells or the terminal
Further Reading
- Managing Projects — organising workspaces within a project
- Managing Files — accessing data and results from within a workspace