Transferring Large Files with the MyFiles CLI
The MyFiles CLI is a command-line tool for uploading and downloading large files and folders to and from My Files in Quark V3. It is recommended for transfers where the standard browser-based upload may be impractical due to file size.
Audience: Bioinformaticians
When to use this: For large datasets, result folders, or batch outputs that are too large to transfer conveniently via the browser. For standard file management, see Managing Files.
Prerequisites
Before using the MyFiles CLI, download the binary for your operating system:
| Operating System | Download Link |
|---|---|
| Windows | myfiles-cli.exe |
| Linux | myfiles-cli |
| macOS | myfiles-cli |
Downloading Files and Folders
Use the following steps to download result files or folders from a completed pipeline run.
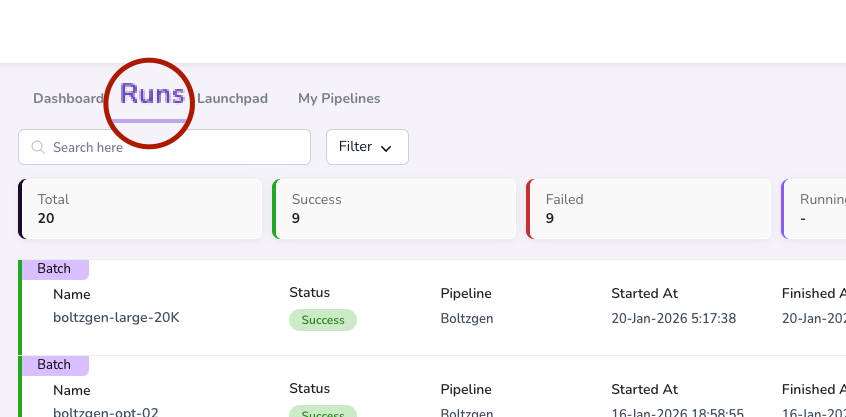
Step 1: Open the Runs Page
- Select Pipelines from the left navigation pane
-
Click the Runs tab
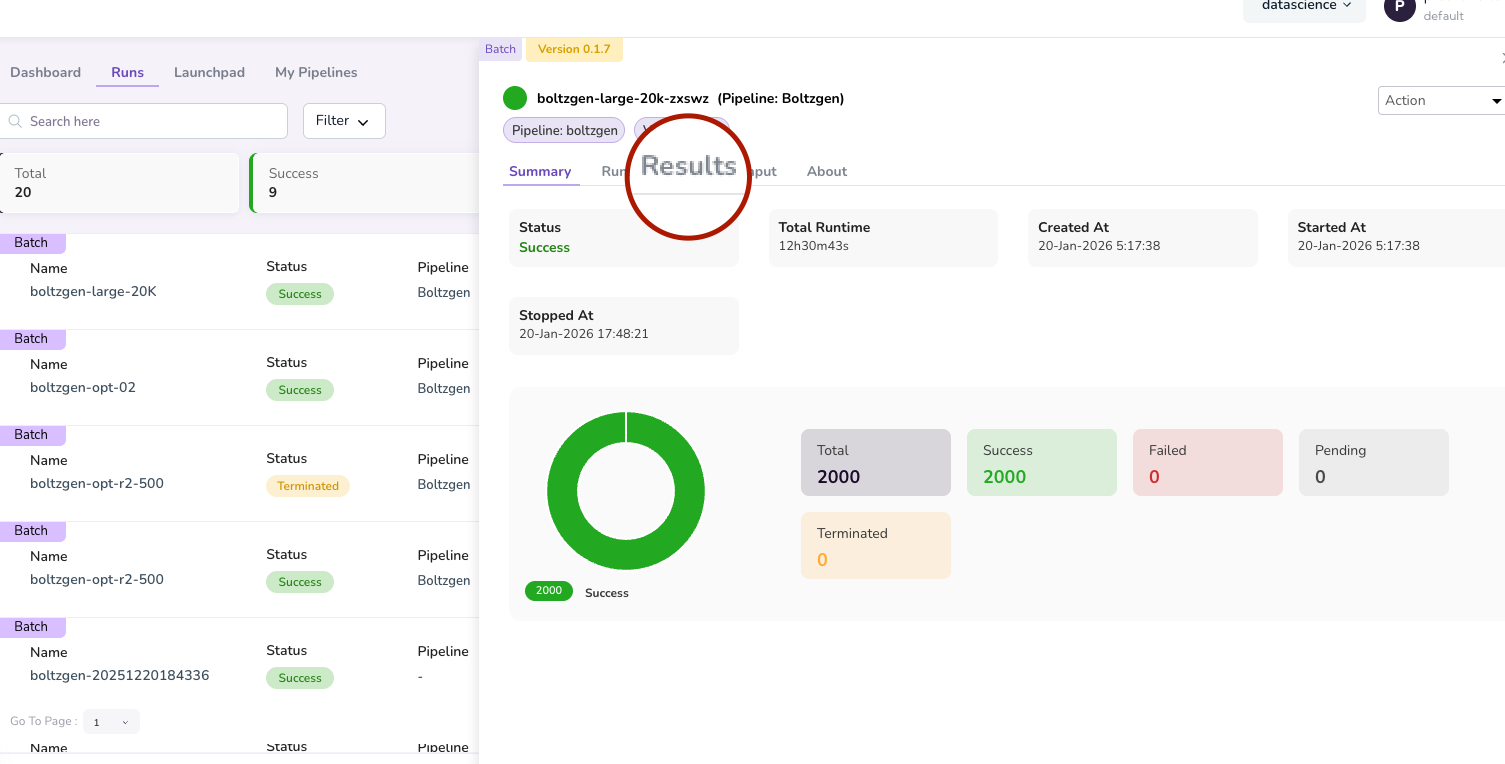
Step 2: Open the Results for Your Run
- Locate and click on the completed run you want to download results from
-
In the run details view, click the Results tab
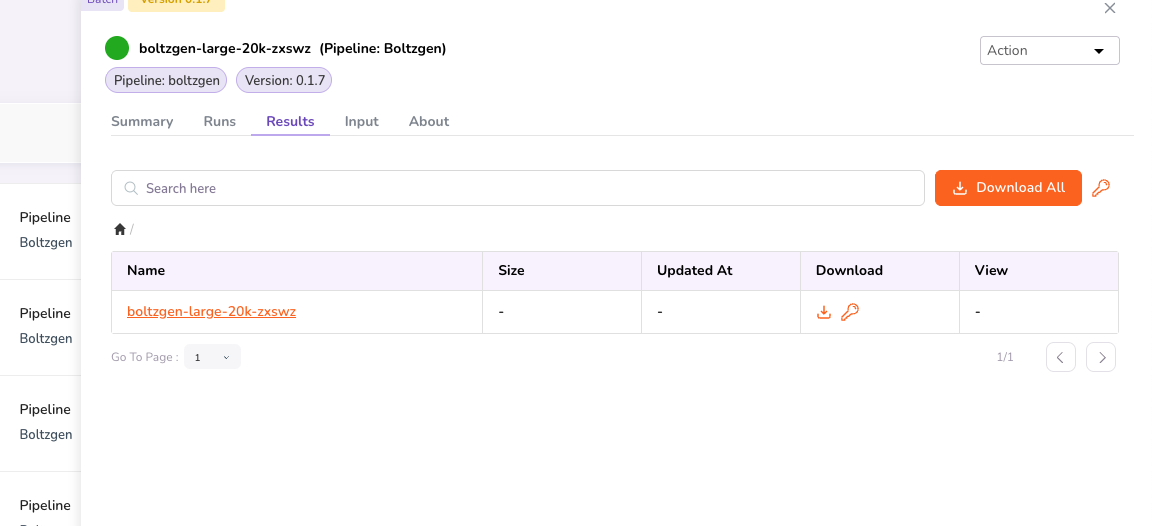
Step 3: Navigate to Your Results Folder
Click on the entry that matches your run name to open its results.
Note: Quark V3 (formerly CBP / Science Cloud) runs jobs as batches. For example, a job of 10,000 designs may be split into sub-jobs of approximately 10 designs each for optimised processing. Results for all sub-jobs are aggregated into a folder called
merged_results. Click onmerged_resultsto access the consolidated output.

Step 4: Copy the CLI Auth Token for the Folder
Navigate to the folder you want to download and copy its CLI Auth Token.
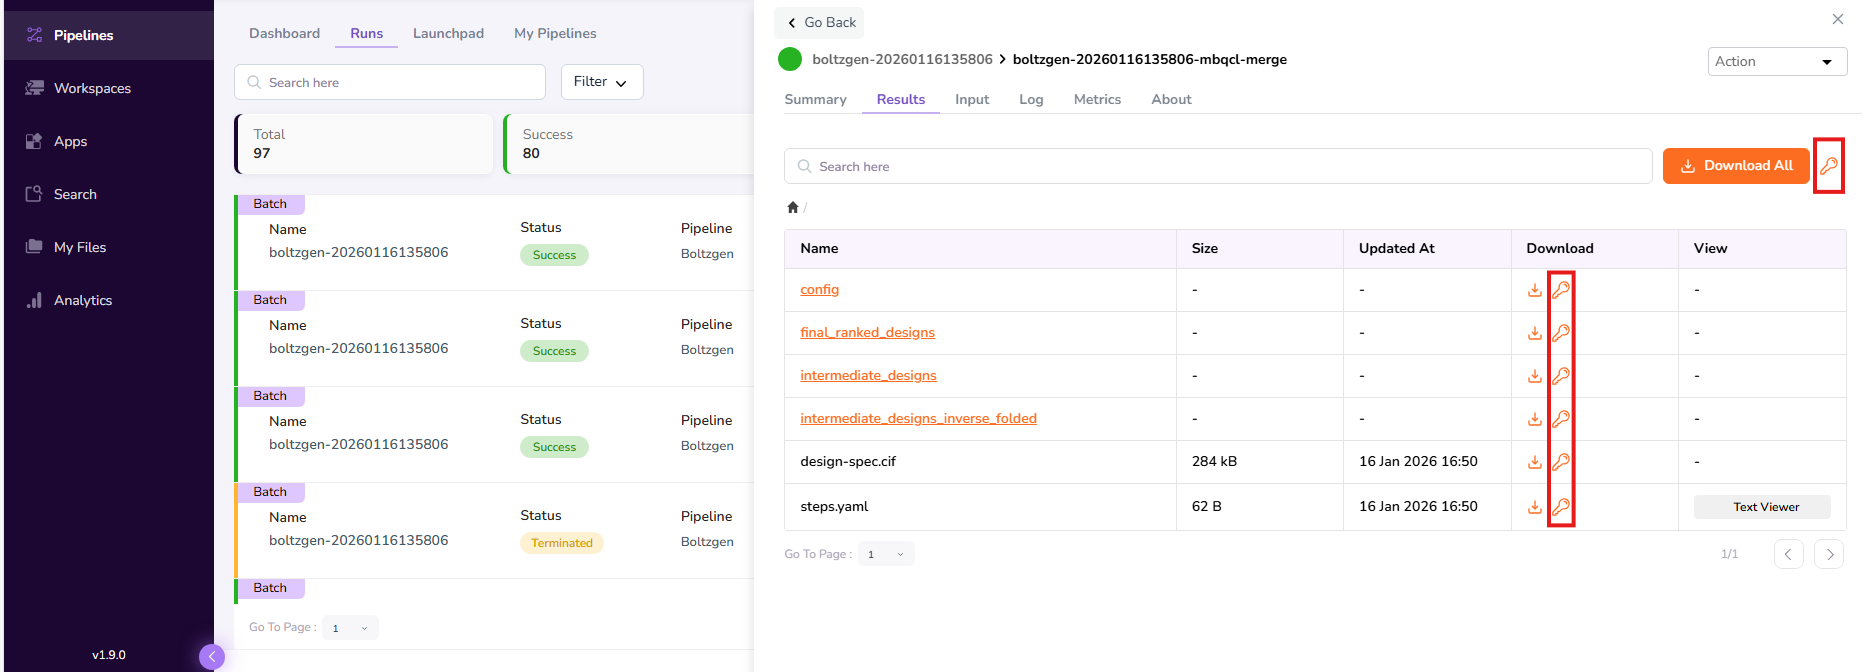
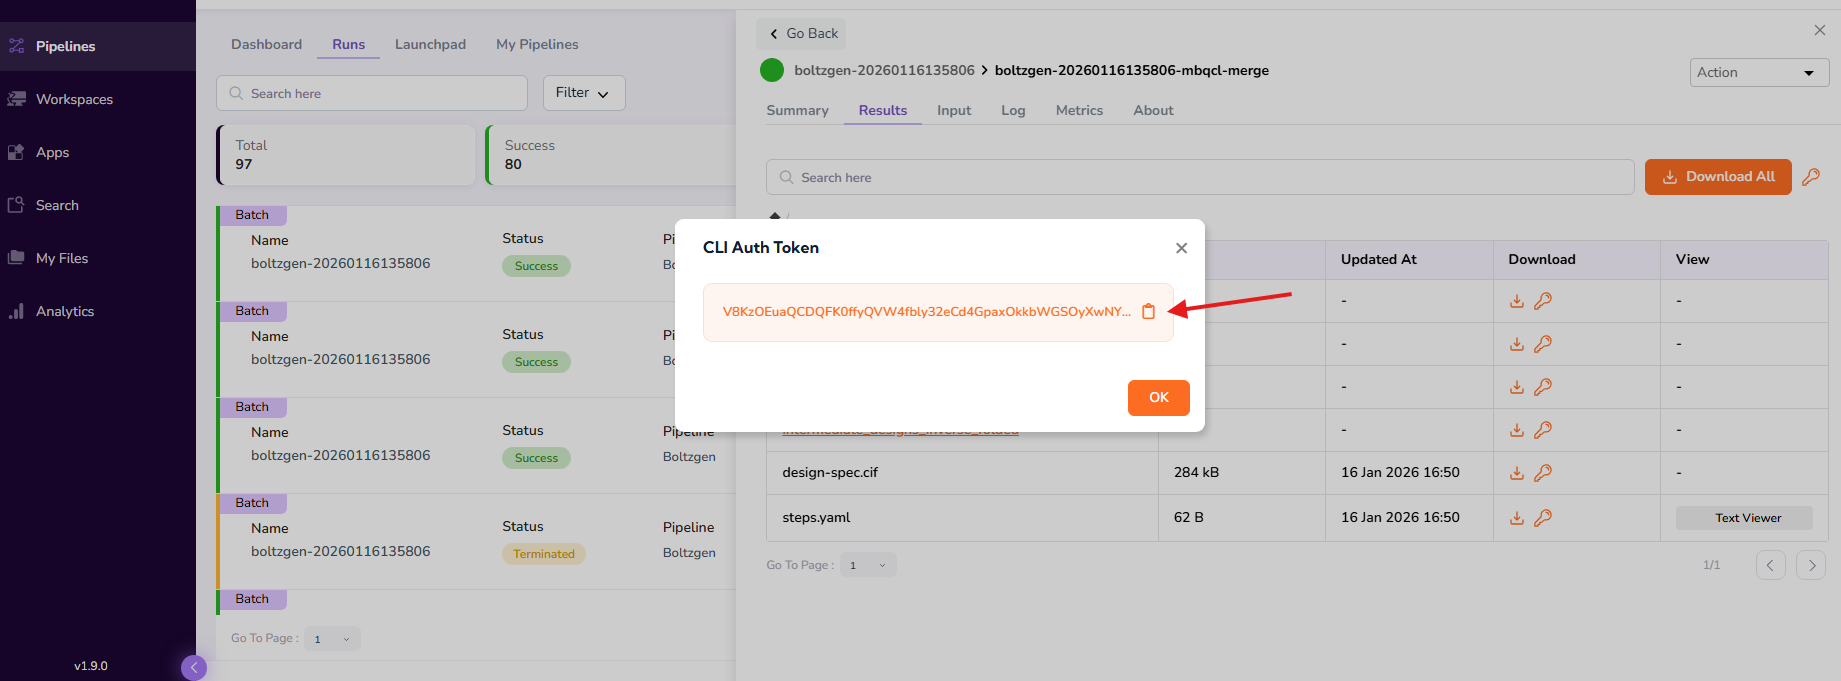
Tip: Paste the token into a text editor (e.g. TextEdit on macOS, Notepad on Windows) and save it temporarily — you will need to paste it into the terminal in the steps below.
Step 5: Run the Download Command
In a terminal (e.g. the Terminal app on macOS, Command Prompt or PowerShell on Windows):
- Create a new directory for your downloaded files and navigate into it
- Move the
myfiles-clibinary into that directory - Run the following command:
myfiles-cli download <local_directory>
To download into your current directory:
myfiles-cli download ./
When prompted, paste your CLI Auth Token from Step 4
Example: If you are downloading Boltzgen results and have navigated into a folder called
boltzgen-results, runmyfiles-cli download ./and paste the token when prompted. Your files will download into the current directory.
Uploading Files and Folders
Use the following steps to upload files or folders from your local machine or a remote location into My Files.
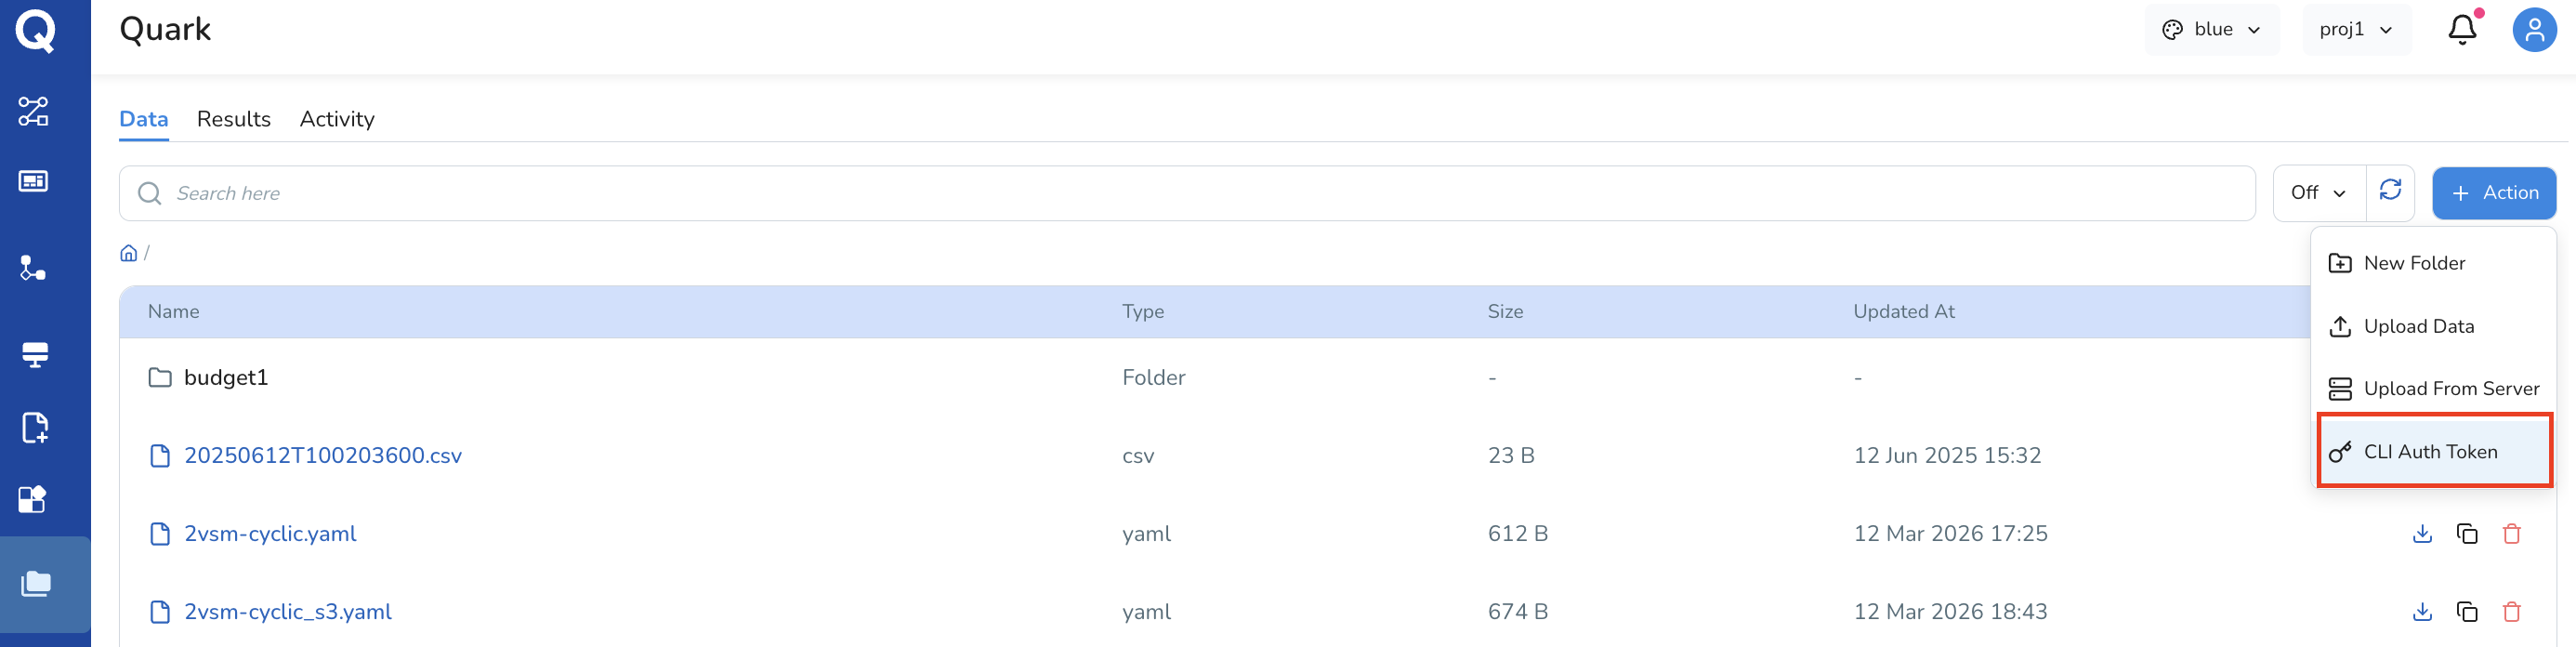
Step 1: Generate a CLI Auth Token for the Upload Location
- Navigate to the destination folder in My Files → Data
- Generate a CLI Auth Token for that location by clicking the Action button and selecting CLI Auth Token from the drop-down.
- Copy the token to your clipboard

Step 2: Run the Upload Command
In a terminal, run the following command, replacing
<local_file/directory> with the path to the file or folder you want
to upload:
myfiles-cli upload <local_file/directory>
For example, to upload a folder called my-data:
myfiles-cli upload ./my-data
When prompted, paste your CLI Auth Token.
Command Reference
| Command | Description |
|---|---|
myfiles-cli download <local_directory> |
Download files from My Files into a local directory |
myfiles-cli upload <local_file/directory> |
Upload a local file or folder into My Files |
Further Reading
- Managing Files — standard browser-based file upload, download, and the Activity log